

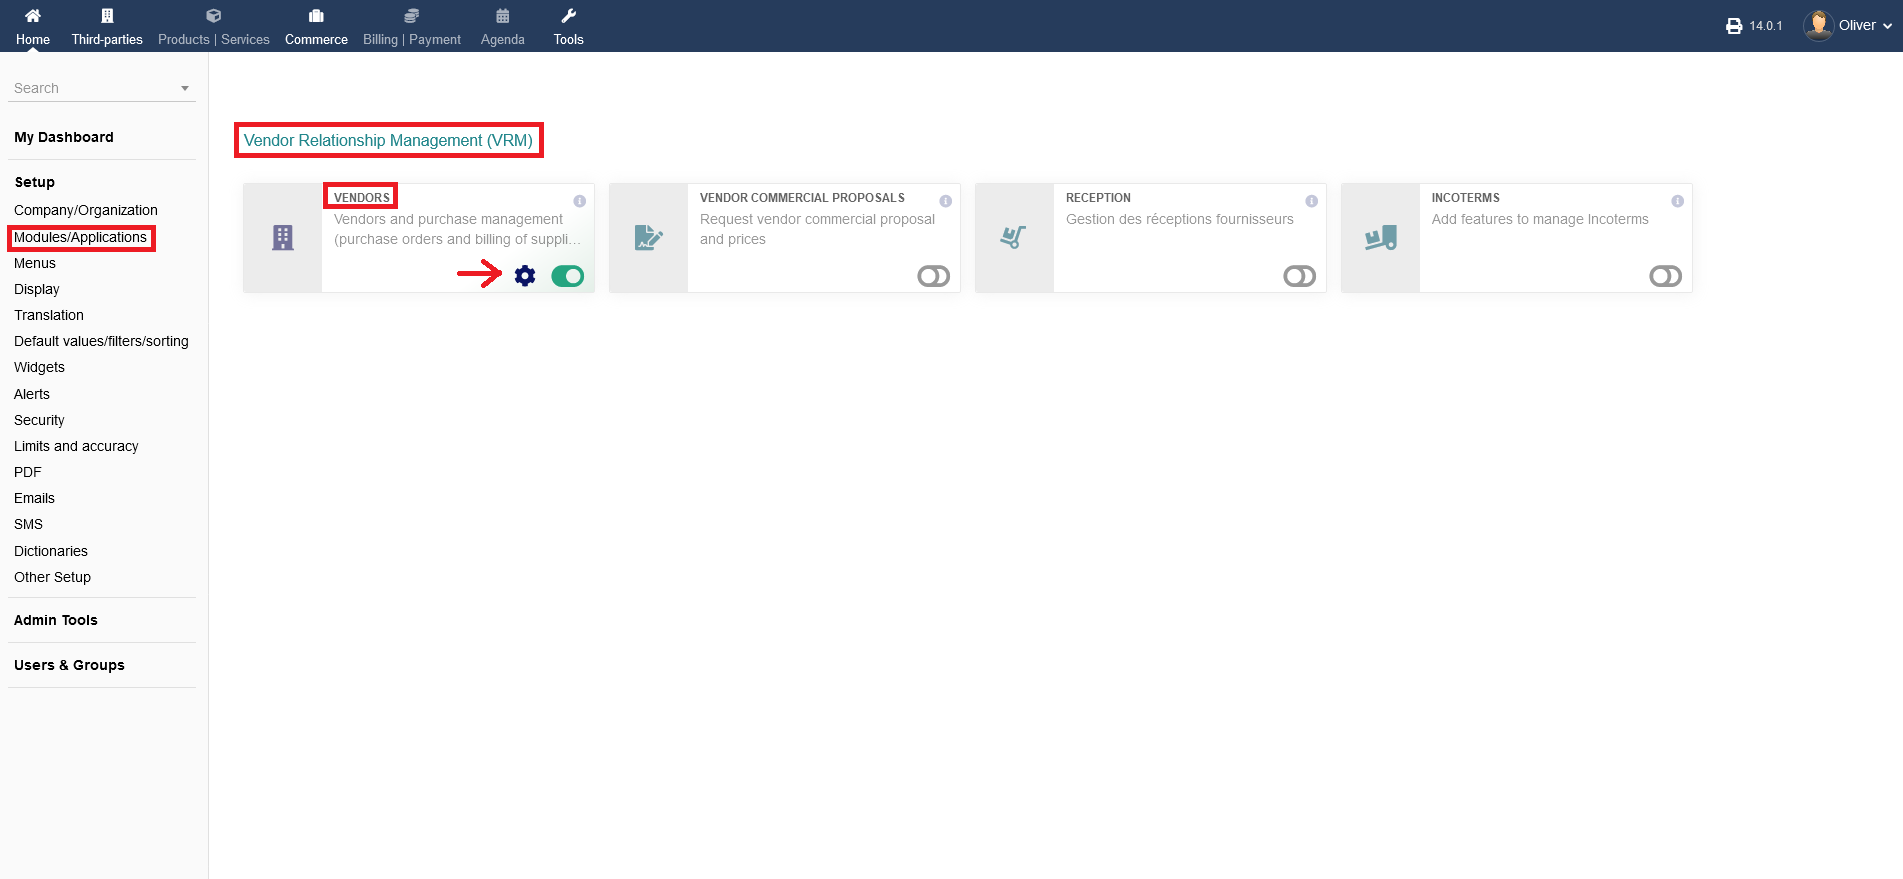
You can change vendors related in-module settings under "Setup -> Modules/Applications -> Vendor Relationship Management (VRM) -> Vendors". Click on the "gear" icon to get to the module option.
x.1 Purchase order
For any settings regarding purchase orders go to the tab "Purchase order". intERP is offering four different parameters you can manipulate.
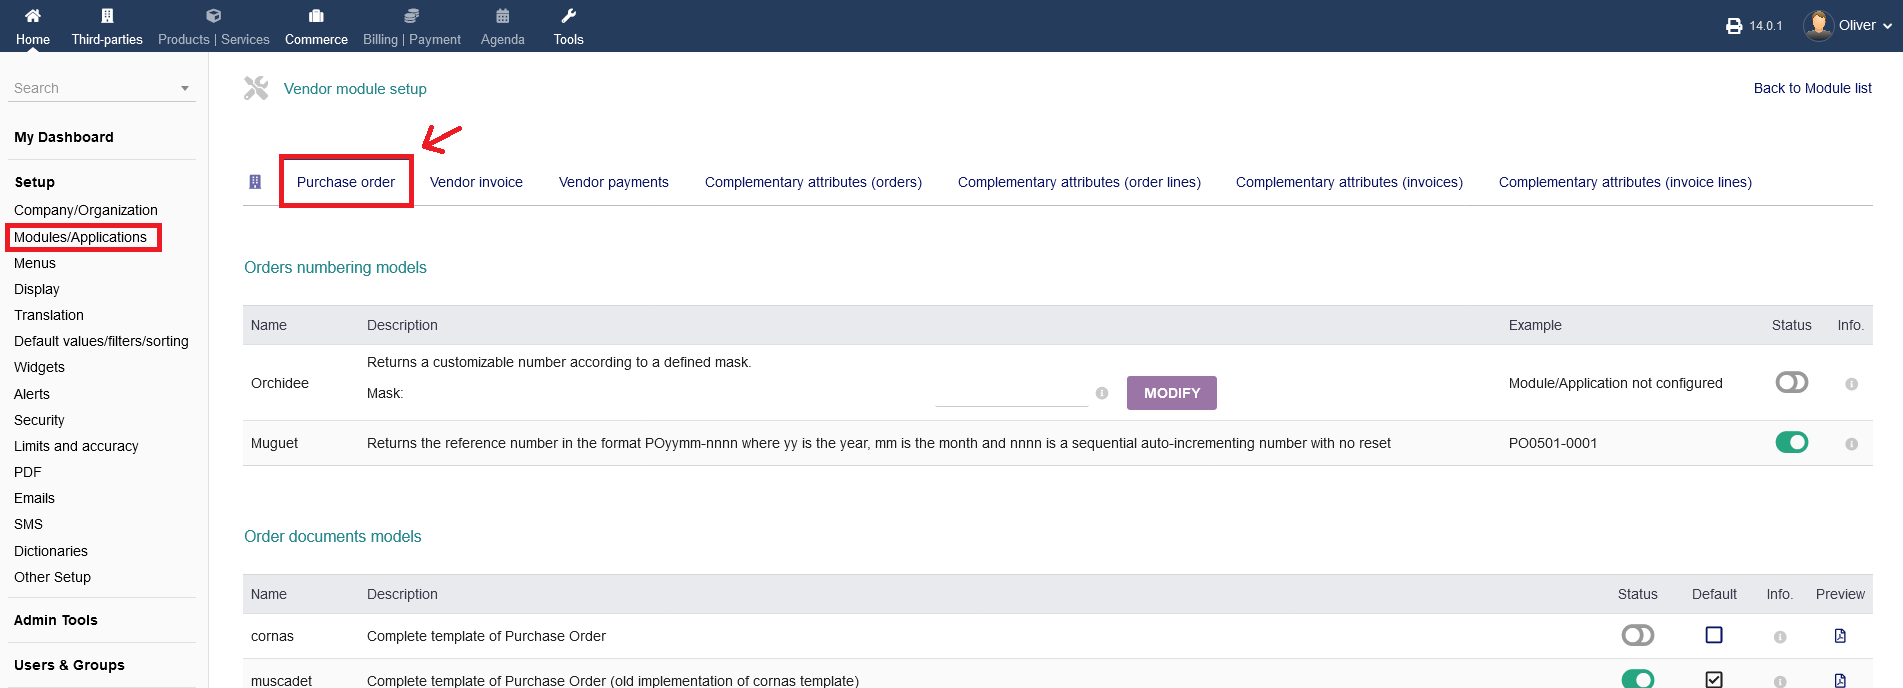
1. Under "Orders numbering models", you can set two different options to for order number creation.
a) Under "Orchidee", you can set a customizable number according to a set rule/mask, which you can define in the field next to the "MODIFY" button. Examples, what you can choose are given, when you hover your cursor over the "i" icon, next to the "MODIFY" button. General information are given on the "i" icon on the very right hand side. When you are done, click "MODIFY". You can activate/disable the option by clicking the toggle switch under the header Status.
b) Under "Muguet", the order number creation uses the date format (yy = year, mm = month), plus a sequential number. PO stands for purchase order. You cannot customize any rules with that option. You can activate/disable the option by clicking the toggle switch under the header Status.

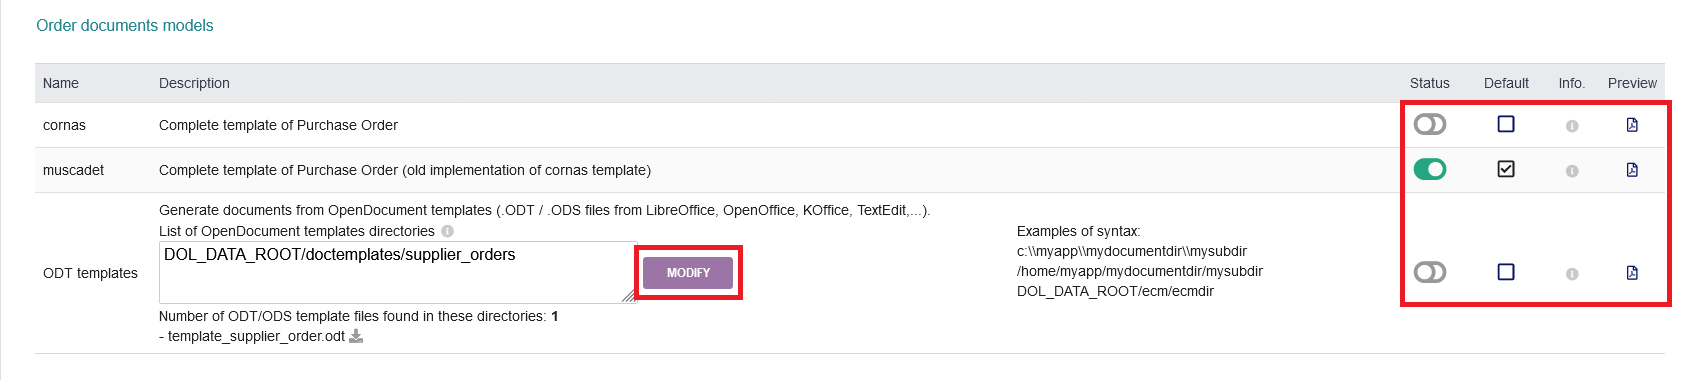
2. Under "Order documents models", you can set template options for your order documents. The order documents will be in PDF format. You have three options.
a) Under "cornas", you can have a complete template of purchase orders. You can activate/disable the option by clicking the toggle switch under the header Status. Additionally, you have the option to set it as the default option by clicking the radio box under the header "Default". More information about this option are found by hovering over the "i" icon. Lastly, the "paper" icon on the far right hand side provides a document preview.
b) The option "muscadet" is basically the same as "cornas" but as an old implementation. The only changes are line spacings in the PDF documents and some smaller text changes. You can activate/disable the option by clicking the toggle switch under the header Status. Additionally, you have the option to set it as the default option by clicking the radio box under the header "Default". More information about this option are found by hovering over the "i" icon. Lastly, the "paper" icon on the far right hand side provides a document preview.
c) Finally, you can upload your own templates under "ODT templates". Search and upload your template or give a path. When you are done, click "MODIFY". You can activate/disable the option by clicking the toggle switch under the header Status. Additionally, you have the option to set it as the default option by clicking the radio box under the header "Default". More information about this option are found by hovering over the "i" icon. Lastly, the "paper" icon on the far right hand side provides a document preview.
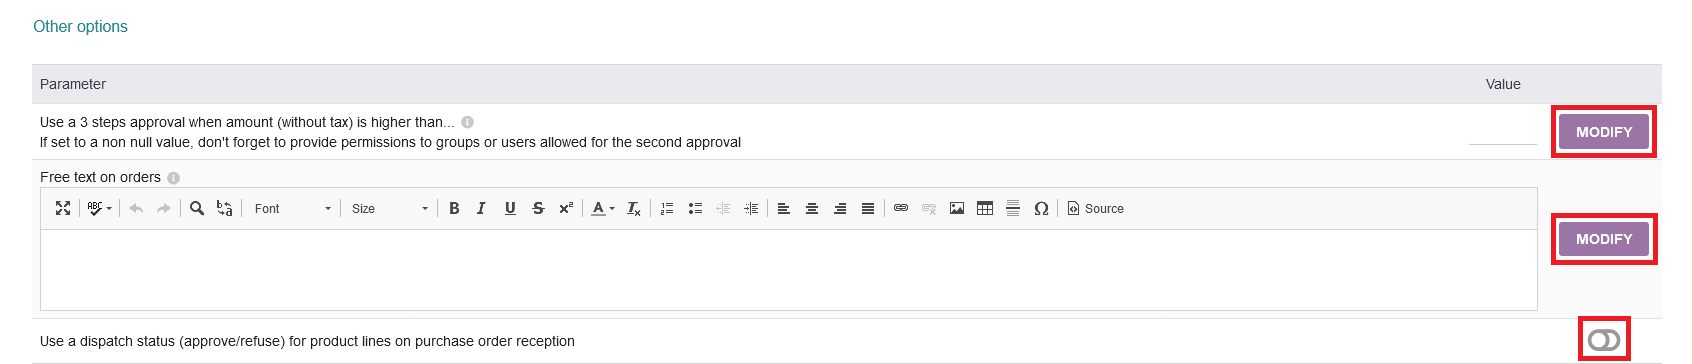
3. Under "Other options", you find three more options regarding purchase orders.
a) The first option can dictade, if only 2 steps of approval for a purchase order is enough (1. validation + 2. approval) or 3 steps are required (1. validation + 2. approval + 3. approval). To kepp it at a 2 step process, leave the "Value" field next to the "MODIFY" button empty. If a 3 step process is always required, fill in a low number like "0.1" and click "MODIFY". If a 3 step process is required from a certain amount (without tax) onwards, e.g. for purchase orders of very high prices, put in you desired threshold value from which onwards a 3 step approval is needed. When you are done, click "MODIFY".
b) You can also have a "free text on orders". Note, that there is no automatic text wrapping. Text that is too long will not display on documents. Please add carriage returns in the text area if needed. Click on the "i" icon to see all available substitution variables. When you are done, click "MODIFY".
c) Lastly, you can have a field (disparch status) on your order reception to say approve/refuse. To activate/disable that option, click the toggle switch on the right hand side.
x.2 Vendor invoice
To make changes to any settings regarding the vendor invoice creation, go to the "Vendor invoice" tab. You get multiple options.
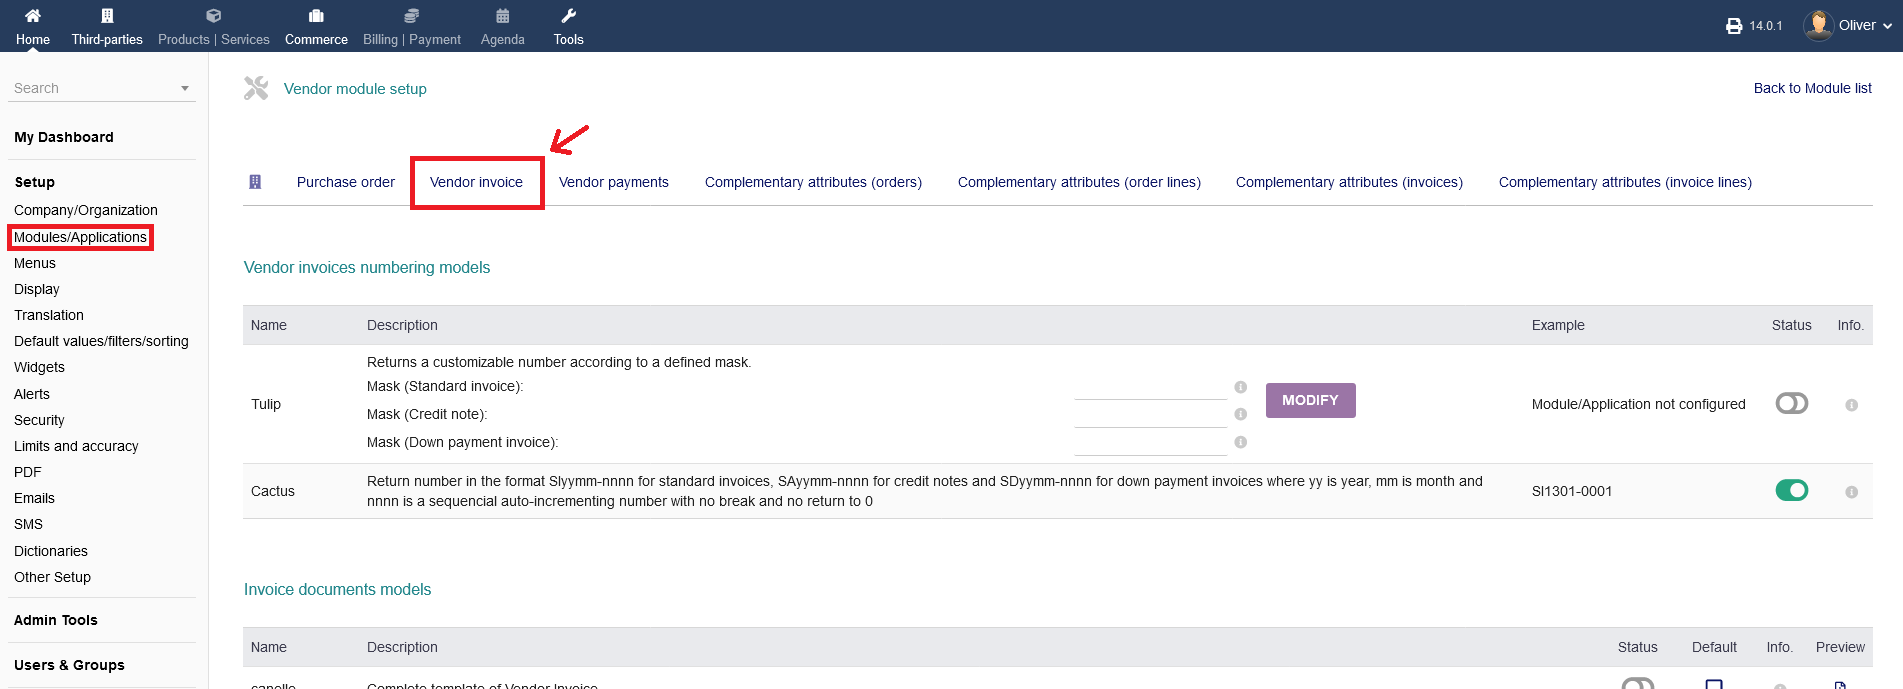
1. Under "Vendor invoices numbering models", you can set three different rules on how the vendor invoice numbering shall be created. You have two main options.
a) For option "Tulip", you can set a custom rule/number set for "Standard invoice", "Credit note" and "Down payment invoice". For any examples on how you can set a rule, over on the "i" icon next to the "MODIFY" button. Fill in your desired number set rule into the blank fields and click "MODIFY". Enable/disable this option by clicking on the toggle switch under the header "Status".
b) For option "Cactus", the vendor invoice numbering will be set by date (yy = year, mm = month), followed by a sequential number. You can enable/disable that option by clicking the toggle switch under the header "Status".

2. Under "Invoice documents models", you can enable/disable, by clicking on the toggle switch under the header "Status", a complete template of vendor invoice. You can set as default by clicking the radio box as well. A preview of the invoice as PDF format can be had by clicking on the "paper" icon on the right hand side.

3. Under "Other options", you will find the possibility to add a free text to invoices. There is no automatic text wrapping. Text that is too long will not display on documents. Please add carriage returns in the text area if needed. For an overview of Available substitution variables, click on the "i" icon. When you are done, click "MODIFY".

x.3 Vendor payments
Any settings regarding vendor payments can be found under the tab "Vendor payments". You get multiple options.
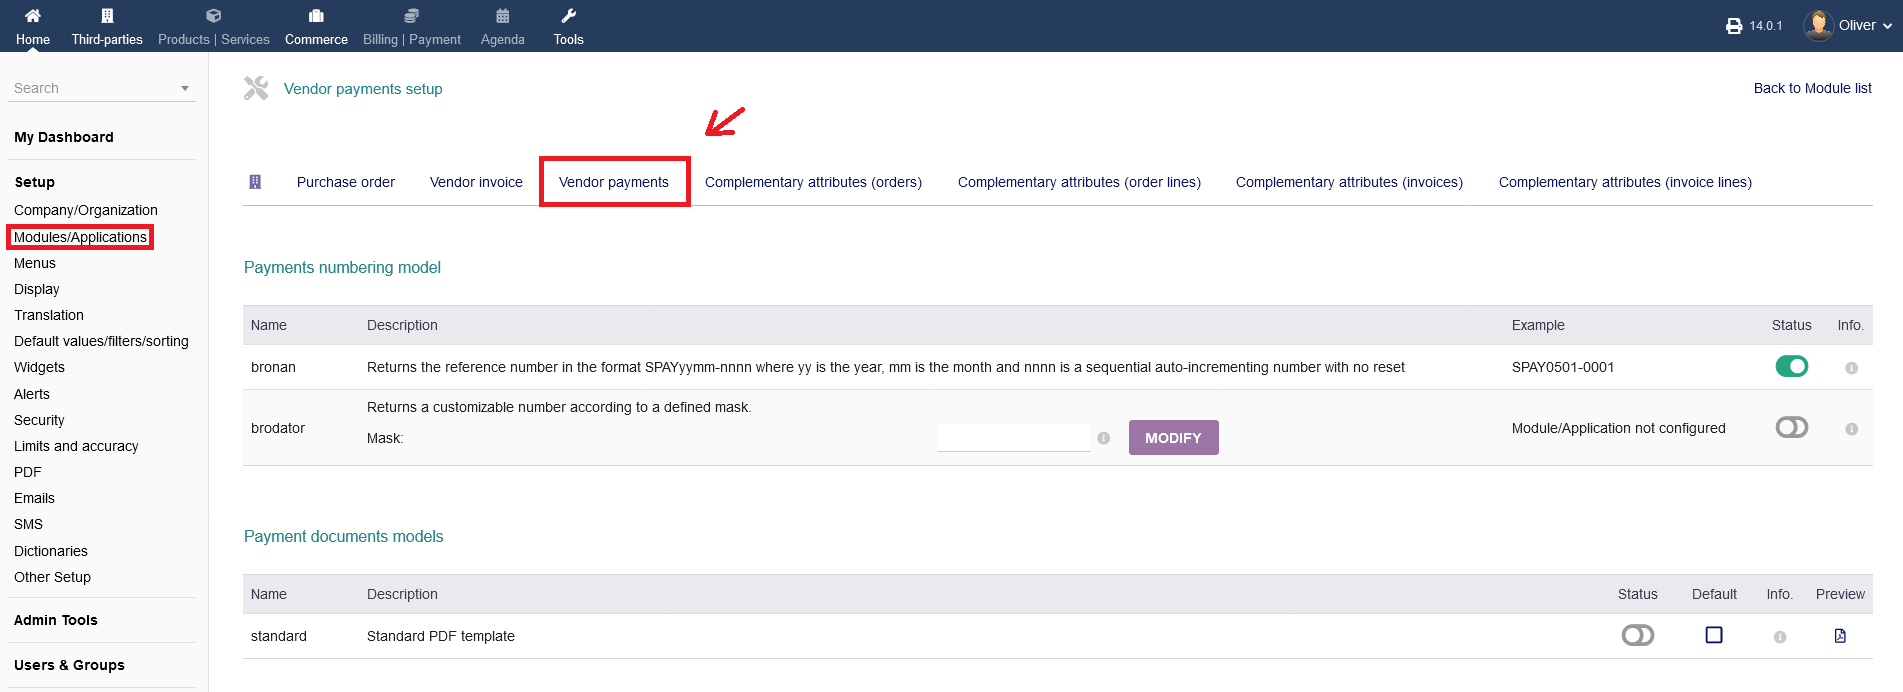
1. Under "Payments numbering model", you can set two different rules to for the payment number creation.
a) The option "bronan" is creating the payment number by using the date format (yy = year, mm = month), plus a sequential number. You cannot manually set rules with that option. To enable/disable the option, click the toggle switch under "Status".
b) The option "brodator" allows you to set a custom mask for the number creation. Fill in your desired mas into the blank field. For examples, hover the cursor over th "i" icon. When you are done, click "MODIFY". To enable/disable the option, click the toggle switch under "Status".

2. Under "Payment documents models", you activate/disable the standard PDF template by clicking on the toggle switch under "Stauts", set it as default by clicking the radio box under "Default" or get a PDF preview by clicking the "paper" icon on the right hand side.

3. Under "Other options", you can enable/disable grouping payments by modes on your reports, either by selecting "YES" or "NO" under "Value".

Finish the process by clicking on "MODIFY".
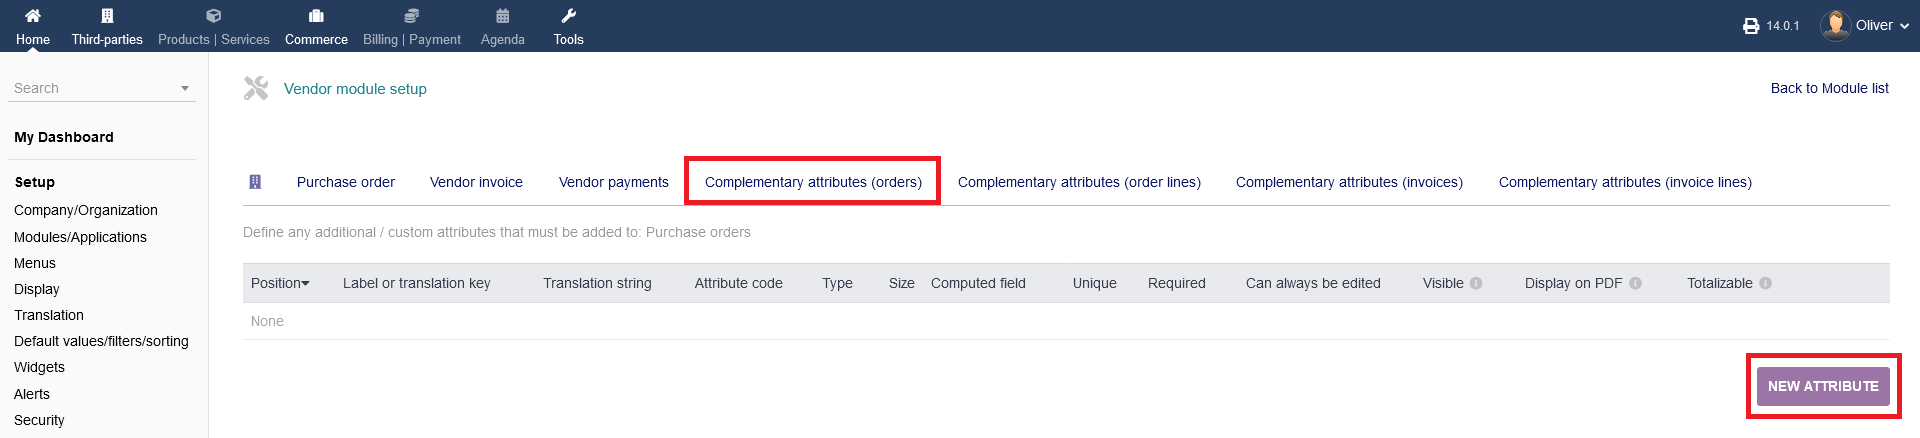
x.4 Complementary attributes (orders)
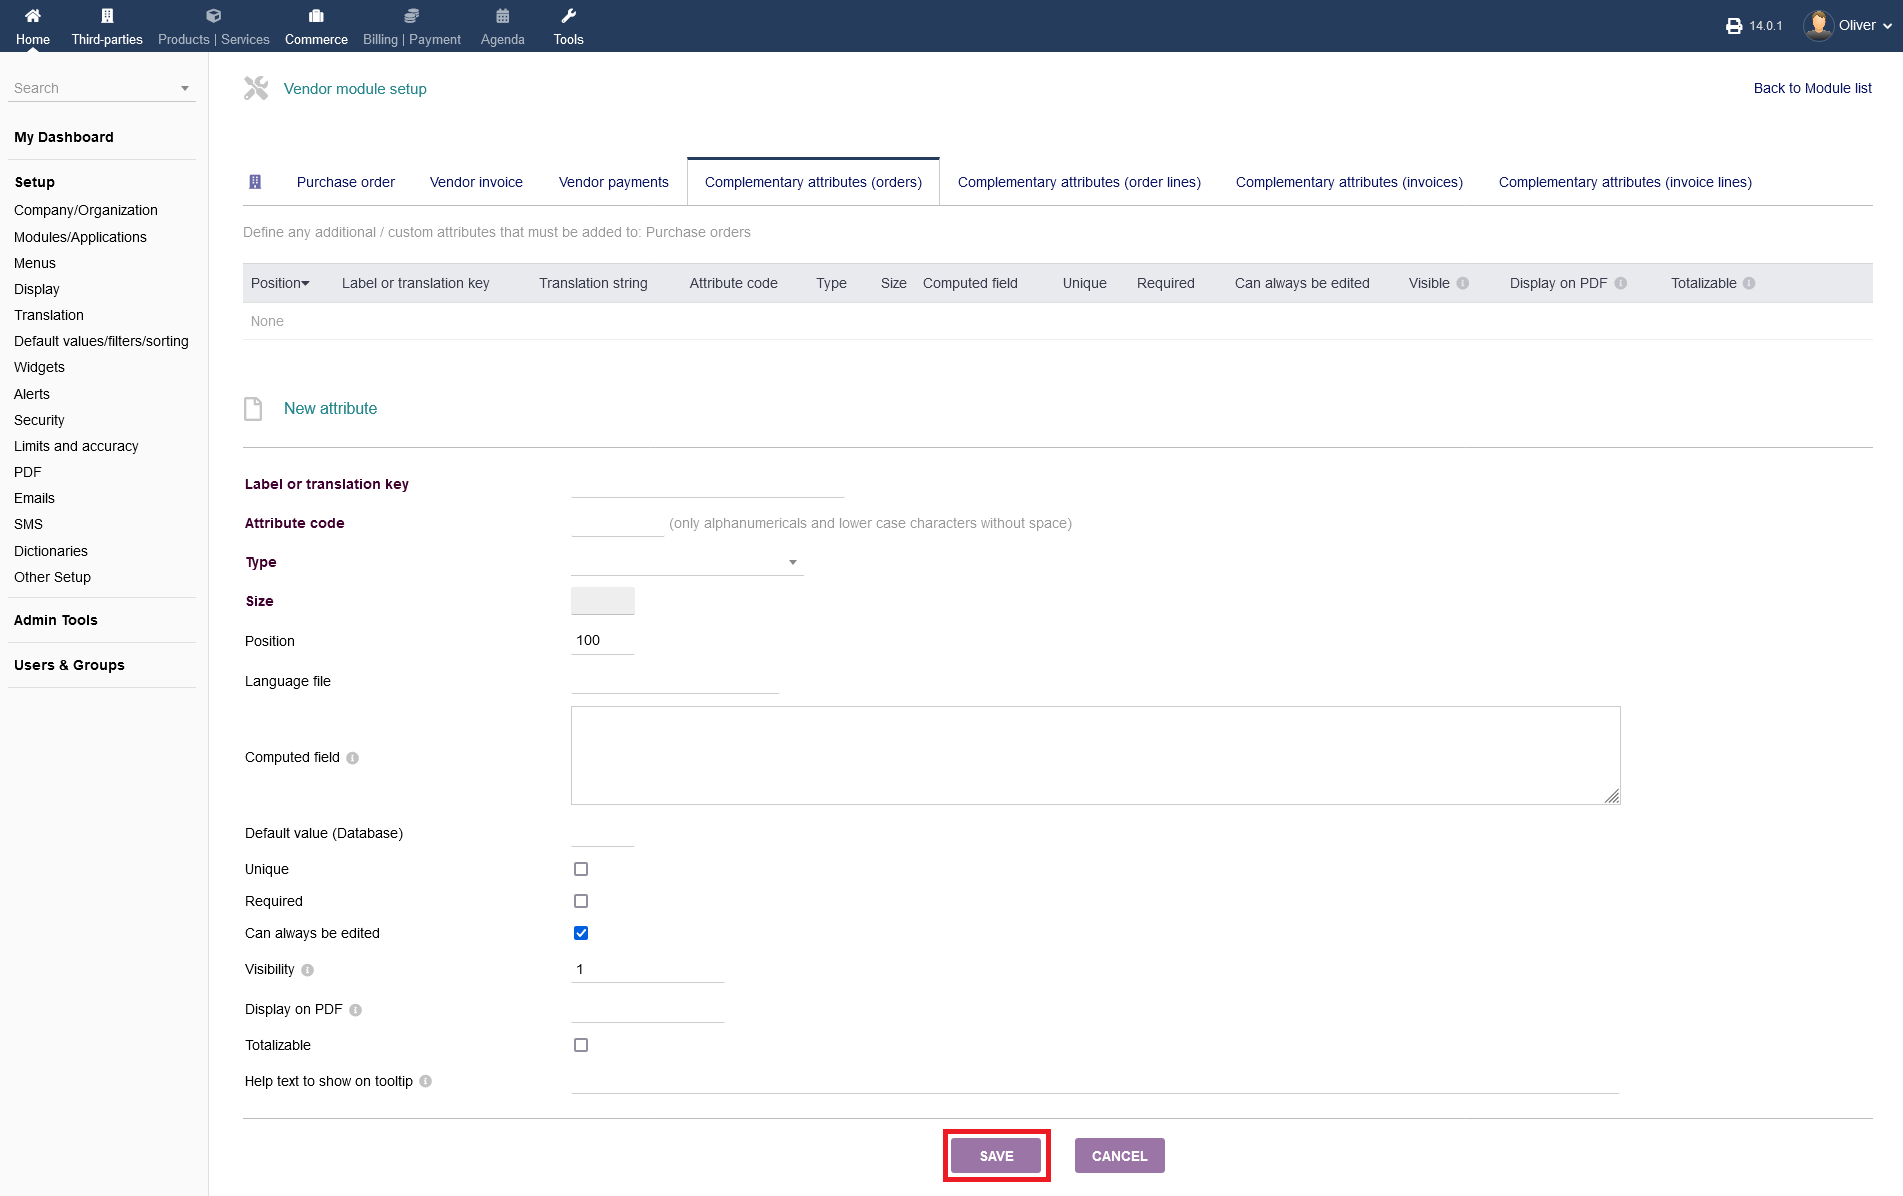
You can add complementary attributes to your order sections by clicking on "NEW ATTRIBUTE".
You will see a form to fill out. Type in all necessary information. Under "Computed field", you can enter a formula using other properties of object or any PHP coding to get a dynamic computed value. You can use any PHP compatible formulas, following global object: $db, $conf, $langs, $mysoc, $user, $object.
x.5 Complementary attributes (order lines) + Complementary attributes (invoices) + Complementary attributes (invoice lines)
These options follow the identical proceedure as shown under x.4. Please refer to the mentioned steps there.