In this article you will see the tools options
Emails Template :
You can already create email templets so that you can use them for particular purpose , For each purpose you can create a email for ex: email for order complete , email for invoices etc.
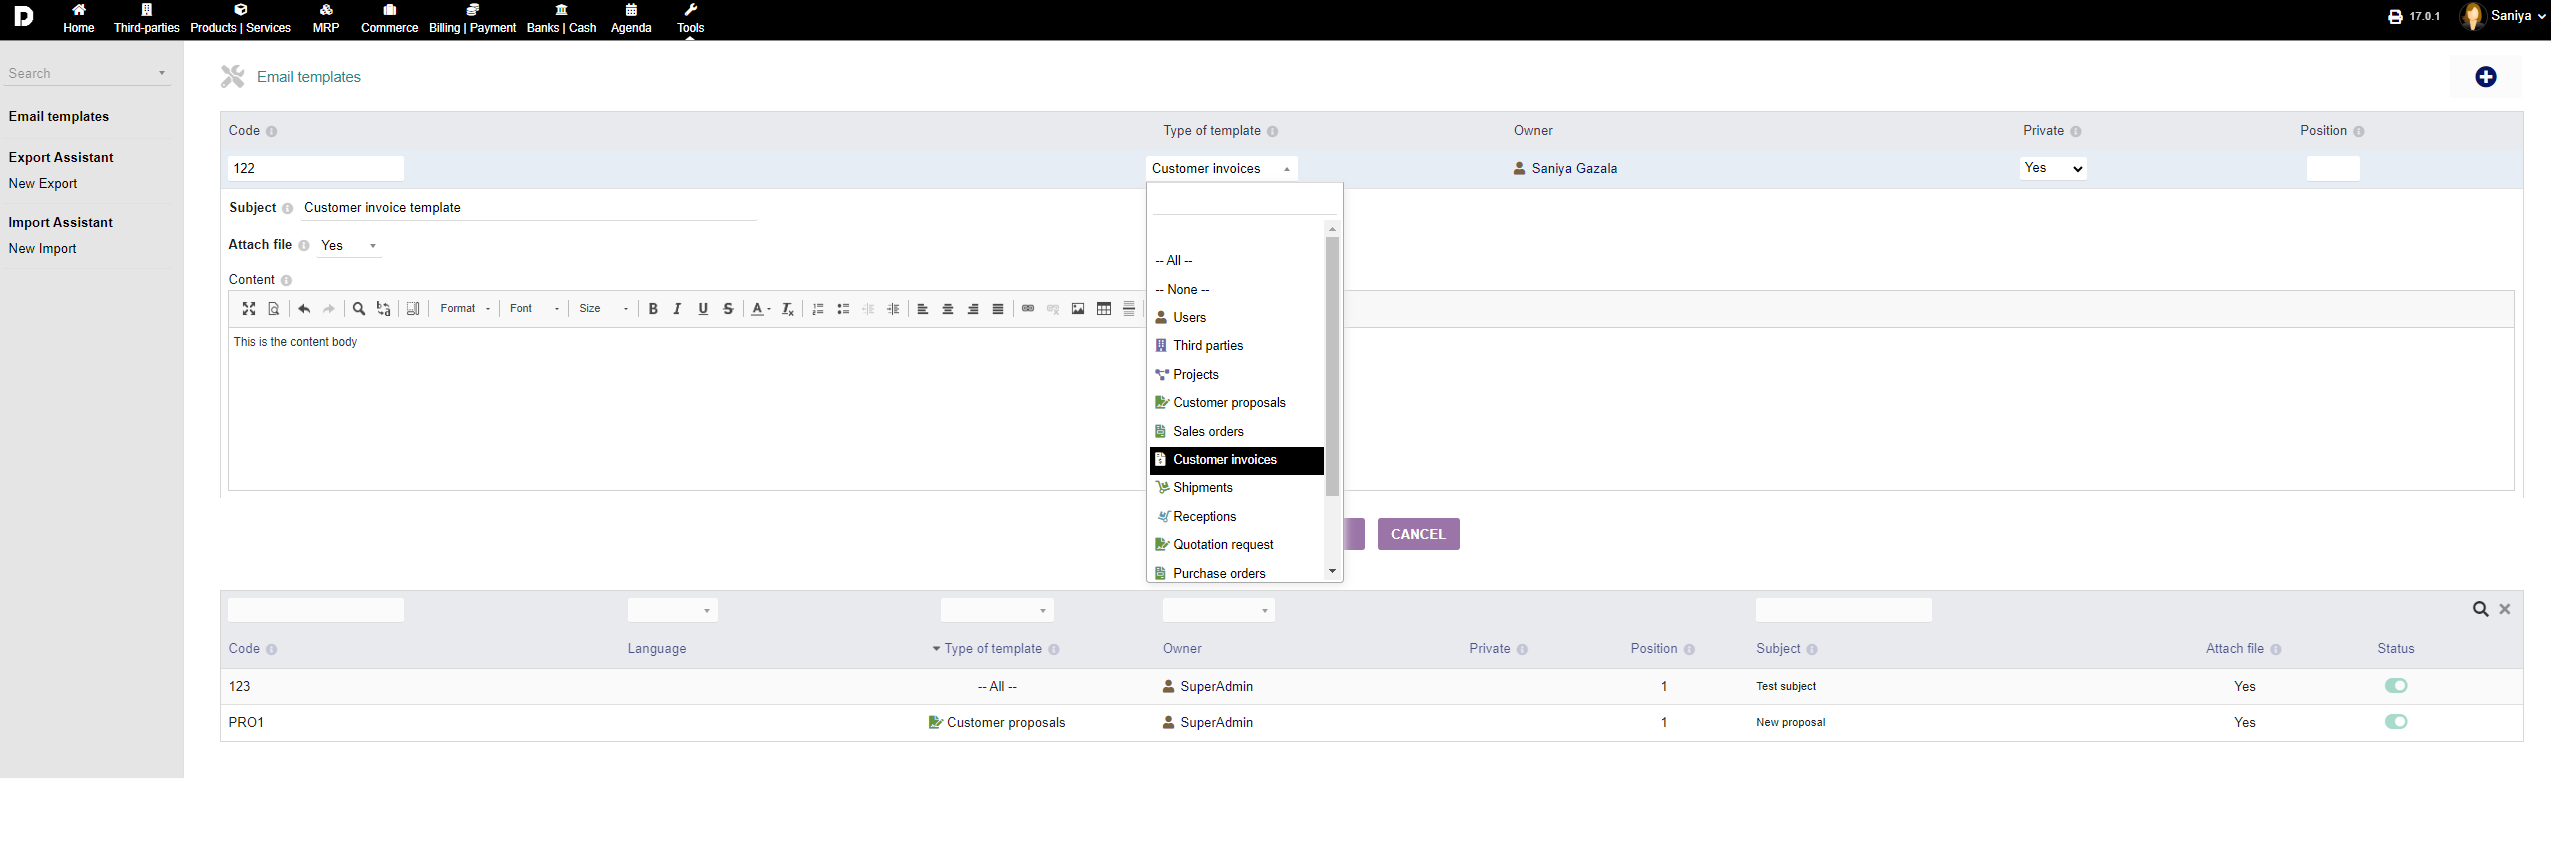
Email Templates : To create an email template click on the "Plus" icon from the top-right-corner of the screen.

Enter the "Code" for email template , to identify each template you can give the "Code" number. From the drop-down select for which product you want to create a template for. Give the "Subject" and "Content" of the email . Then click on "ADD".
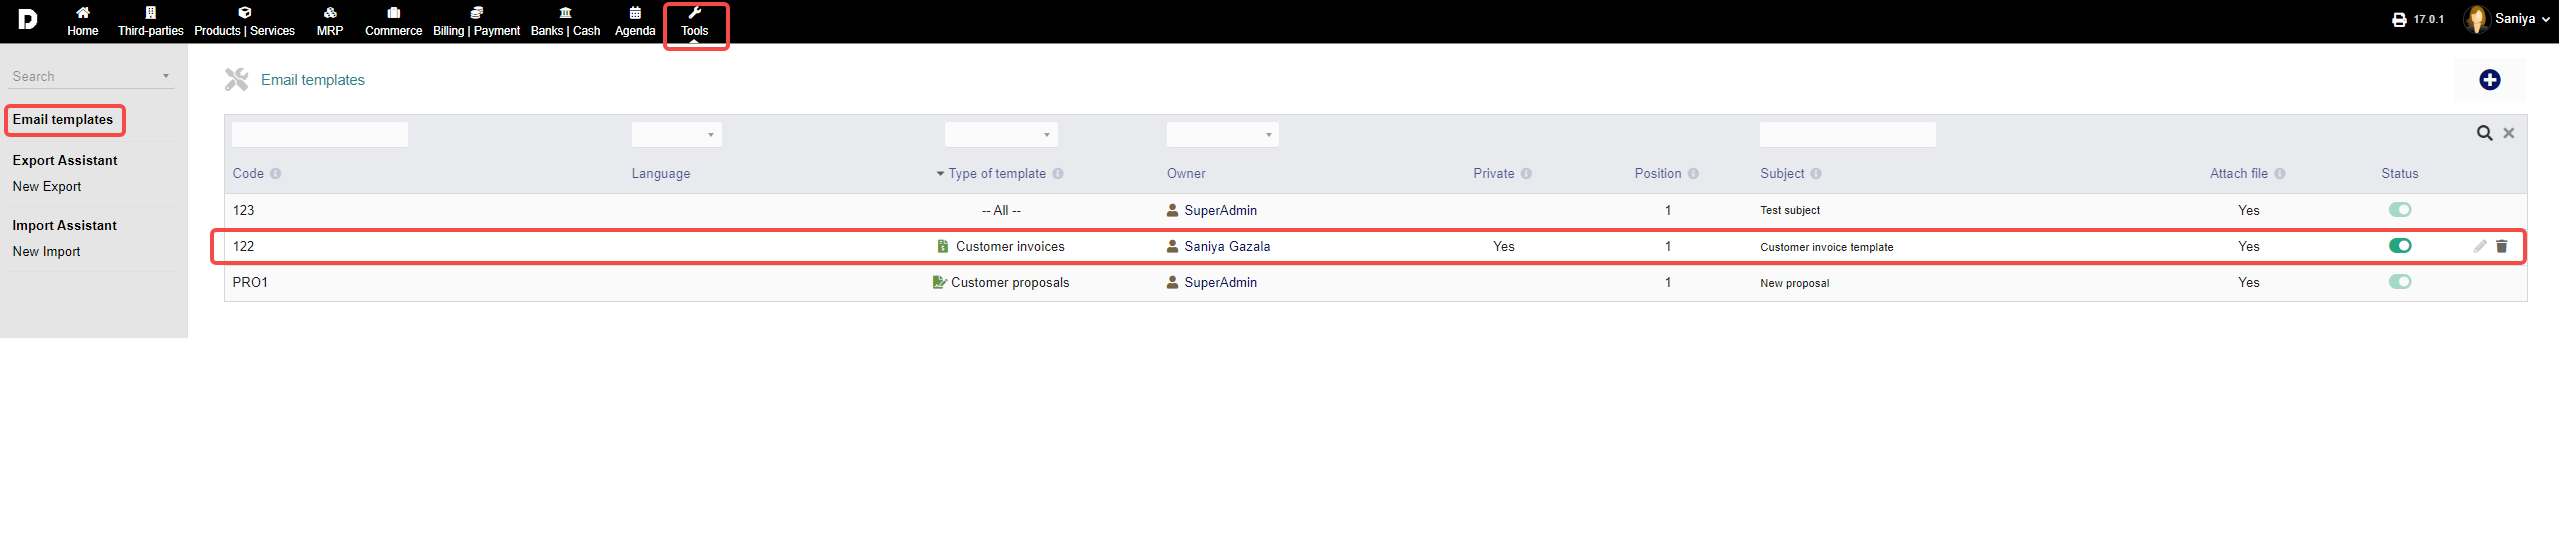
 List : You can view your added email templates in the main screen of email "Tools-> Email templates "
Export Assistant :
New Export : You can export your set of data you want. To do so, you can click on "Arrow", and see more details of data you want to export.
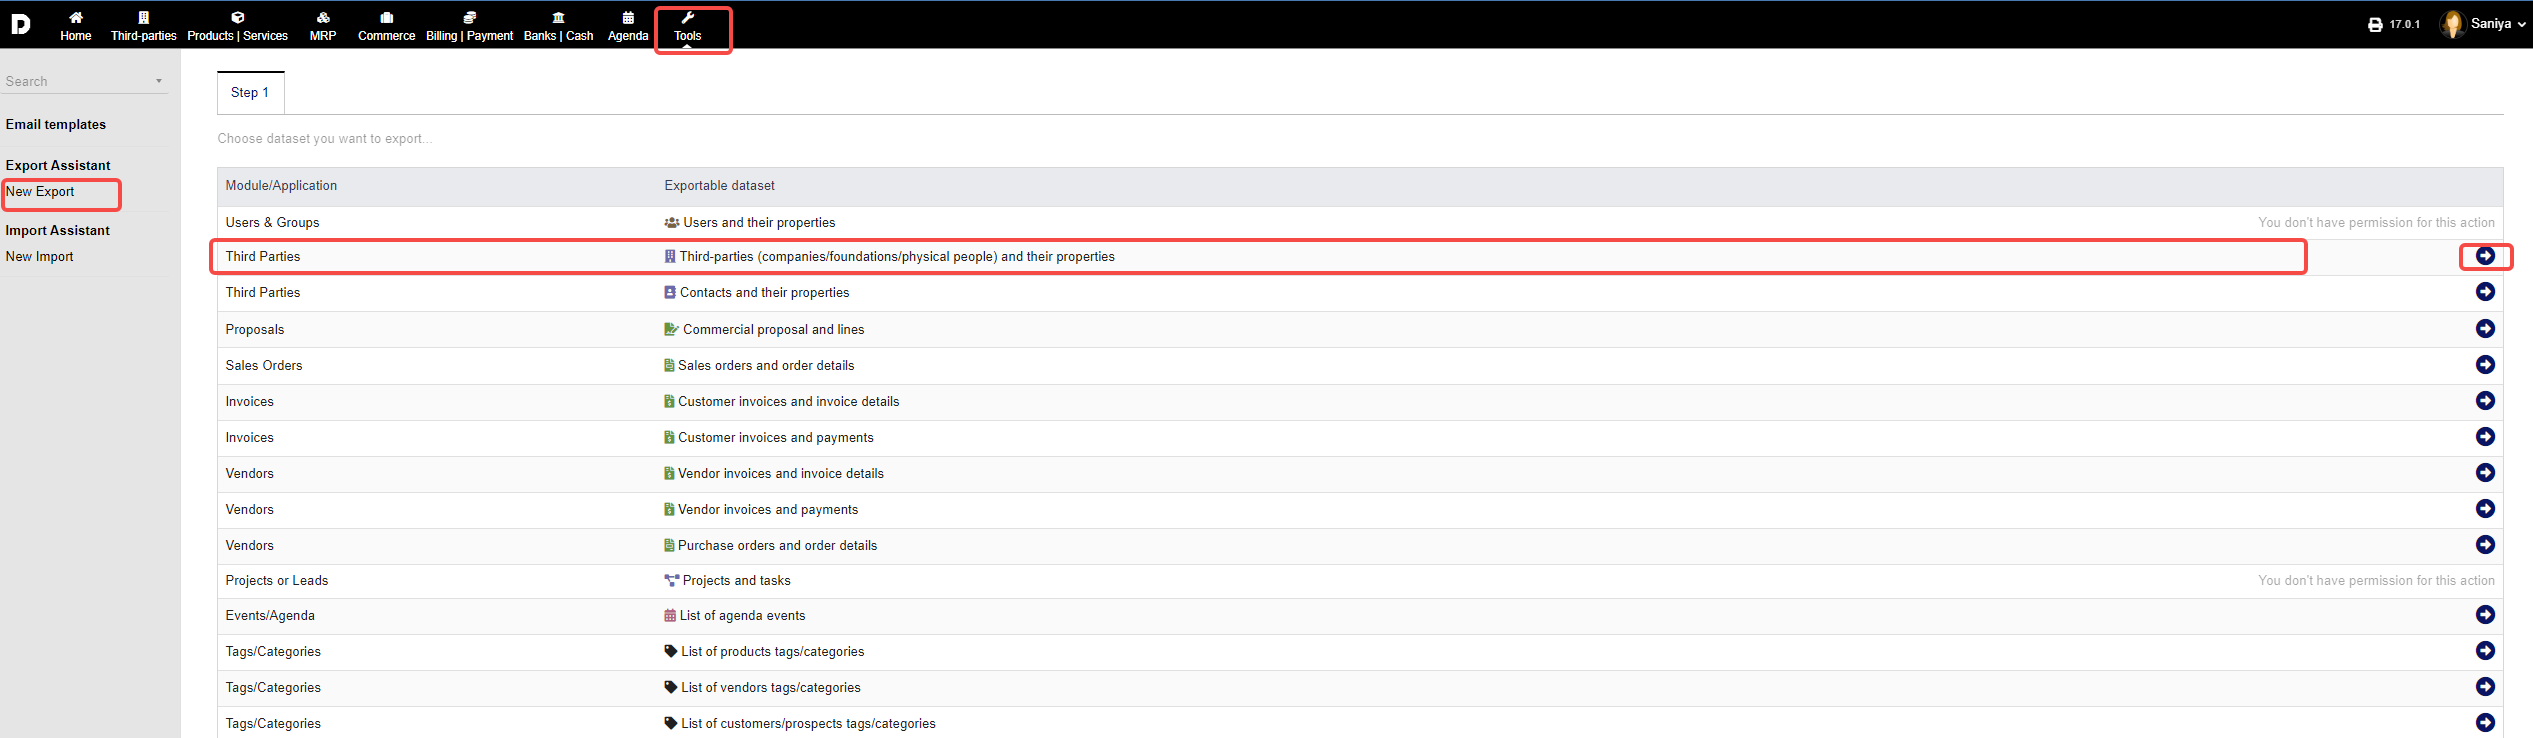
Select which field you want to export and click on "Next Step".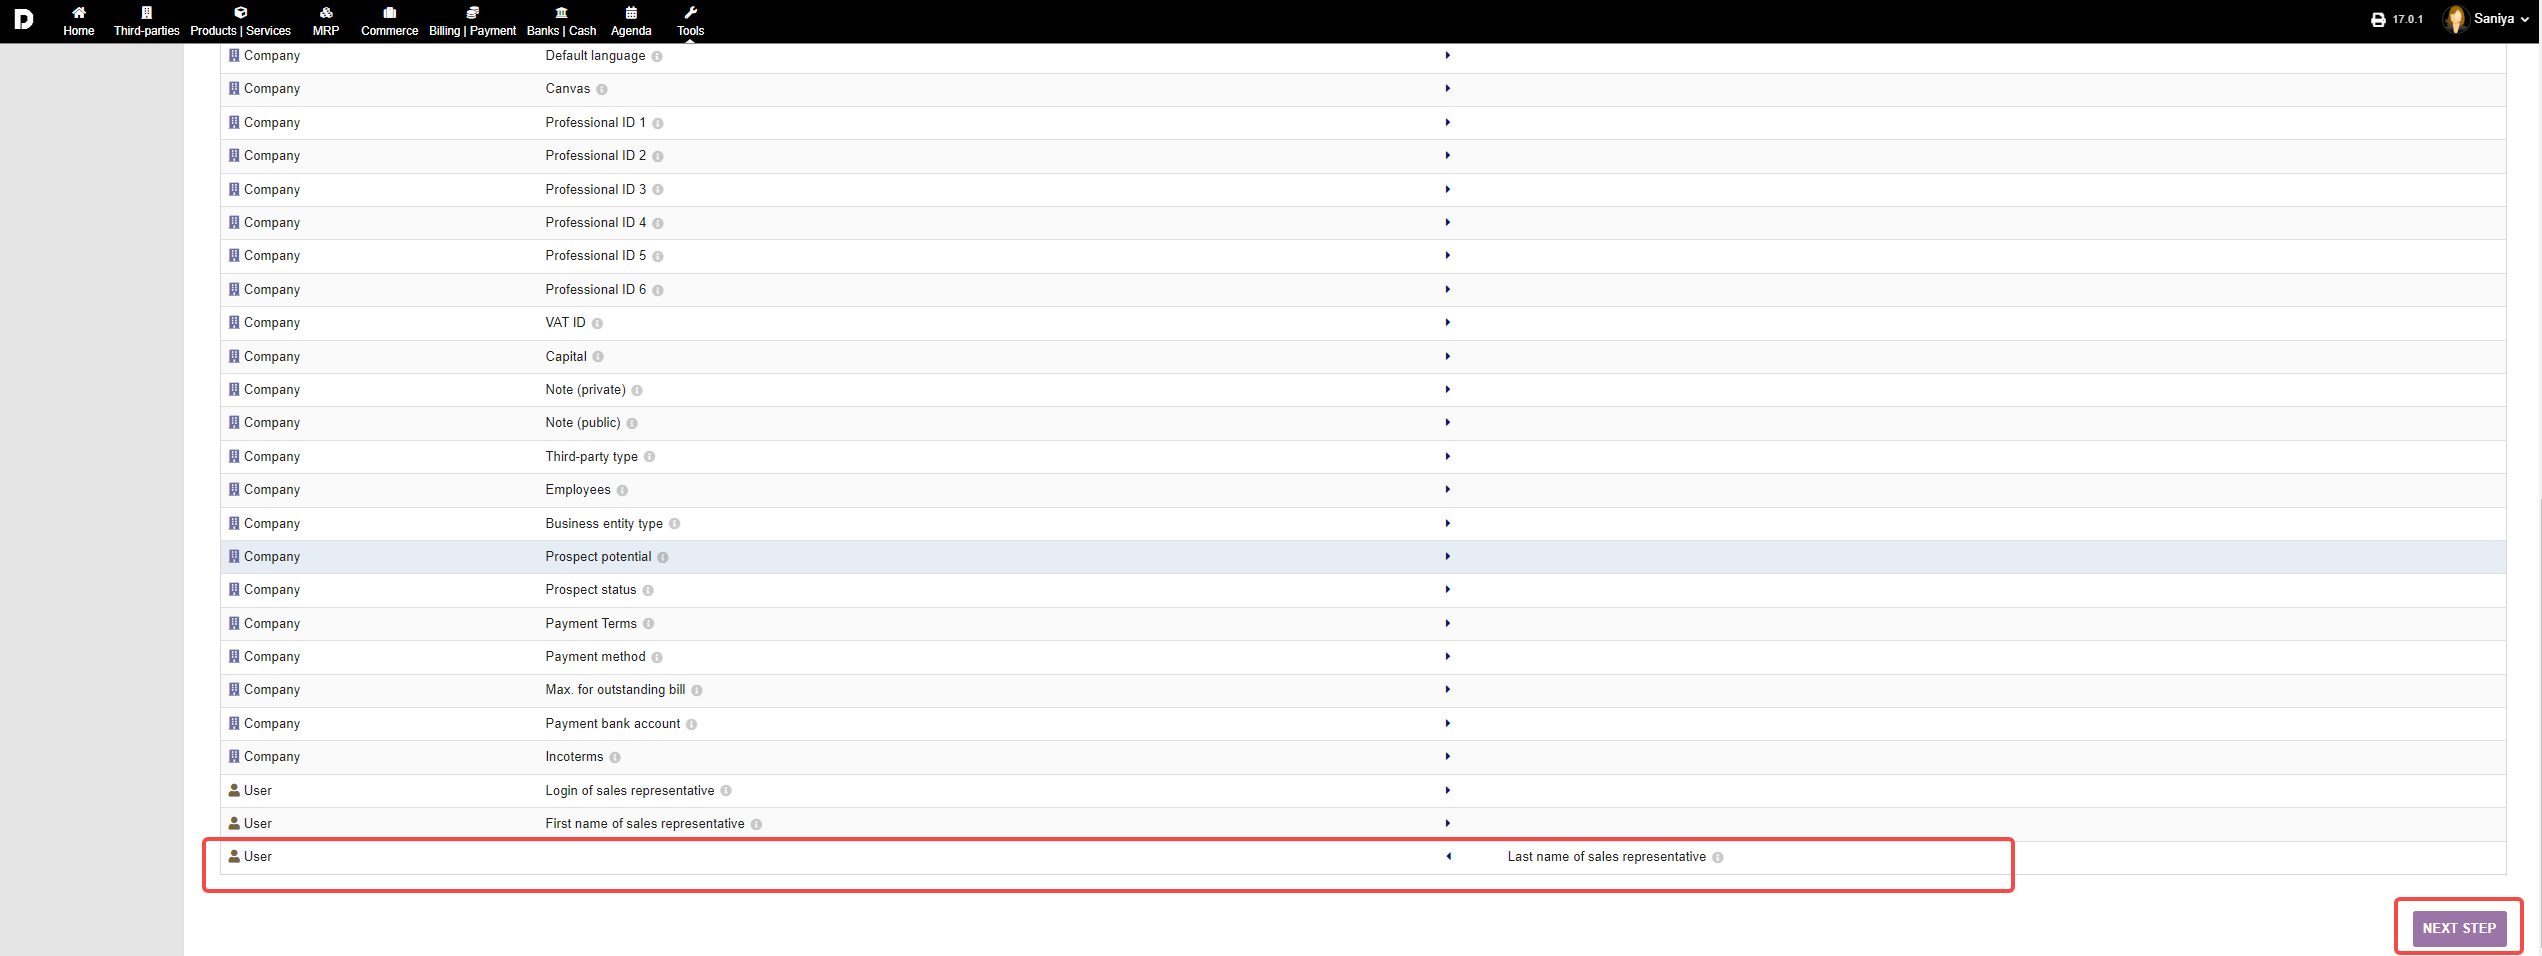
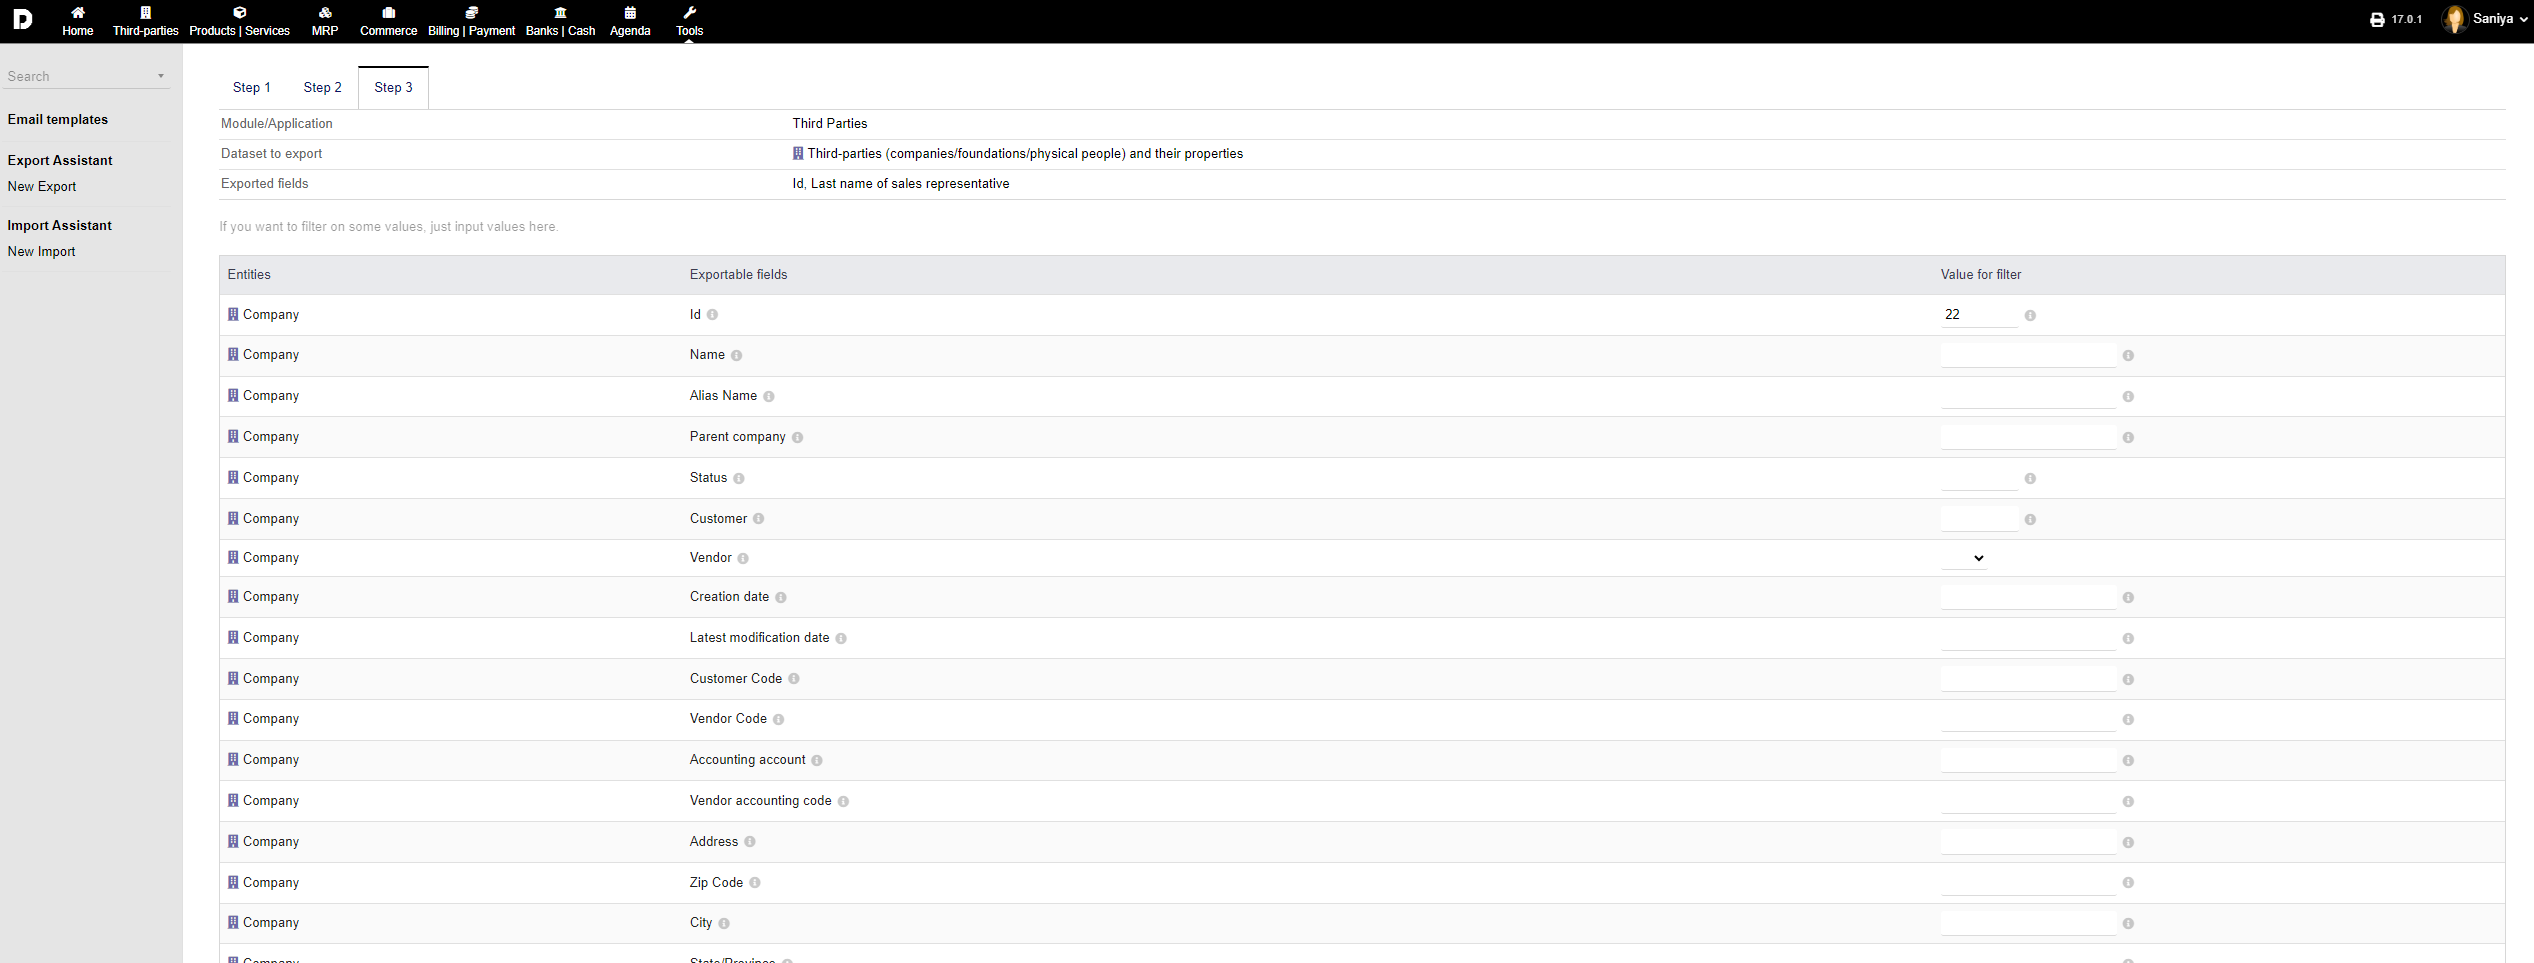
You can enter the details of each field you want to export and click on "Next step"

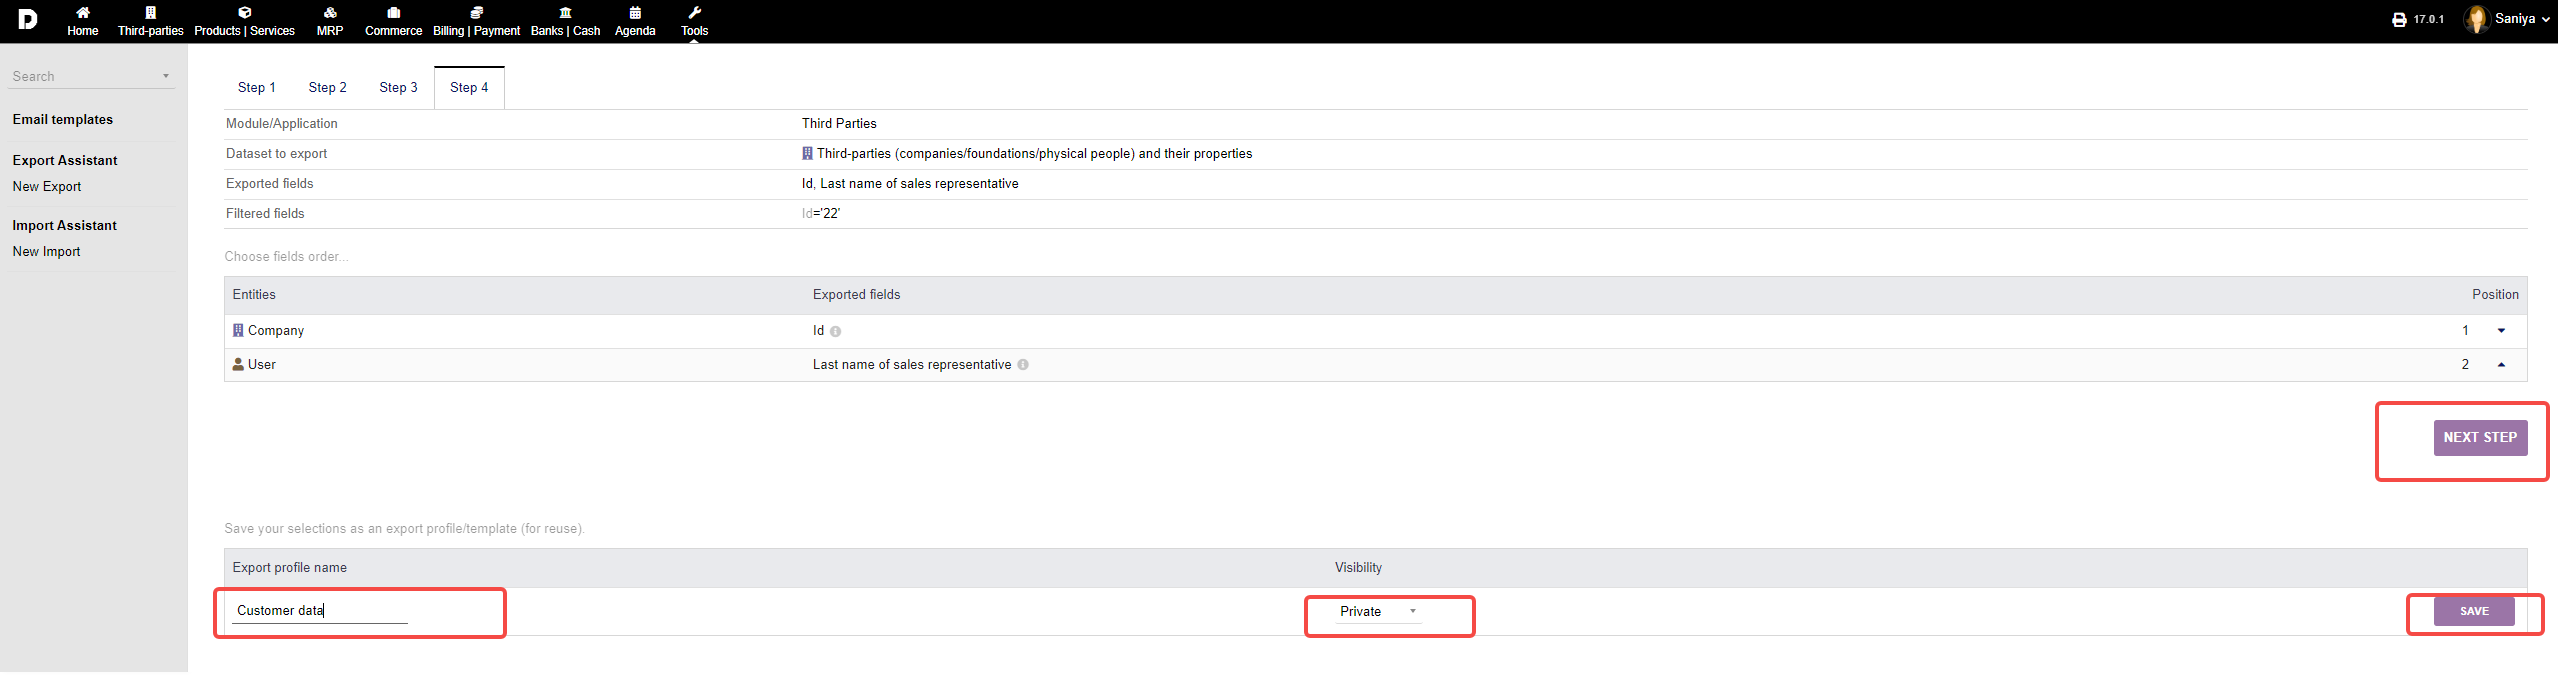
You can give the name of the file and select the visibility form the drop-down , and click on "Save" . Then you can click on "Next Step " .
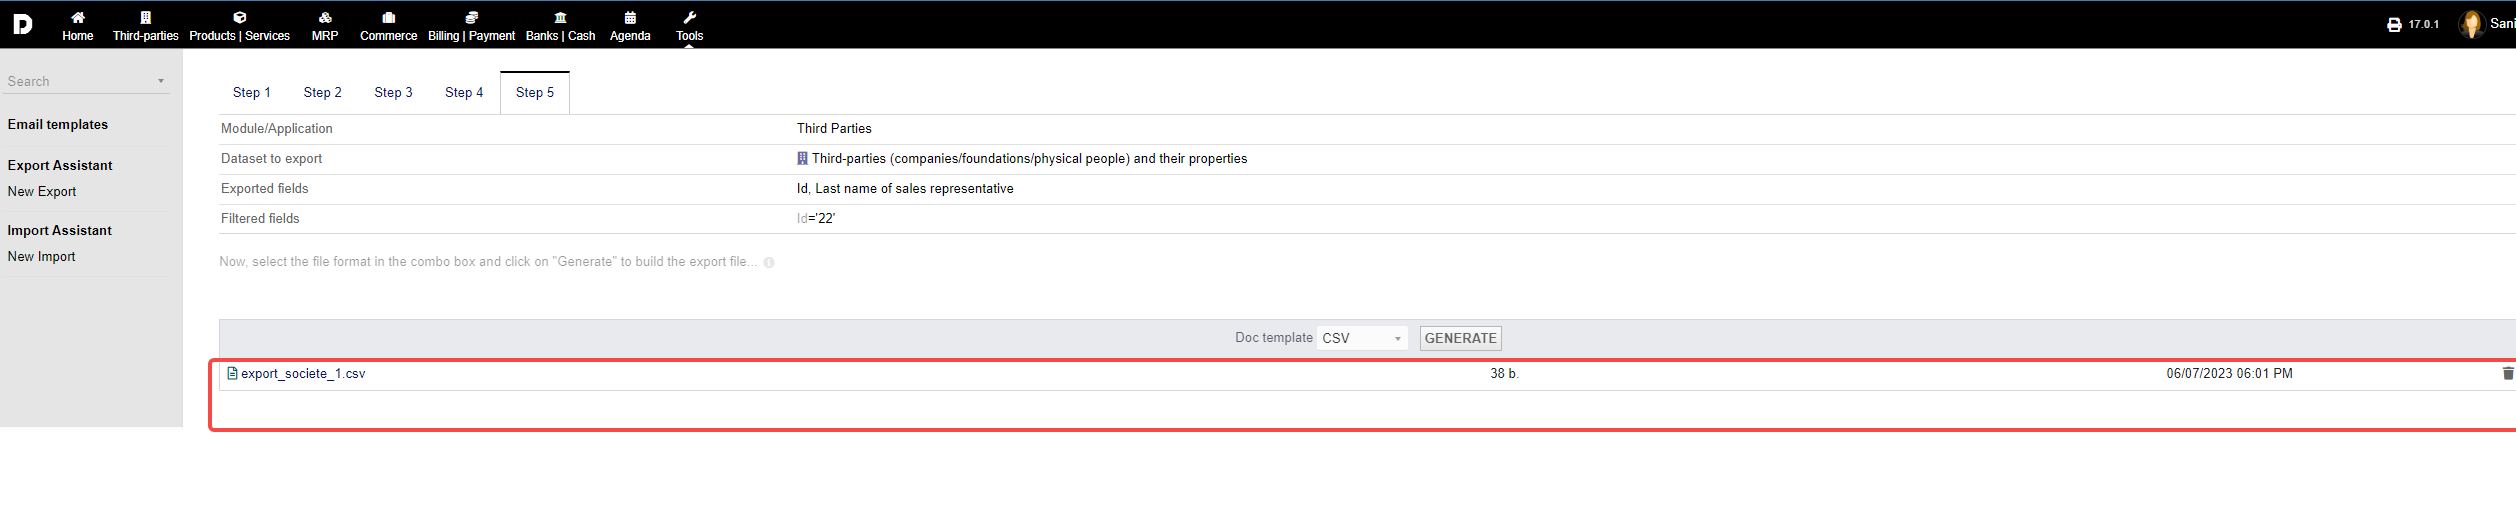
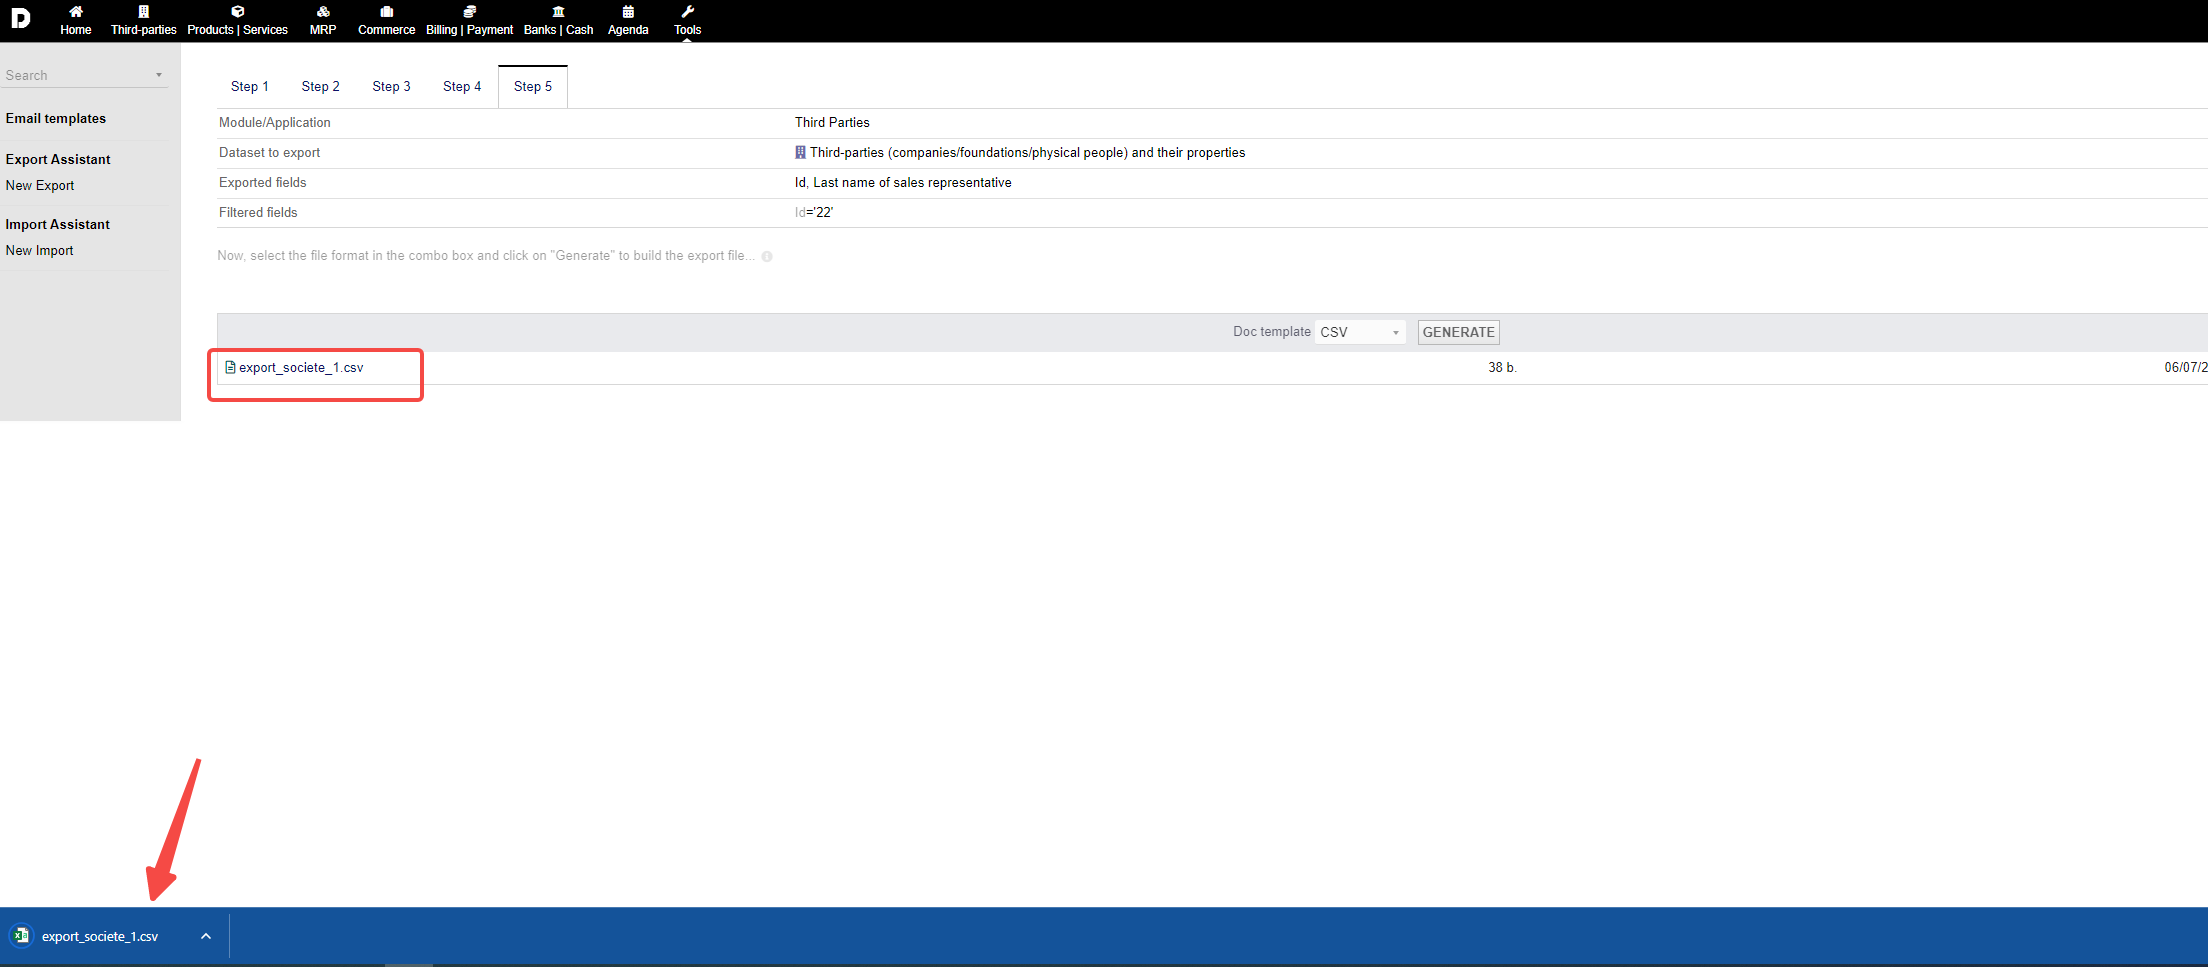
Then select the format you want to export from the drop-down and click on "GENERATE".

The file will be generated and listed below as shown below :
To download the generated document to you local PC click on the document. And your document will be downloaded .
Import Assistant:
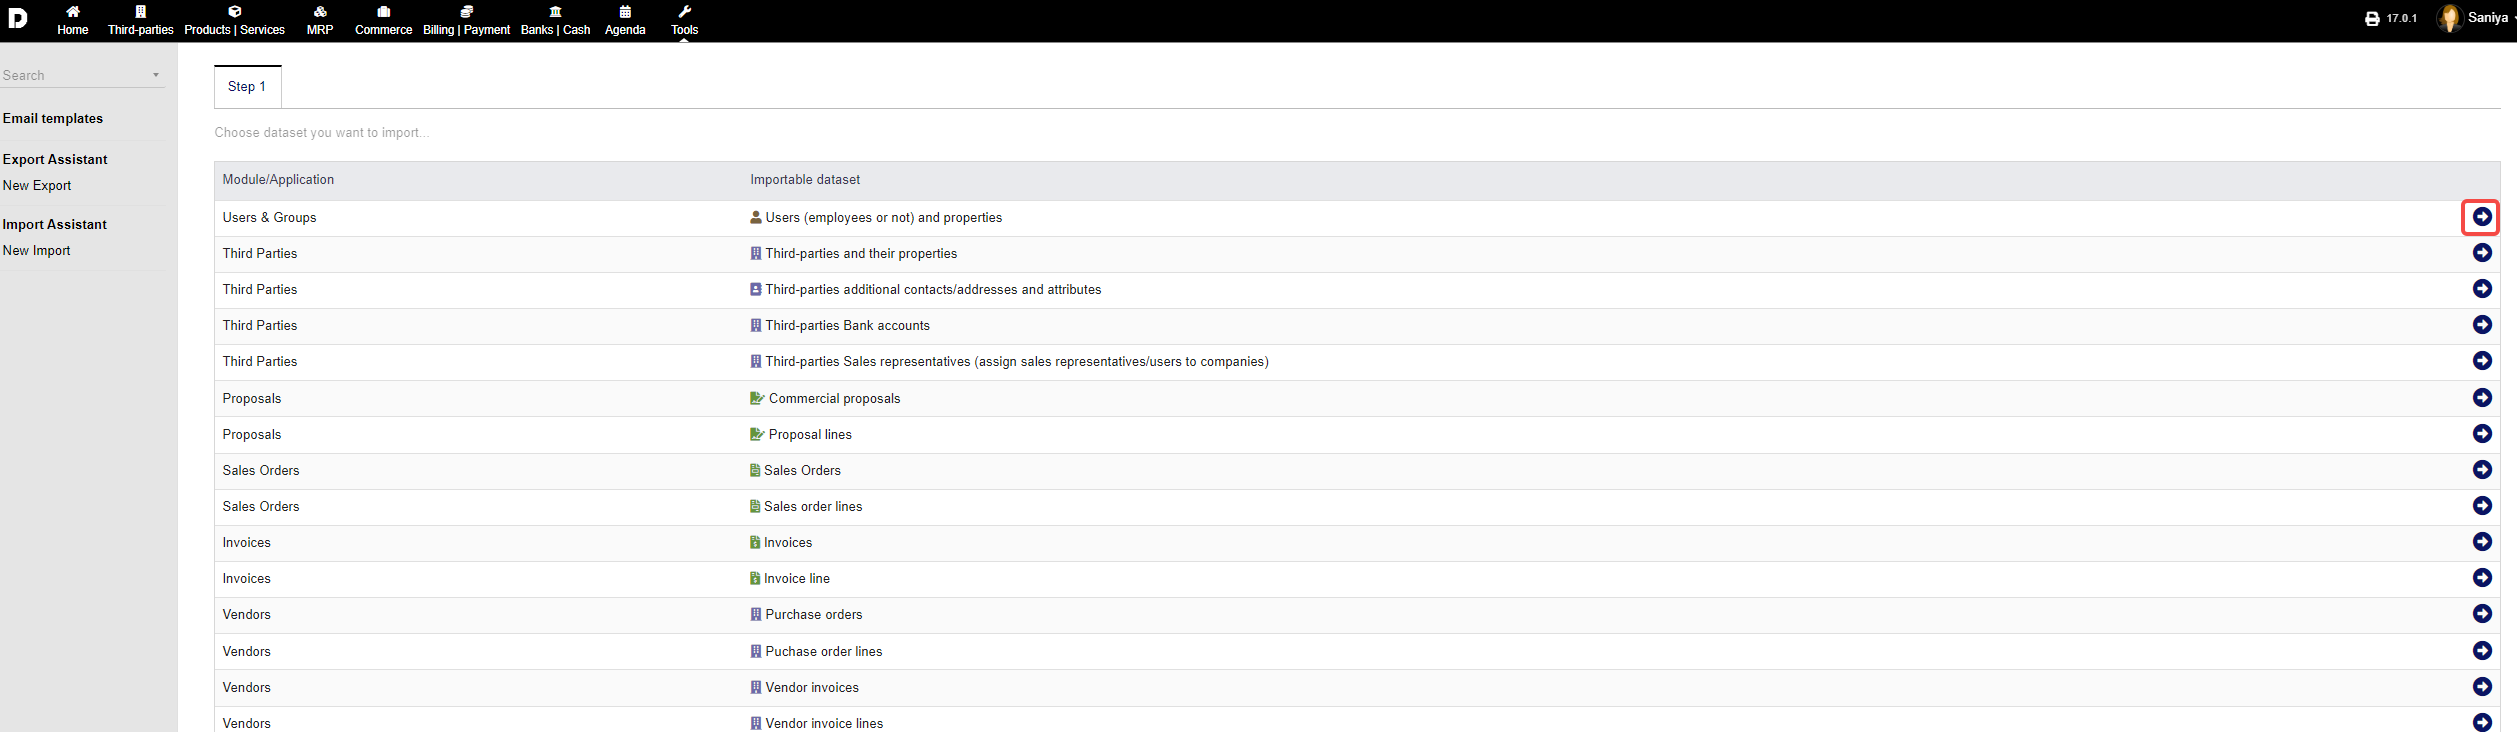
To import your document you need go to "Tools->Import Assistant-> New import" You can import your document in to you ERP by click on the "Plus" icon
 You can select for which topic or item from the list want to import for by click on the "Arrow".
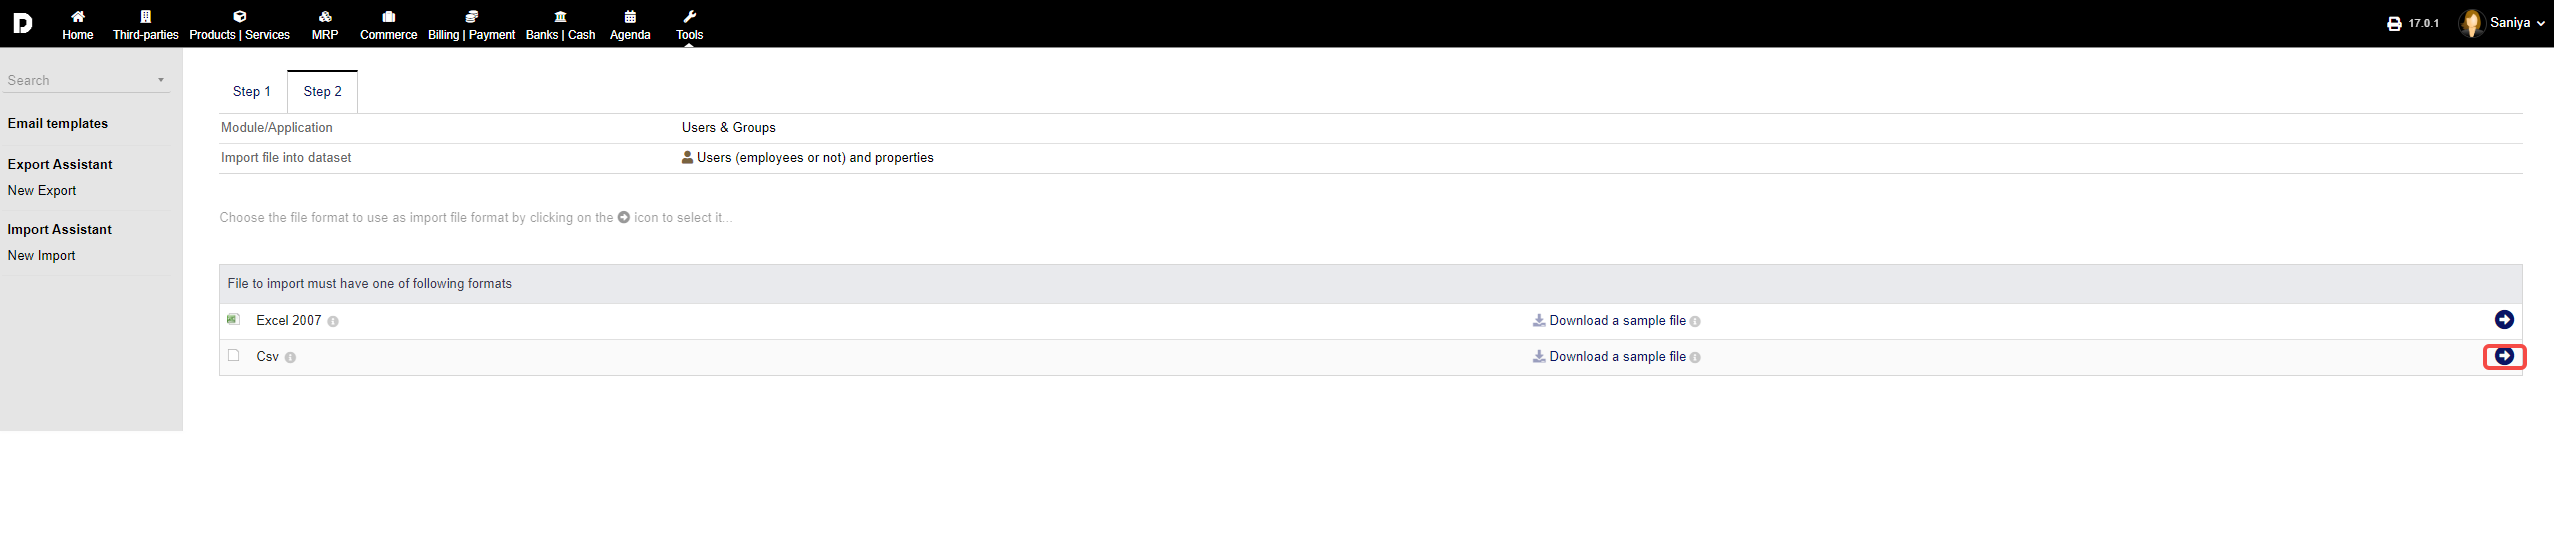
Click on the format given below whether excel or csv and click on the "Arrow".
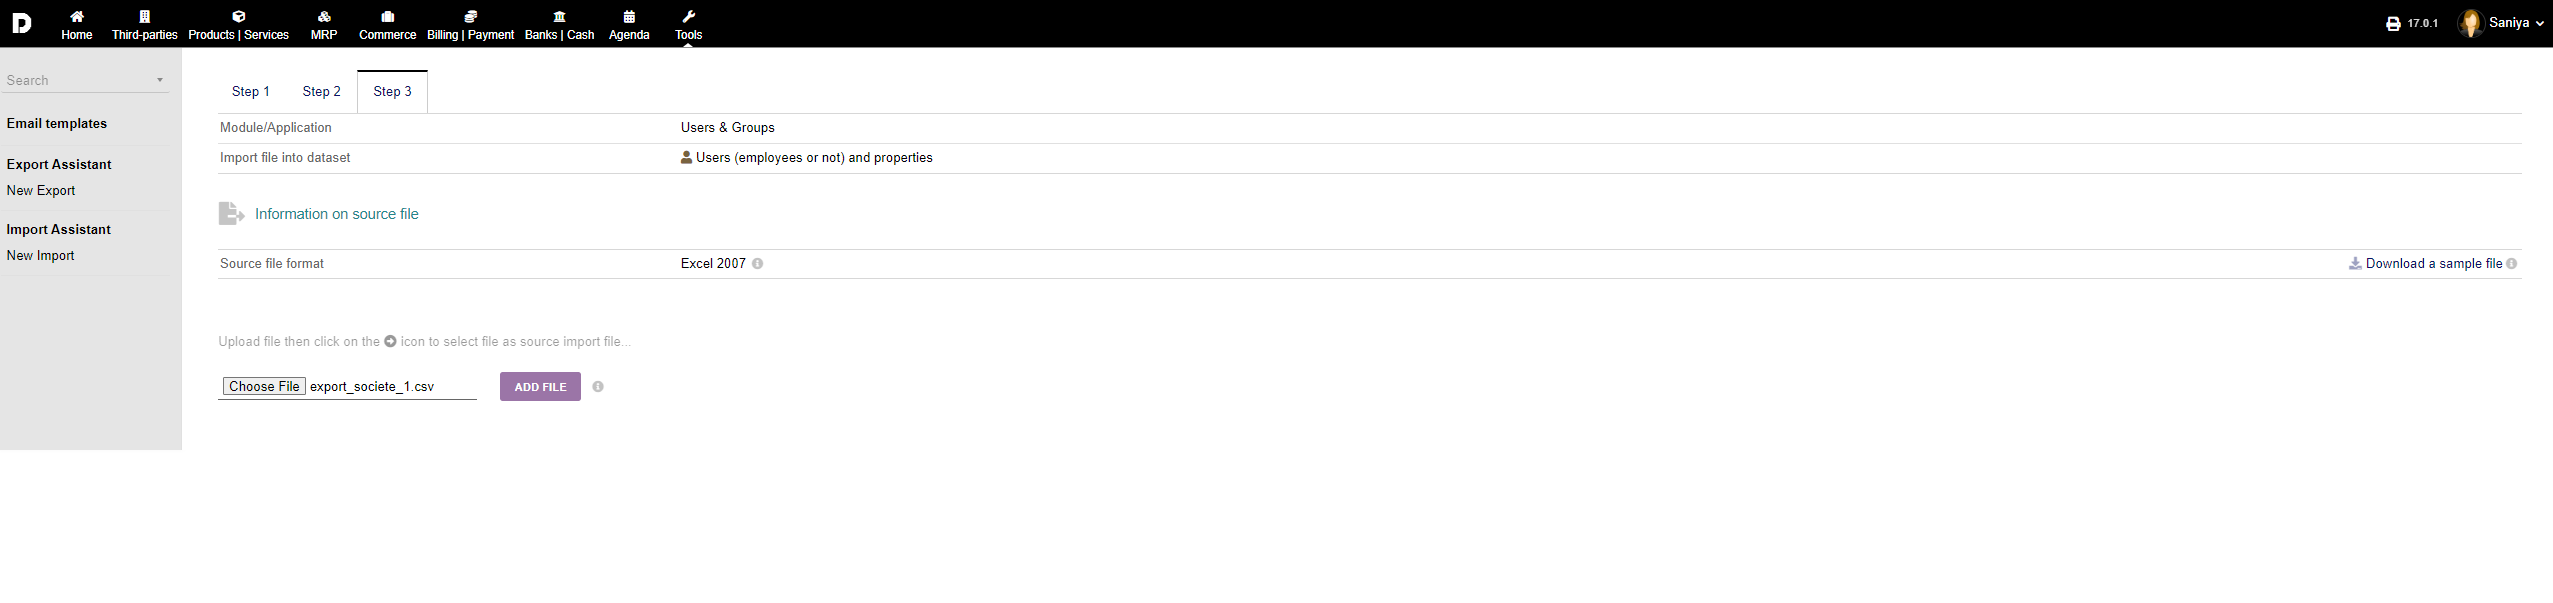
 Download sample file and prepare the import file. Browse or drag and drop the file you want to import in the "Choose file option " and click on "ADD FILE".
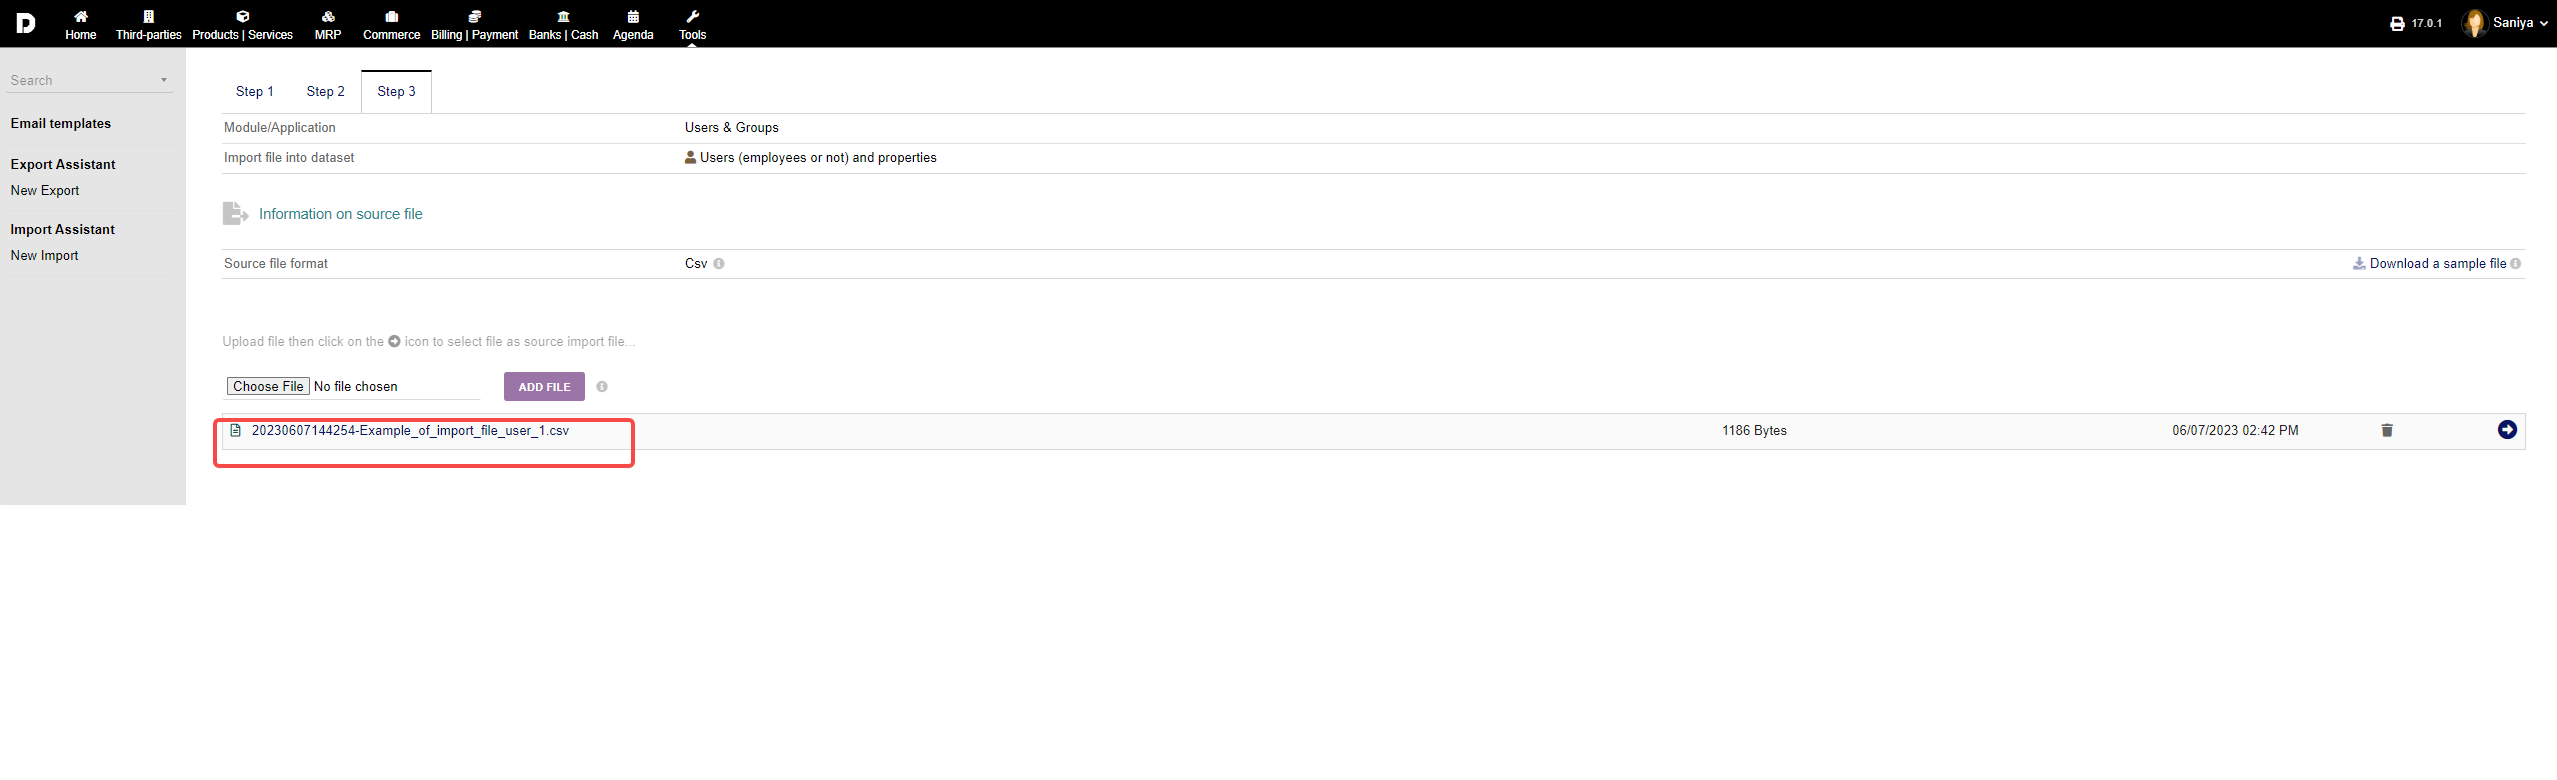
Once you have added the file you can view the file as shown below :
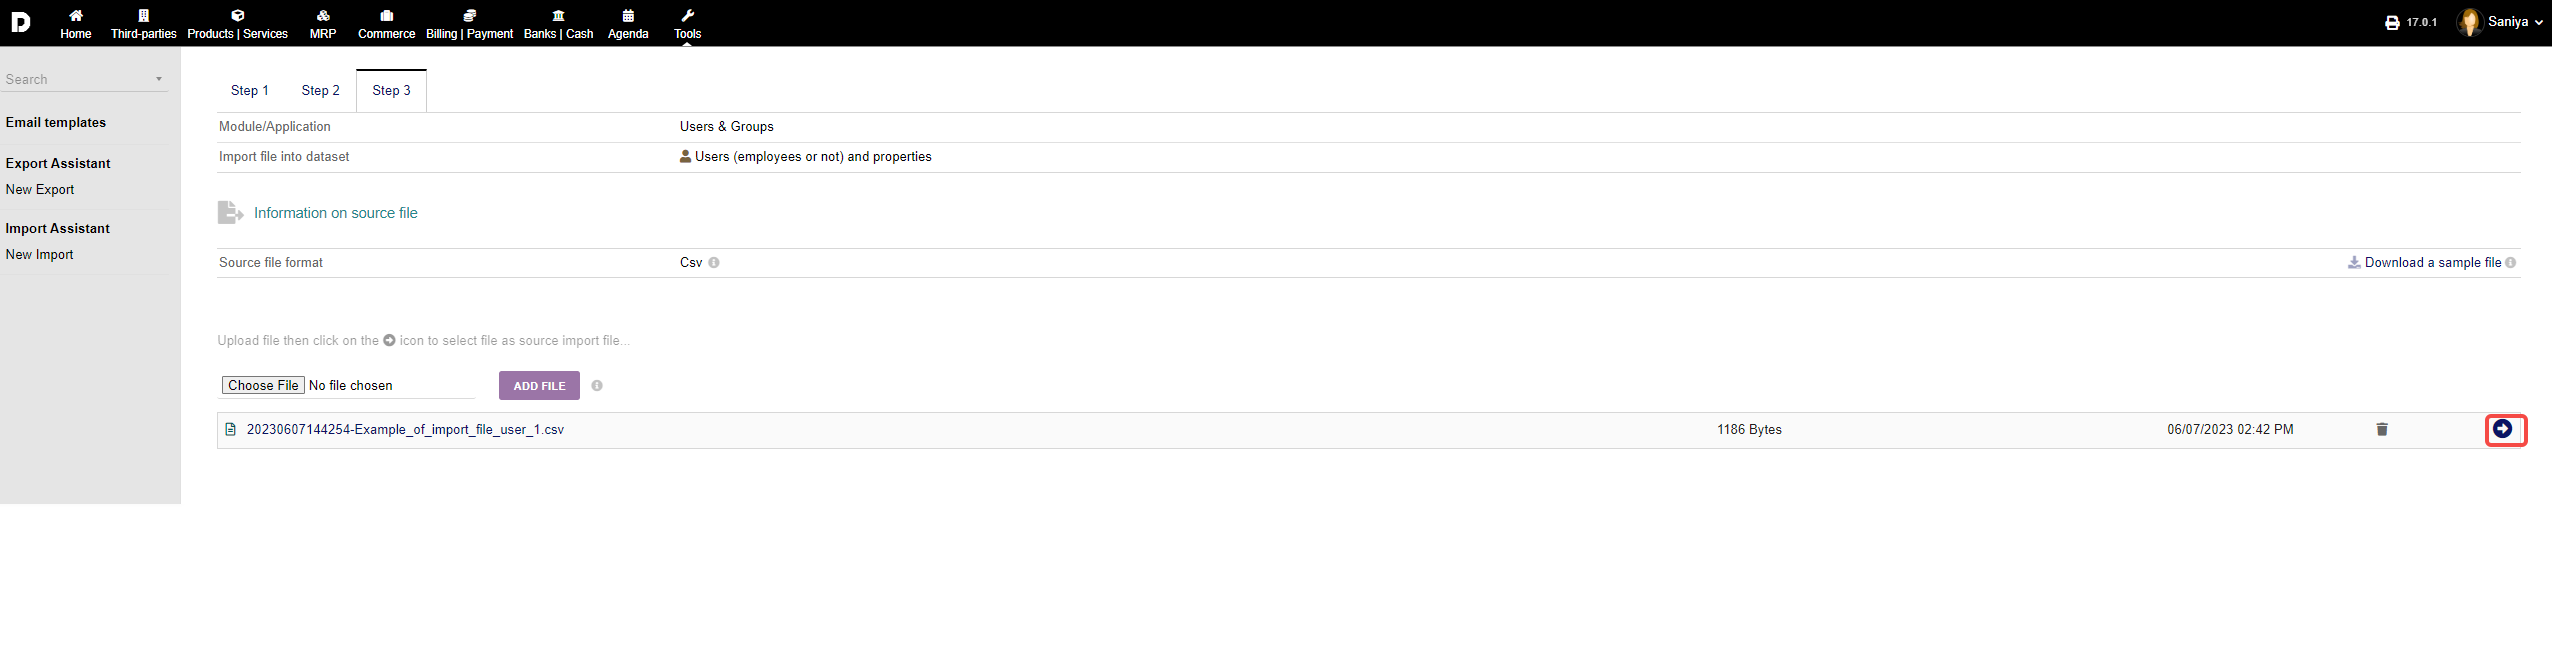
Click on the "Arrow" to see more details
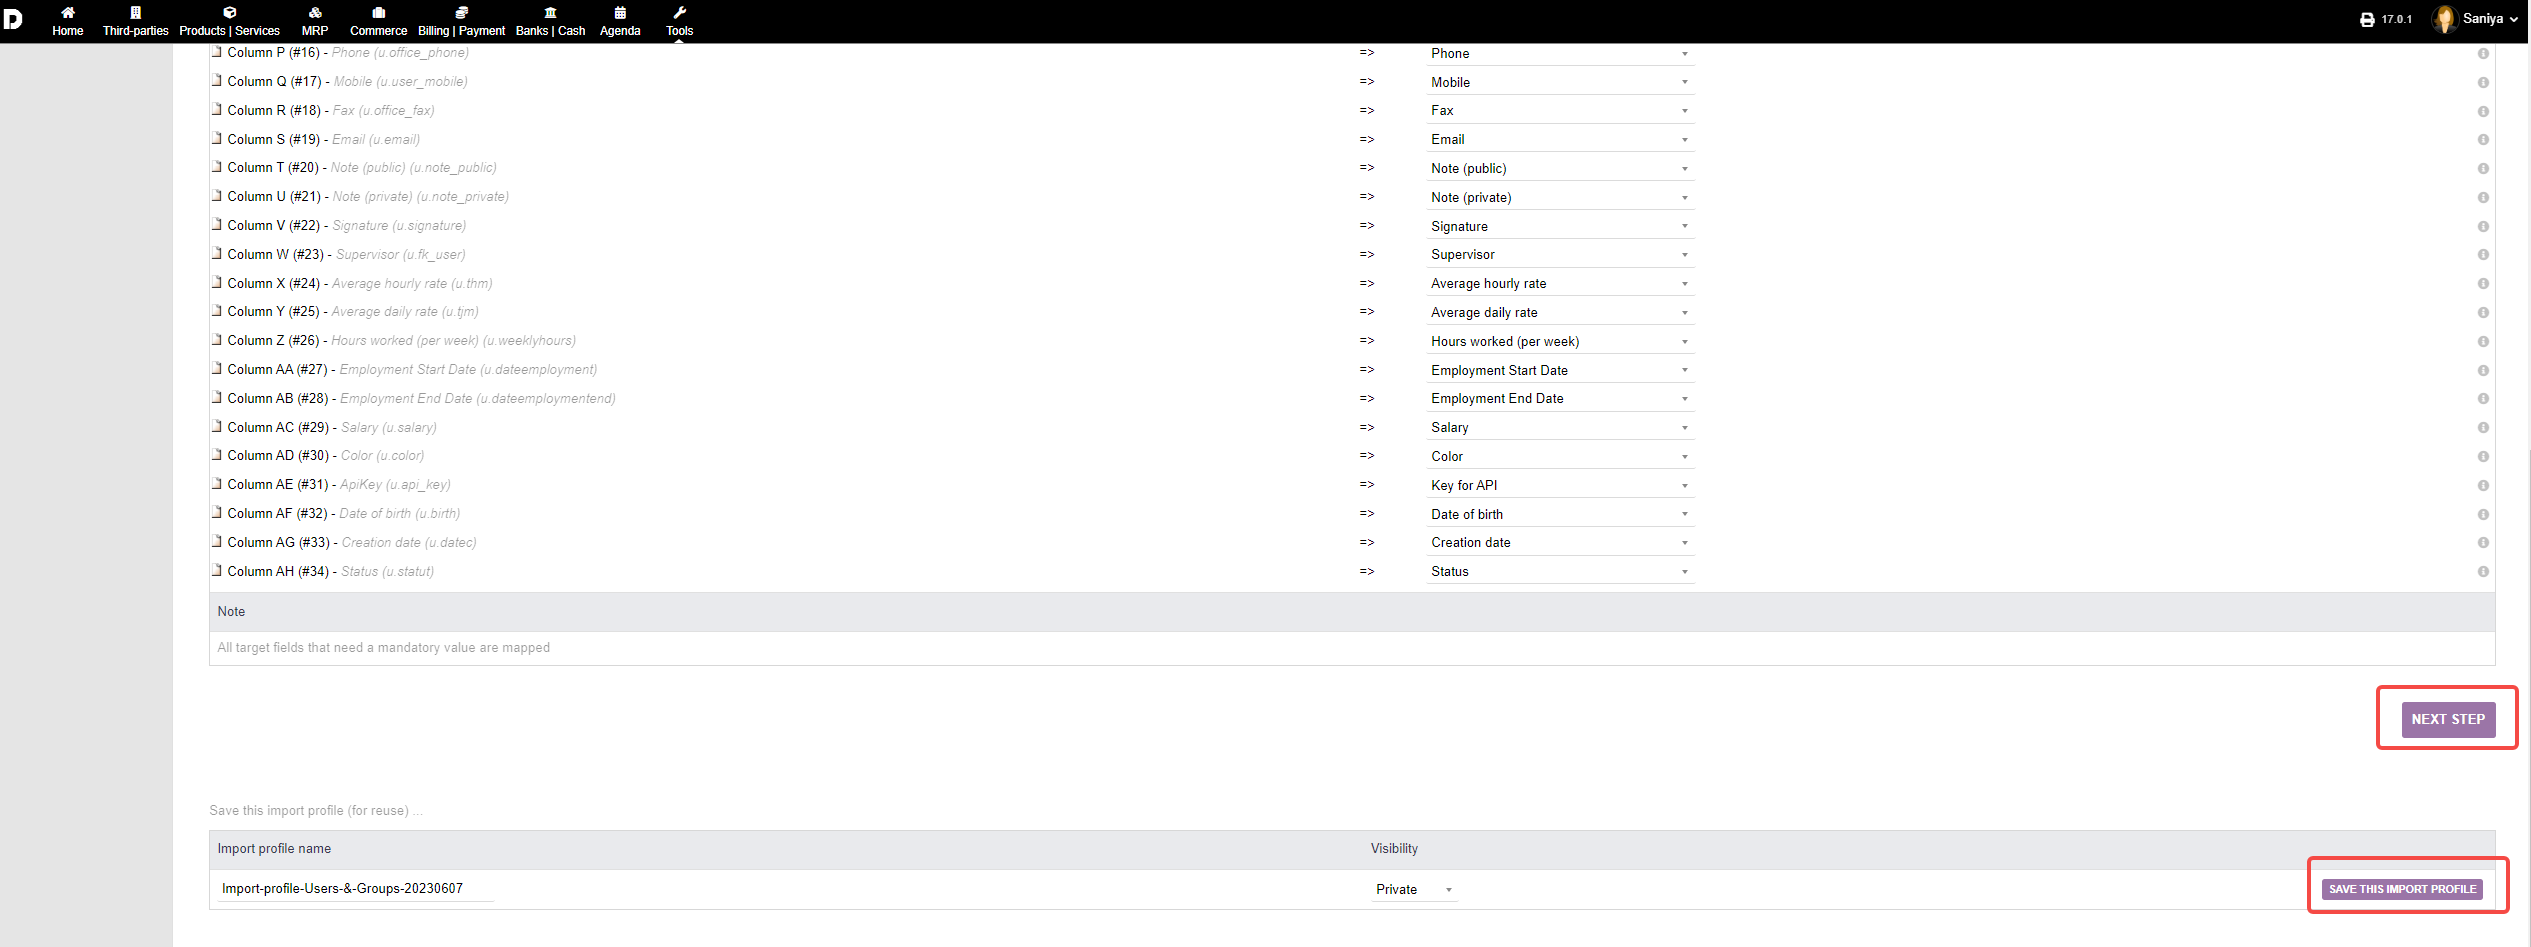
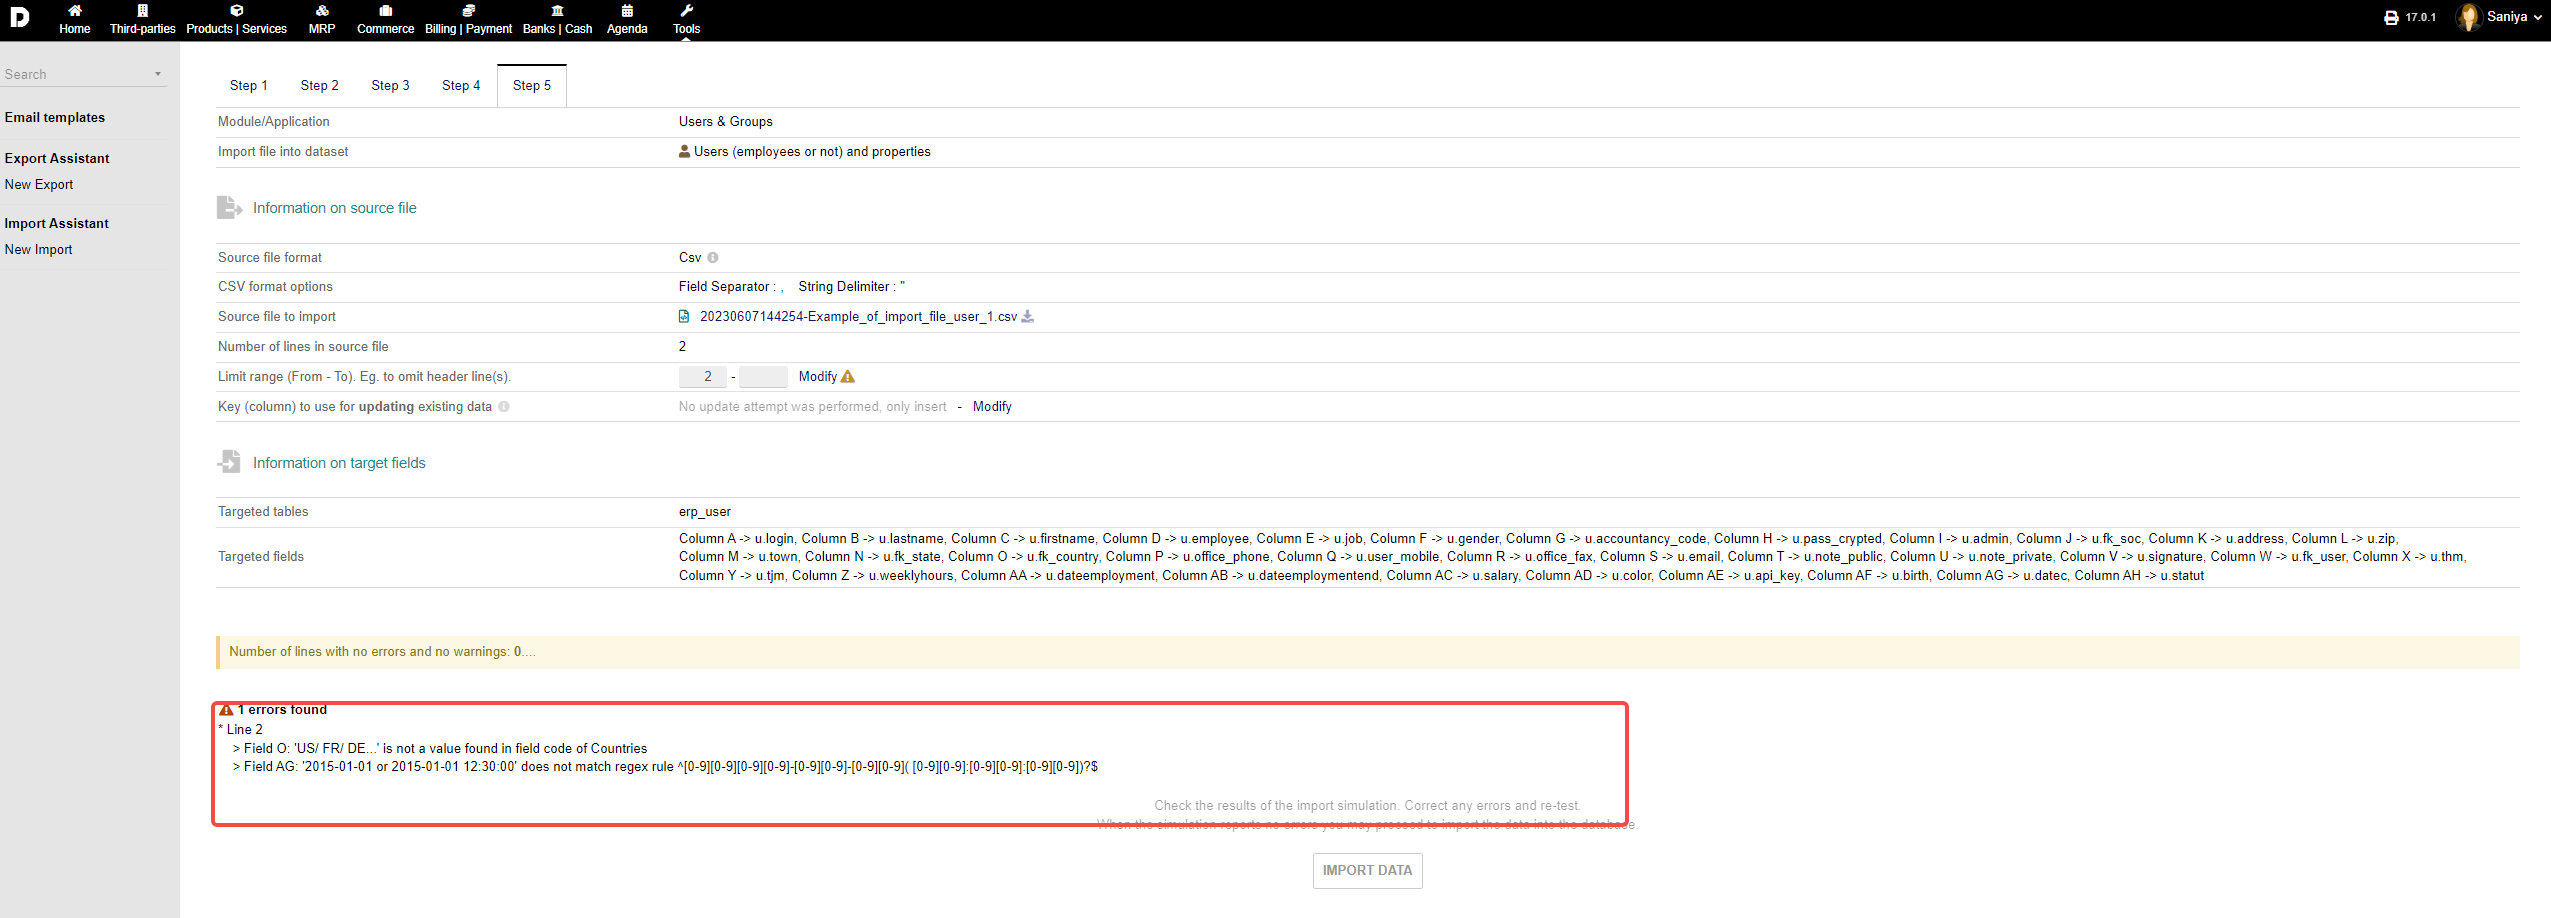
Then click on "NEXT STEP". and "Run the simulation" for your imported data .
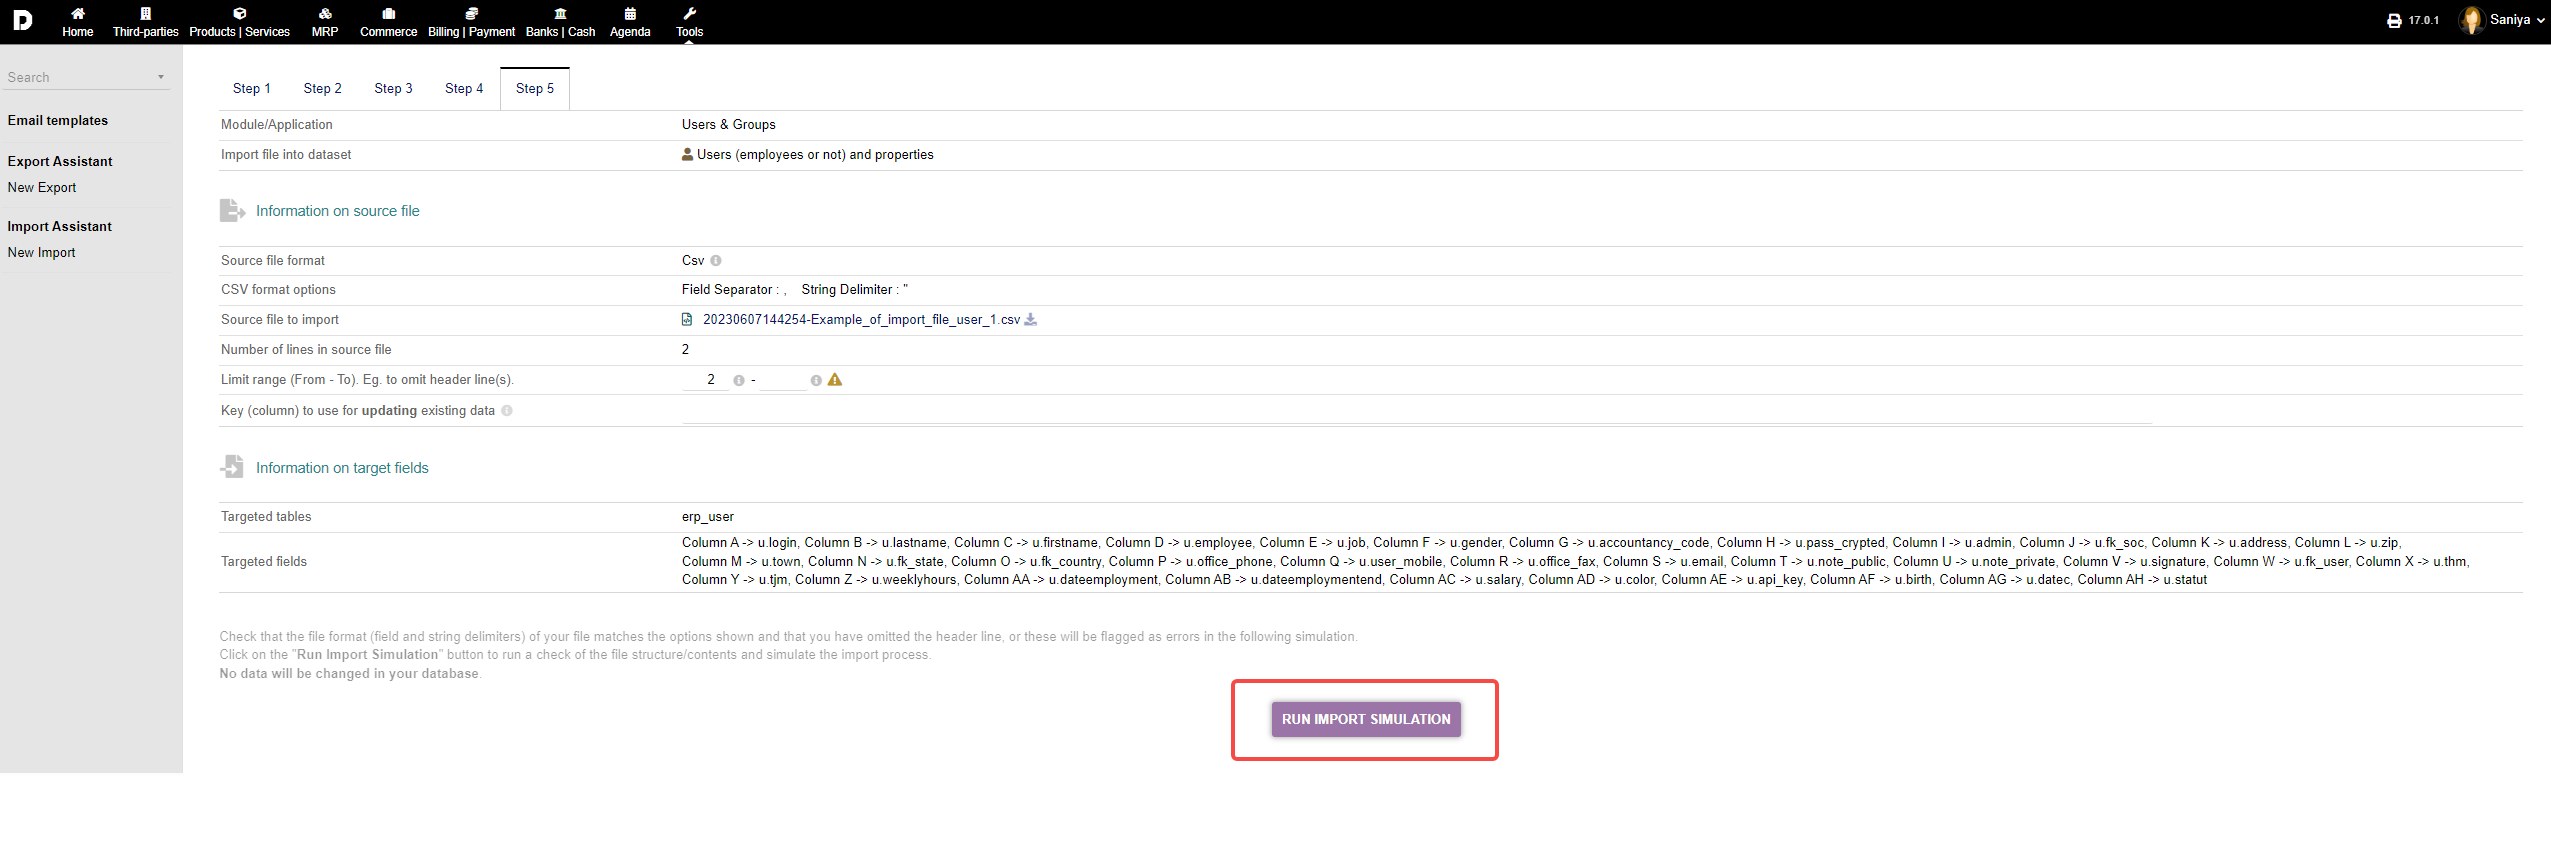
Once the run is successful click on "Import Data". The data will be imported into your system. If your data is facing some issues, you need to review and reload the imported file. You can see the screenshot below for "Error" during import .