4.1 Users & Groups
Under "Users & Groups" you can add and manage all users of your intERP installation. Additionally, you can manage your users in different groupings.
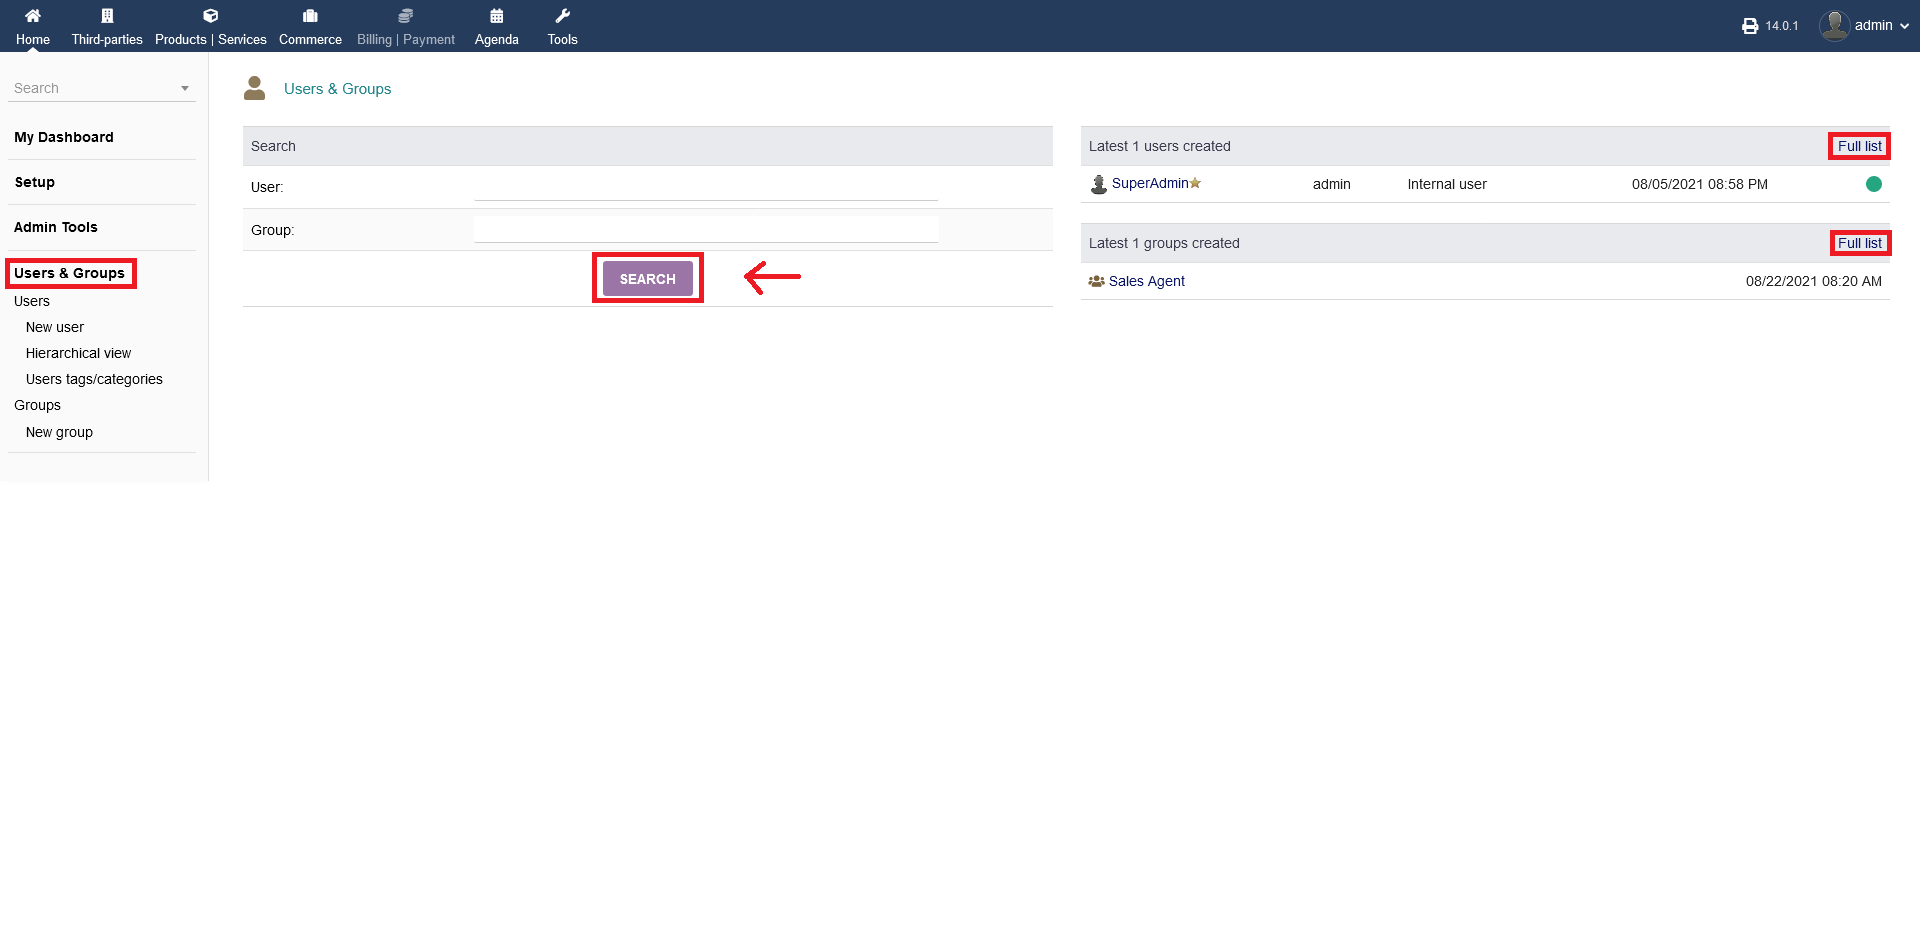
Clicking on "Users & Groups" you have to option to "search" for users or groups. Click "SEARCH" when you want to launch your search.
On the right hand side you see lisitings of your latest created users and latest created groups. To get a full listing, click "Full list". It will take you to the same overview as described below at 4.2
NOTE: This section is only for "internal" Users and not "external" Users like customer, vendor etc.!
4.2 Users
Clicking on "Users" you get an overview of all users with all necessary details (e.g. last login, status enabled/disabled etc.). You can select multiple users for performing a bulk action by checking the "radio box" on the right hand side.
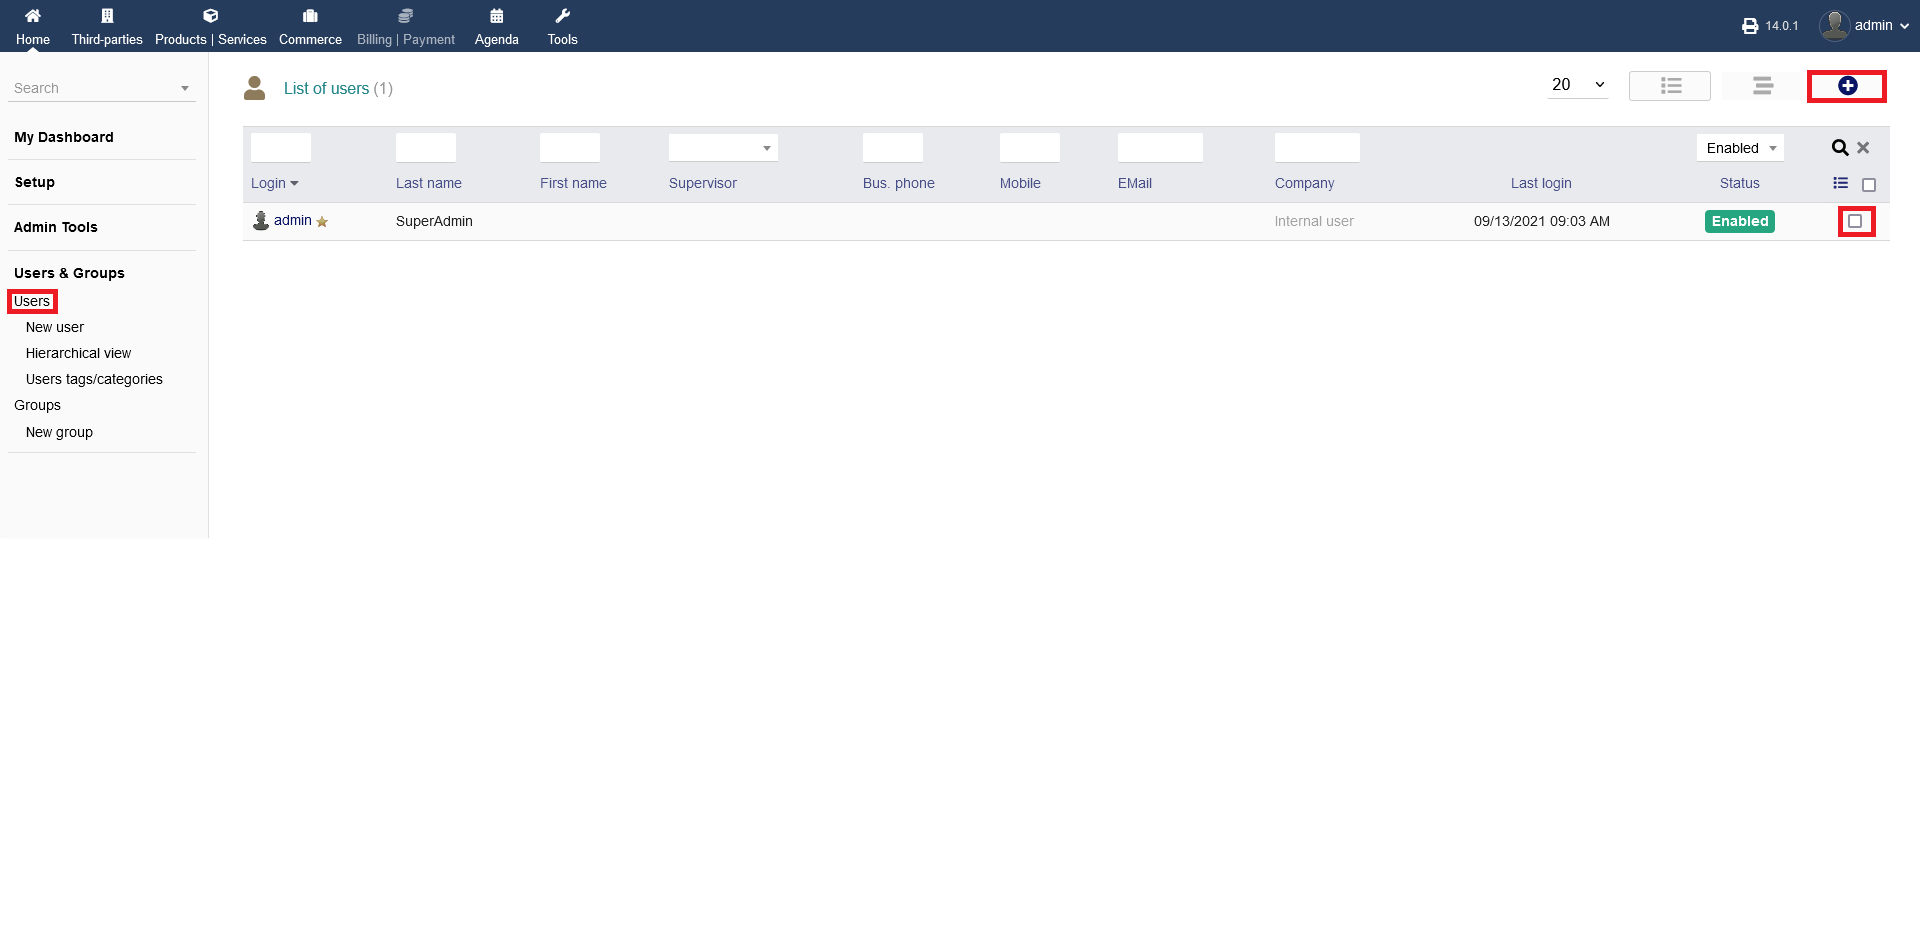
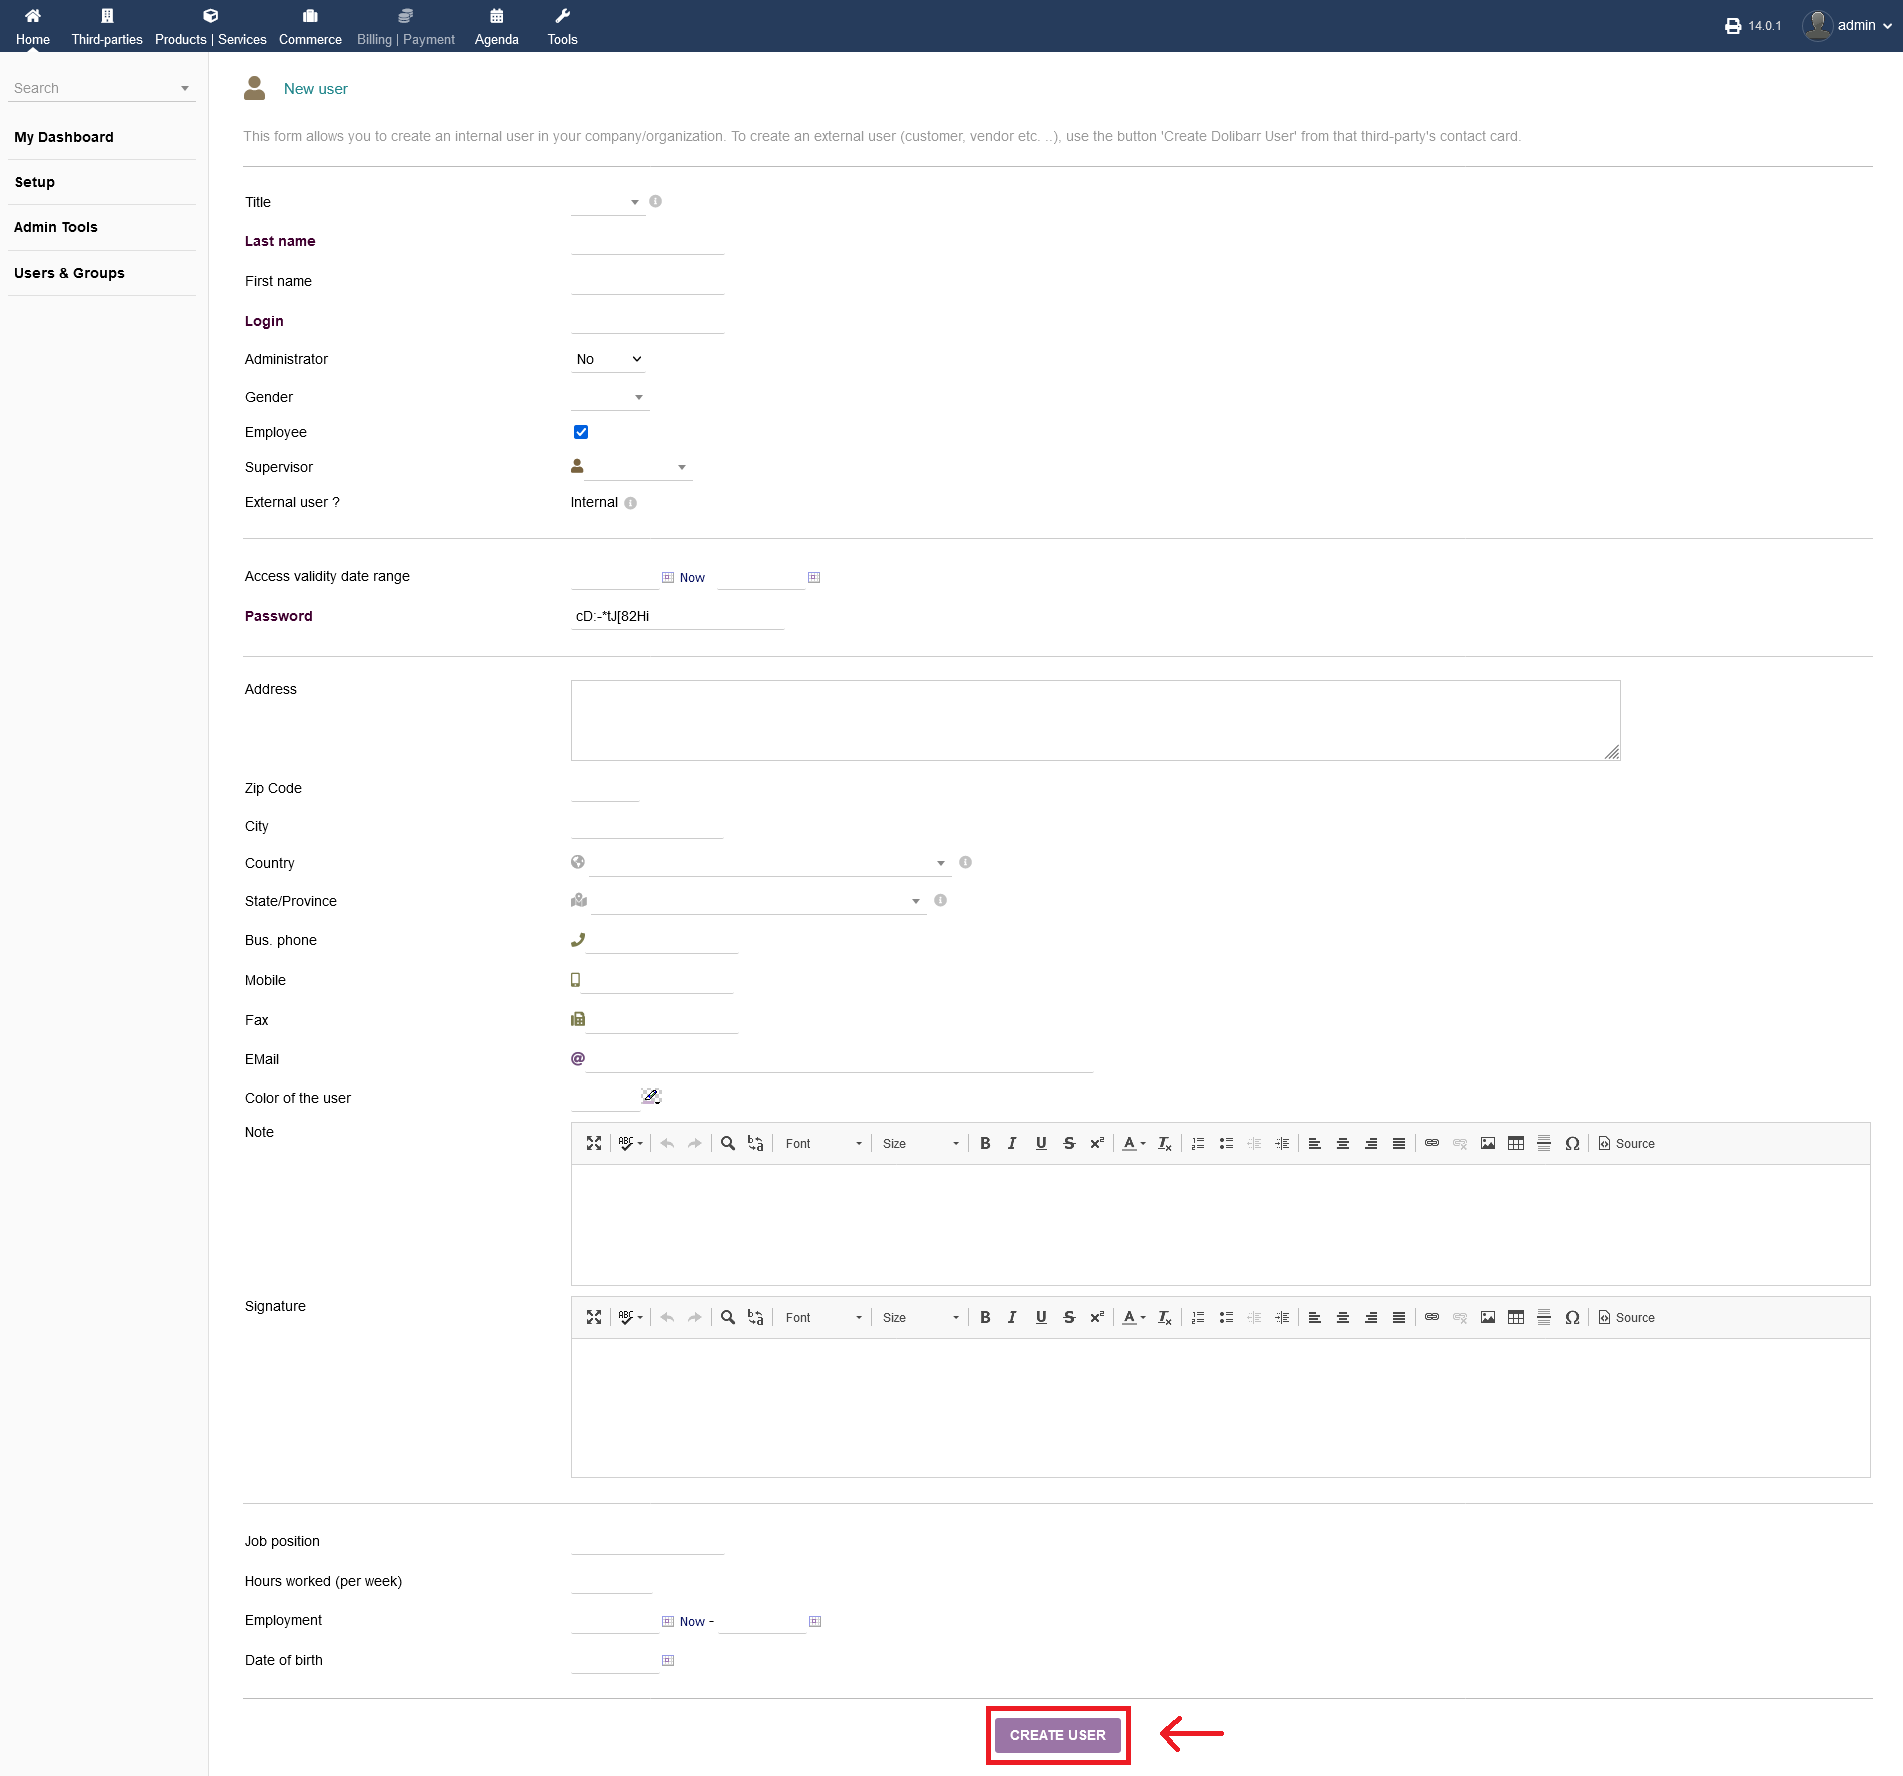
By clicking on the "plus" icon, you can add a new user. This form allows you to create an internal user in your company/organization. To create an external user (customer, vendor etc. ..), use the button 'Create Dolibarr User' from that third-party's contact card.
Please not, that you can reach that form differently, eigther 1. as described as above or 2. by clicking on "Users & Groups -> Users -> New user".
Fill out all necessary fields that apply to your new user creation. When you are done, click "CREATE USER".
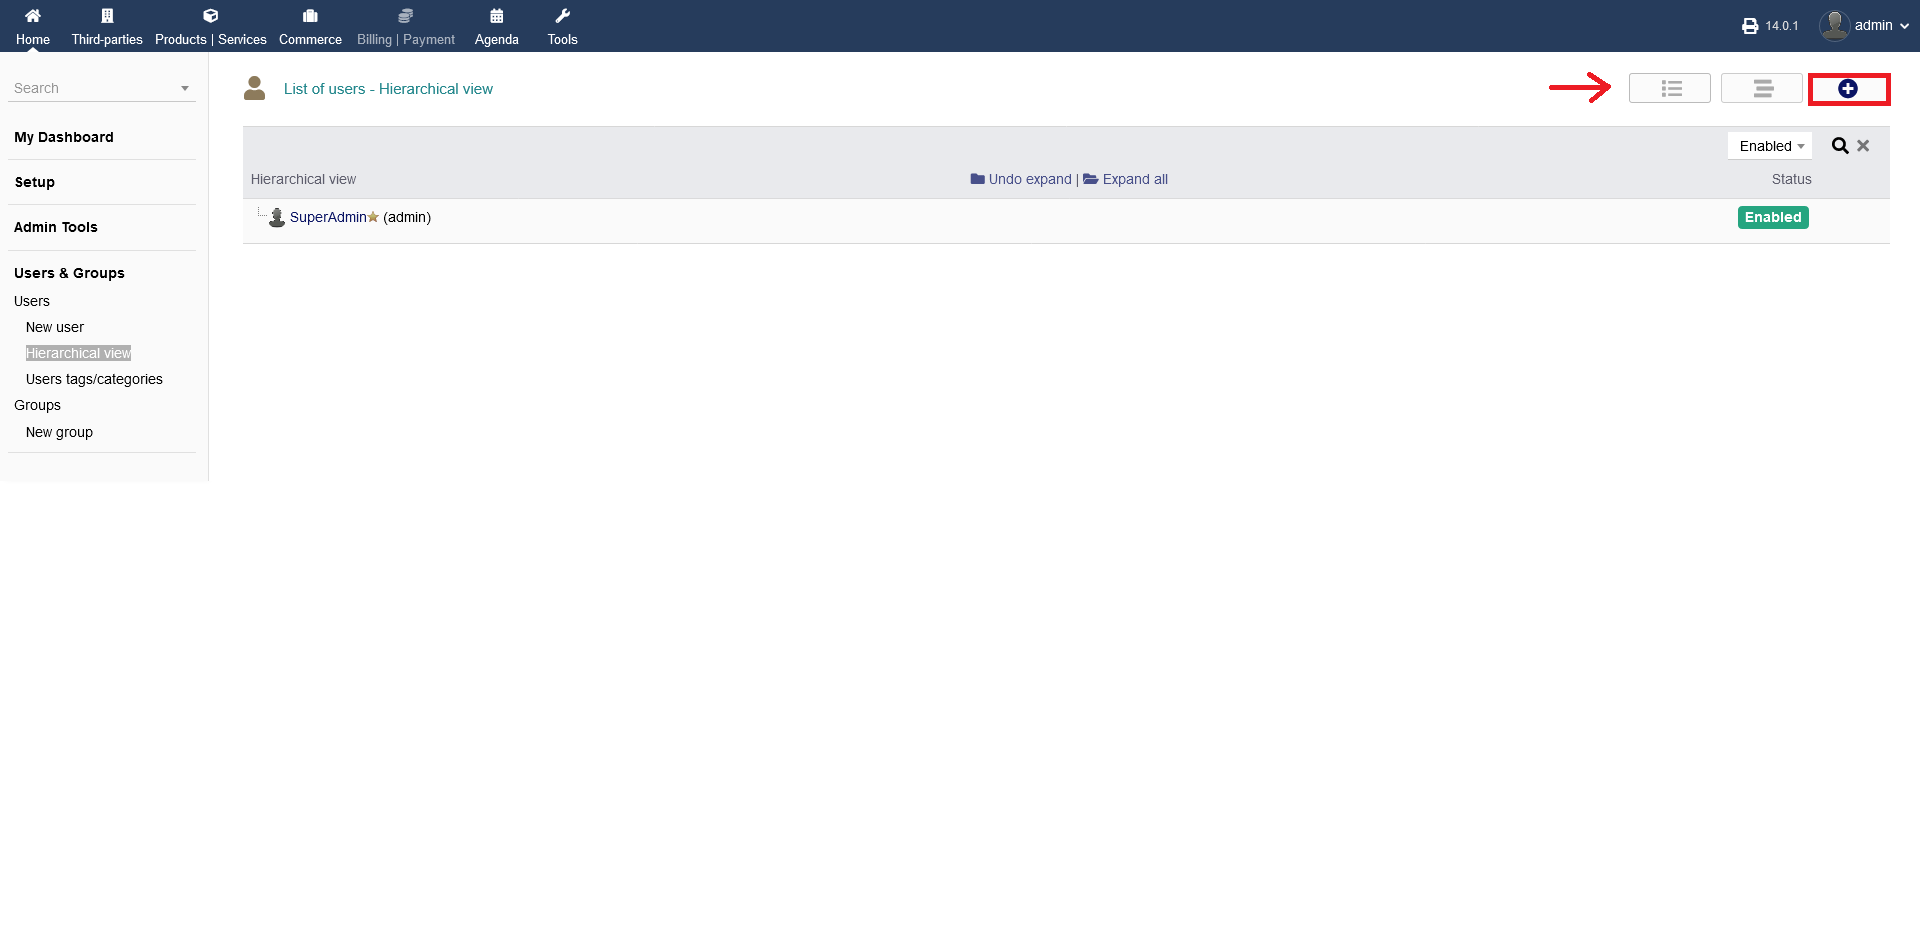
Clicking on "Users & Groups -> Users -> Hierarchical view", you can have a hierarchical view of all your users. This is helpfull to have an overview of your company structure.
To add a new user, click the "plus" icon. It will take you to the step above. You can sort the list eighter by list or by hierarchical view.
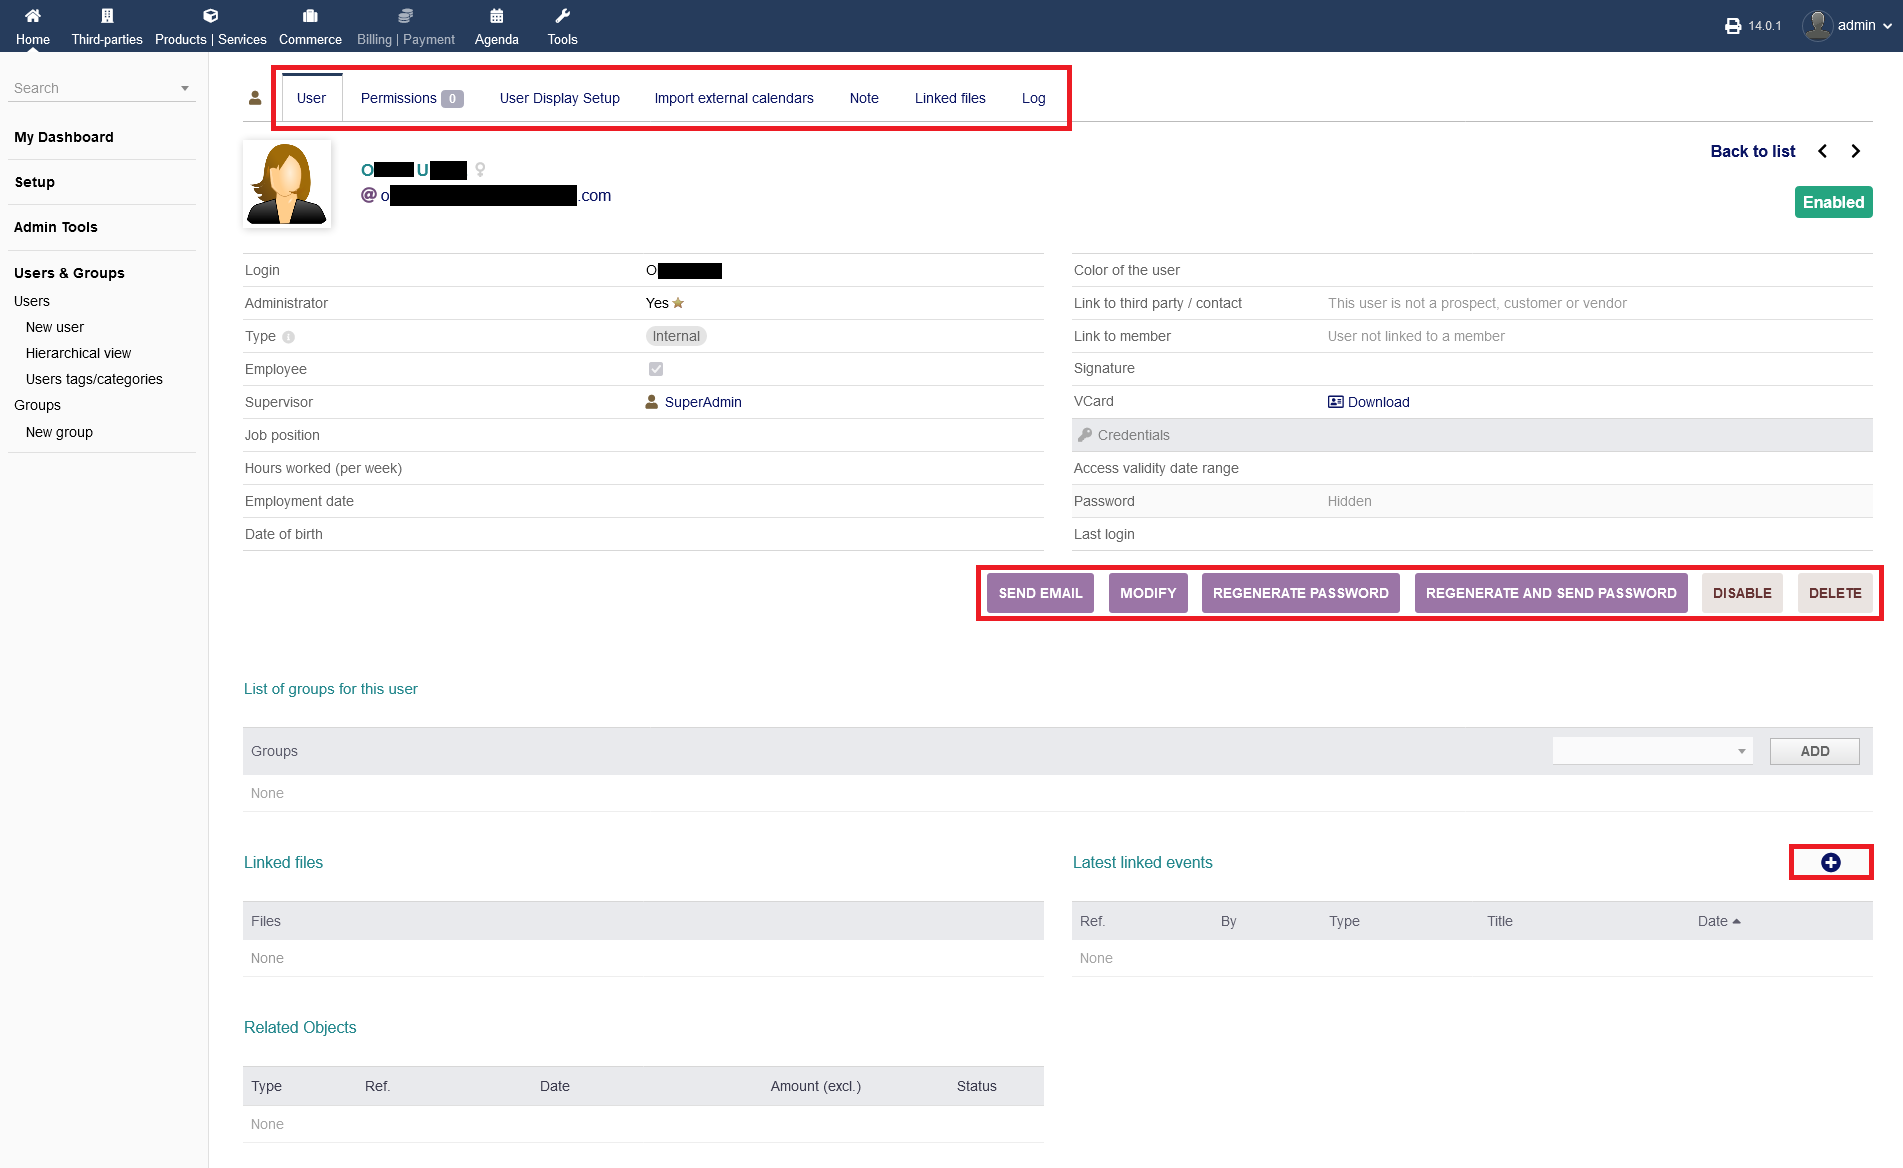
AFTER creating a new user, you can manage a user, by clicking onto the name in your users listing (picture above)
You can see all information about the user, manage permissions, clendars and events, notes, files and see a log regarding that specific user on the top left menu.
Direct functions are: sending an email, modifying the user details, generating a password, generating a password and sending it via email, disable the user or even delete the user.
Finally, you can add an event to the user by clicking the "plus" icon.
?!?!?!!?!? Users tags/categories ?!?!?!!?!?
4.3 Groups
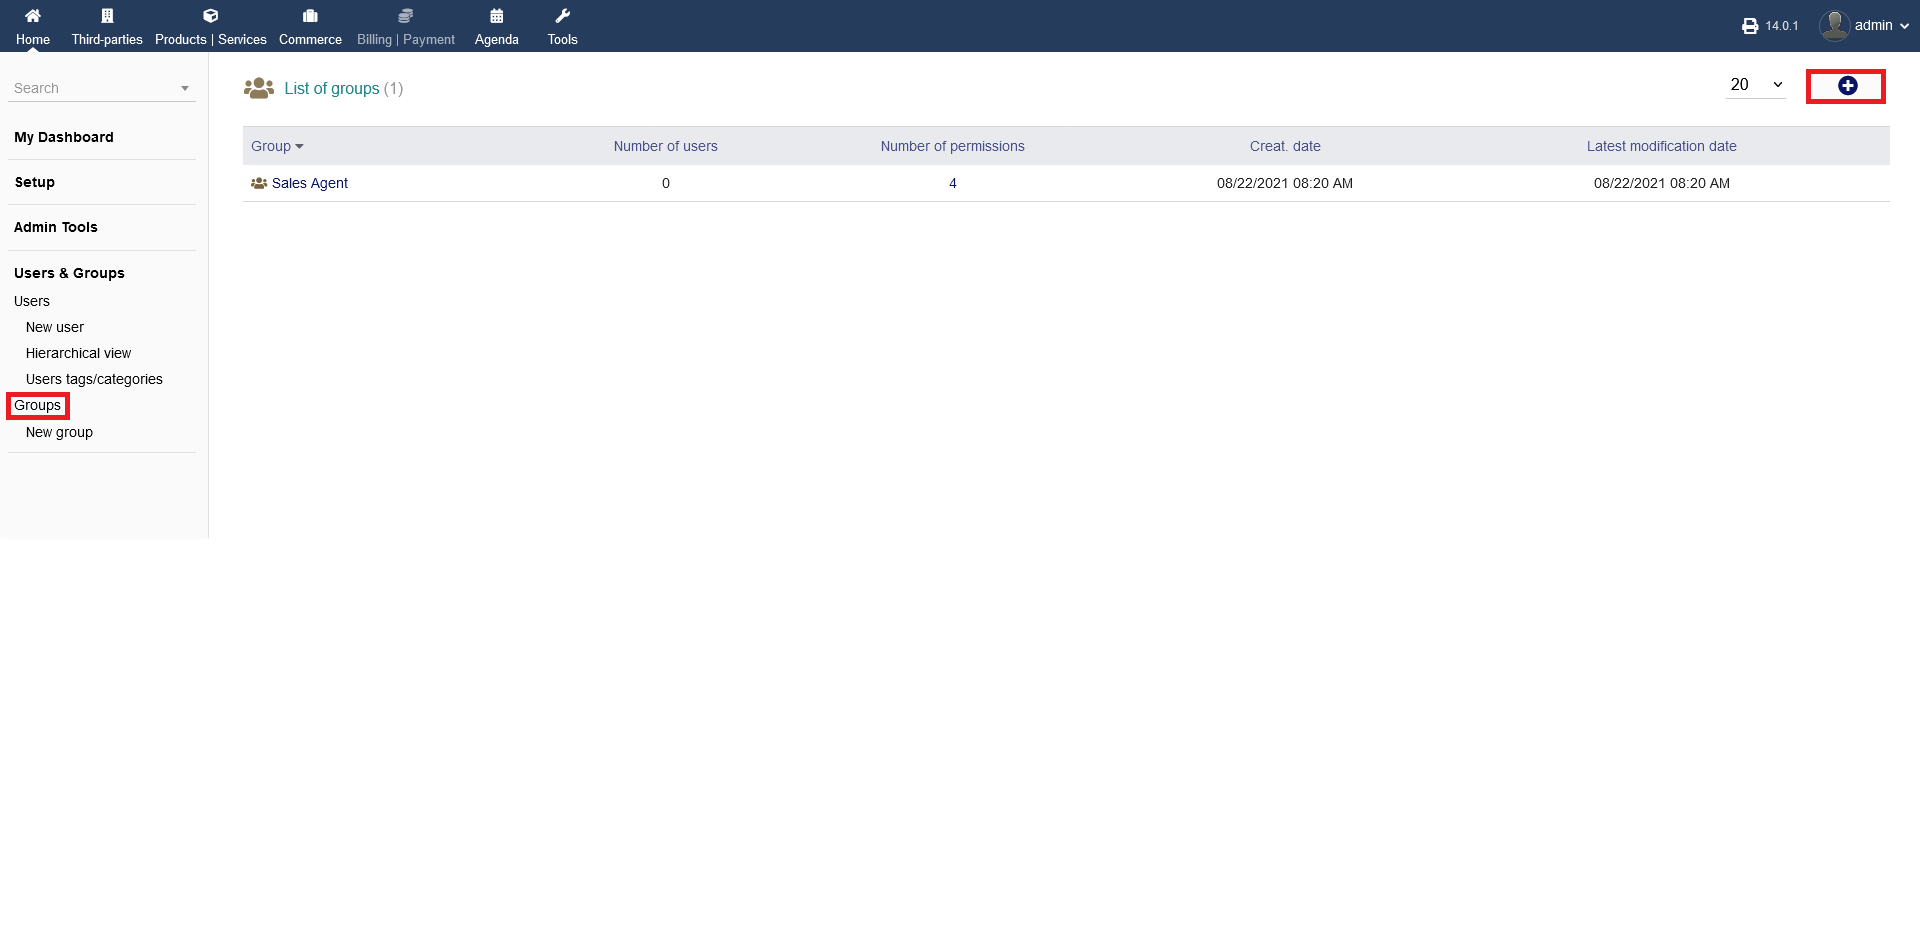
To manage your user groups, click on "Users & Groups -> Groups". There, you get a list of all groups you have created with all necessary details.
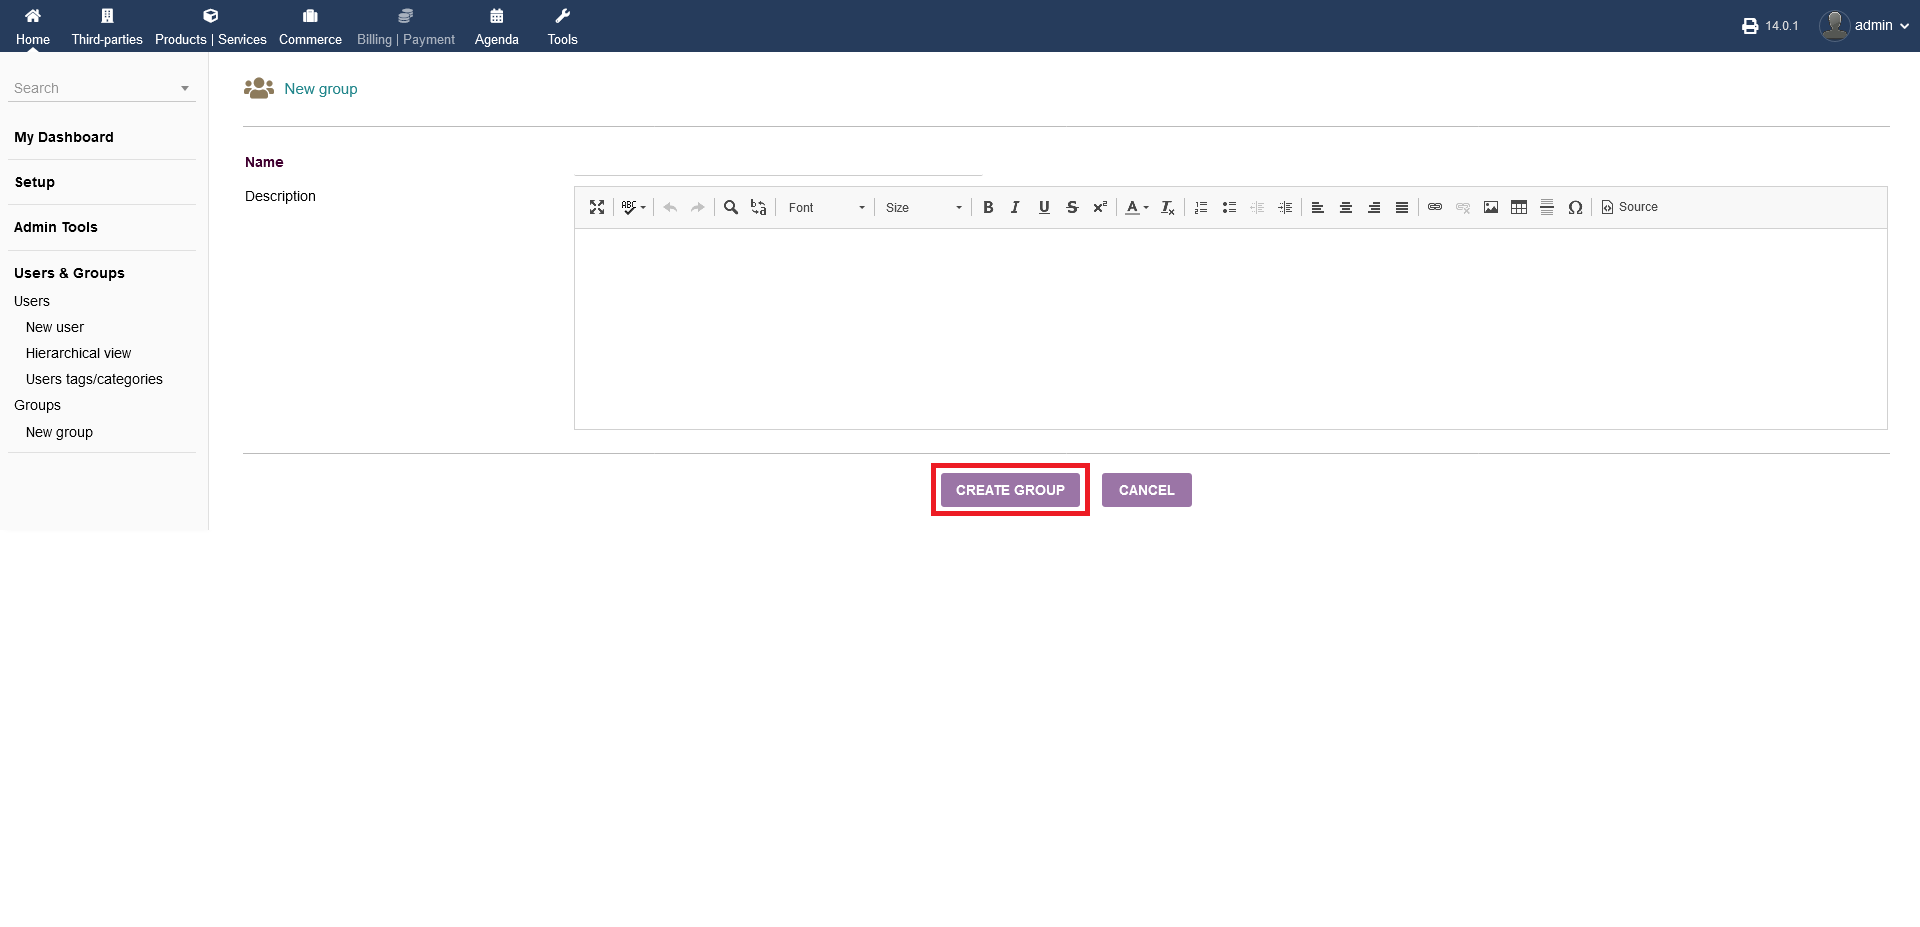
To add a new group, click the "plus" icon.
After you clicked the "plus" icon, you can fill out a name and desciption to your new group. When you are done, click "CREATE GROUP".
You can get to the adding screen faster by clicking on "Users & Groups -> Groups -> New group" directly.