"Admin Tools" is granting administrativ functionalities to the main intERP admin. intERP user permissions cannot change this restriction.
3.1 About intERP, Browser, OS, Web Server, PHP, Database
All menu items regarding "About" option are granting status information. It is no data to be manipulated, only to observe.
3.1.1 About intERP
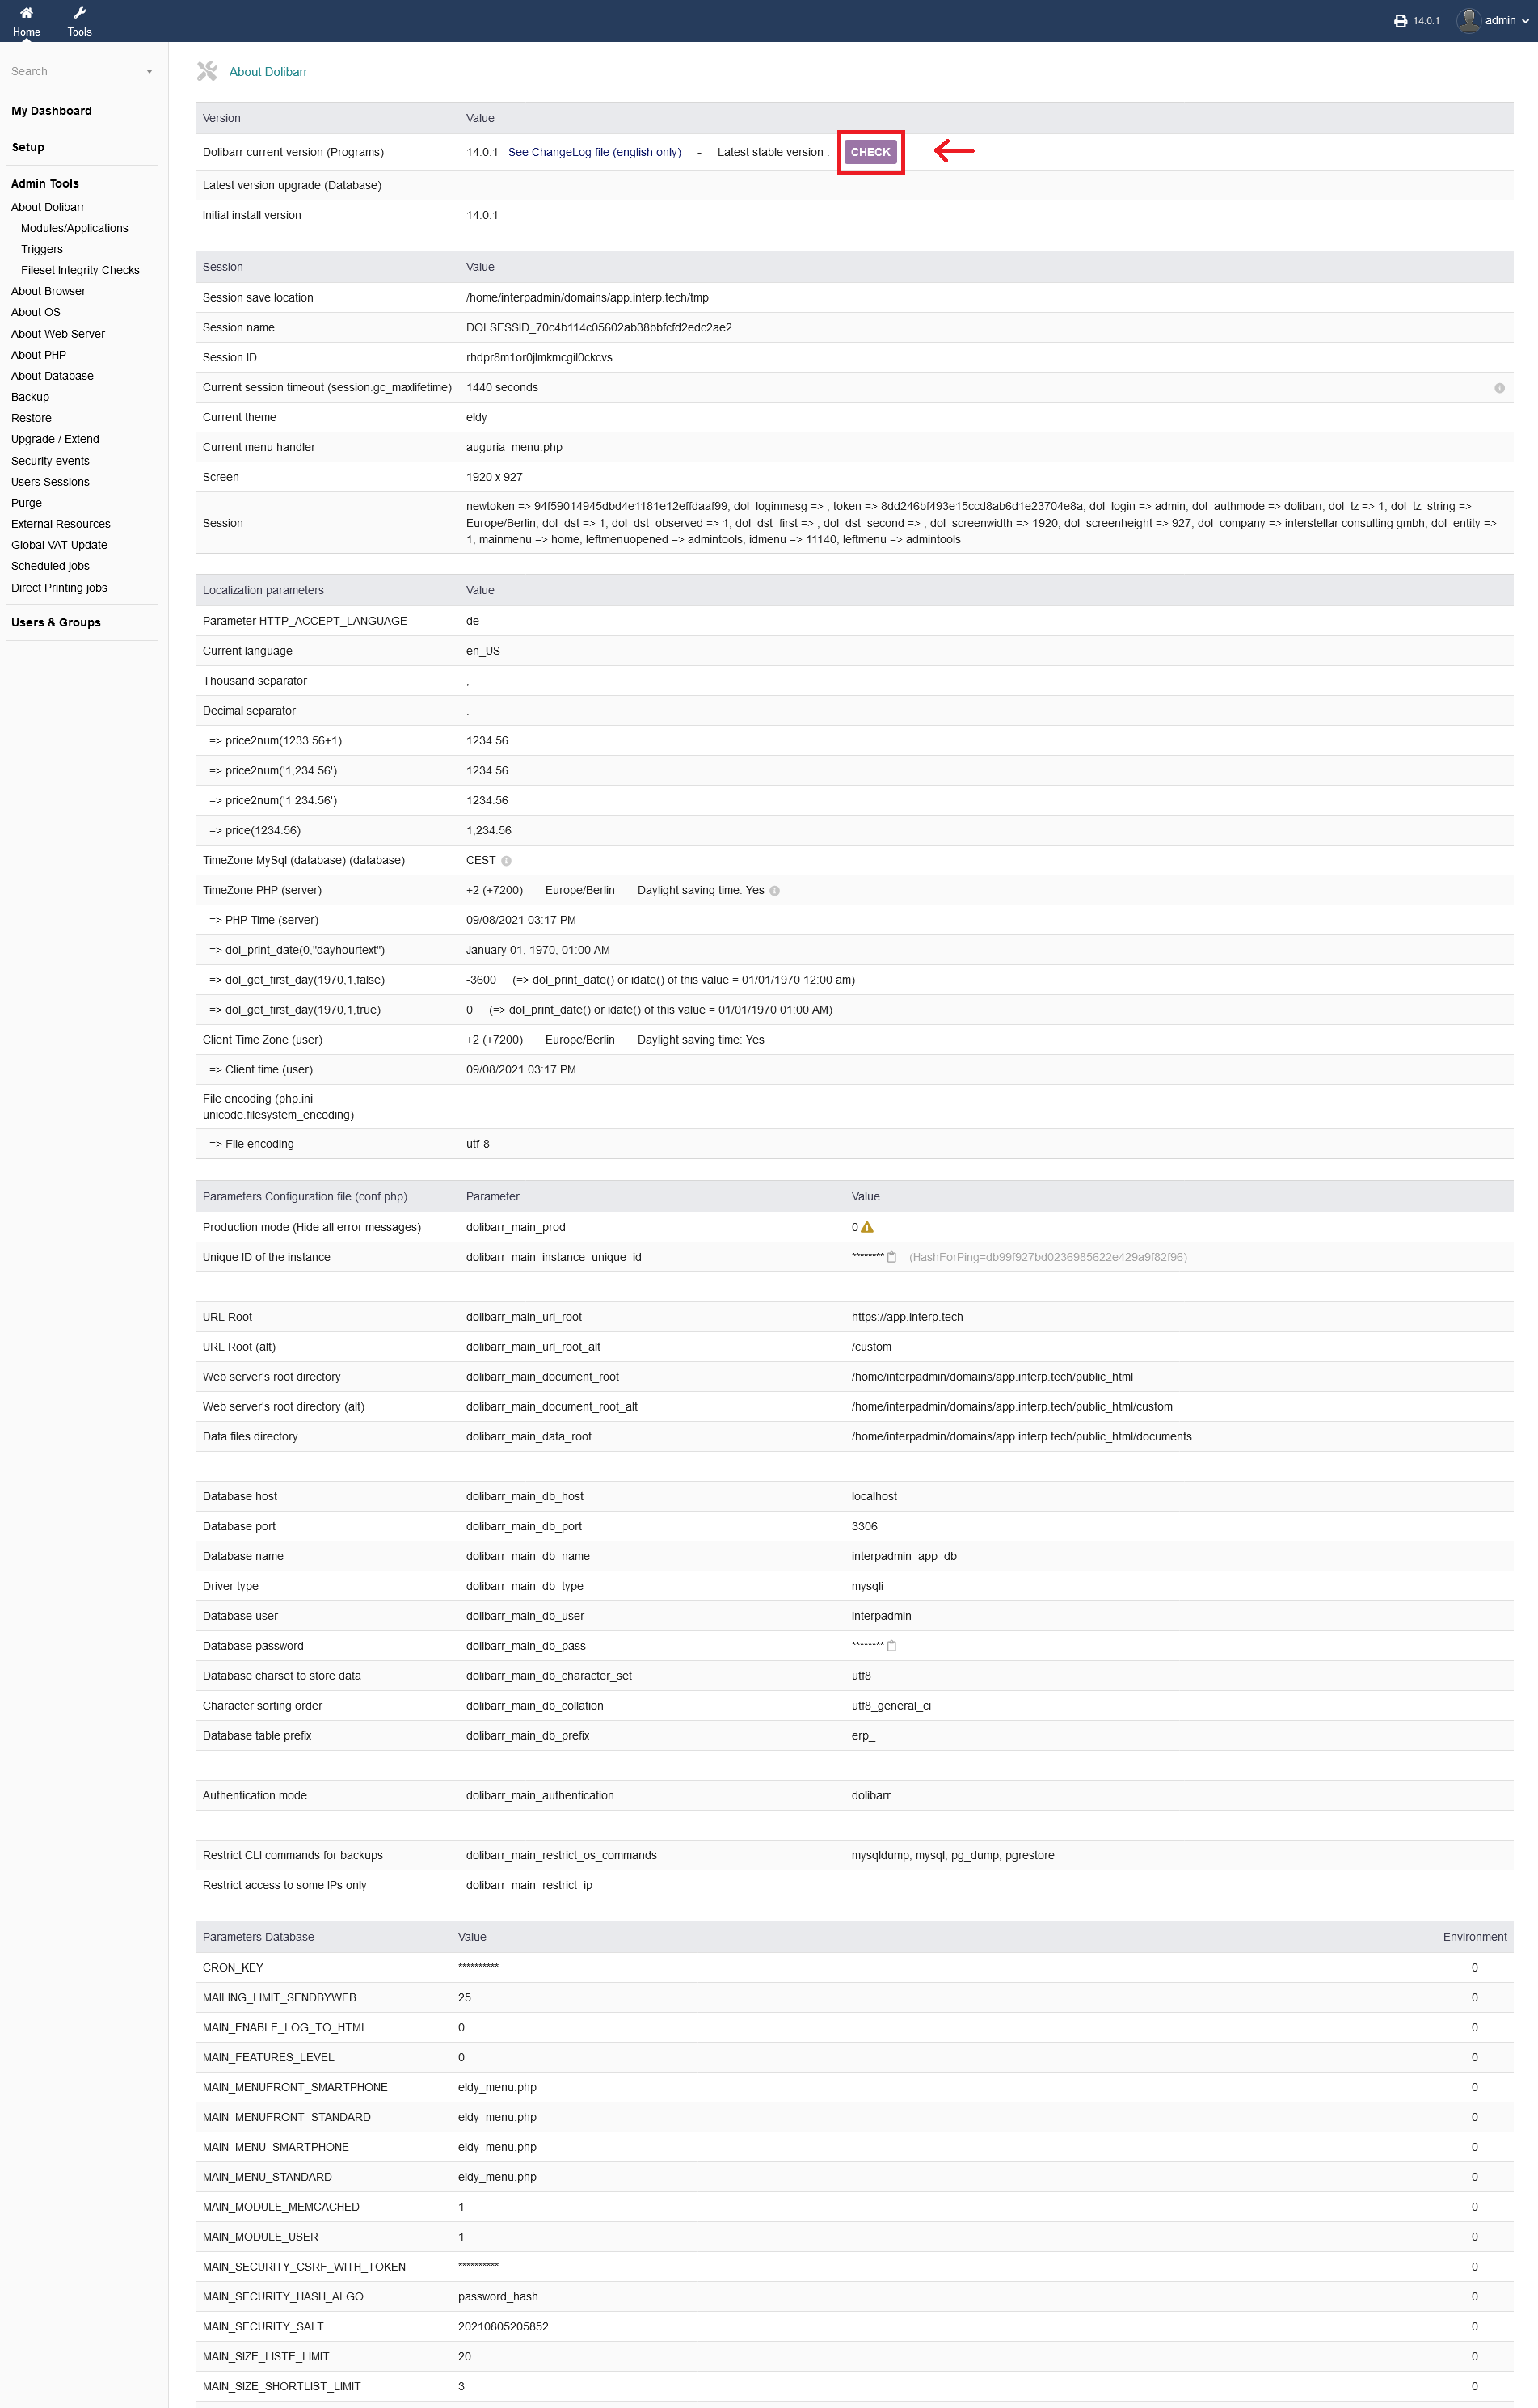
"Admin Tools -> About intERP" is simply showing the current intERP version and session information. It also gives an overview about localization parameters you have setup before. Additionally, information about configuration files, database are granted.
To check for current versions, click "CHECK" under "intERP current version (Programs)"
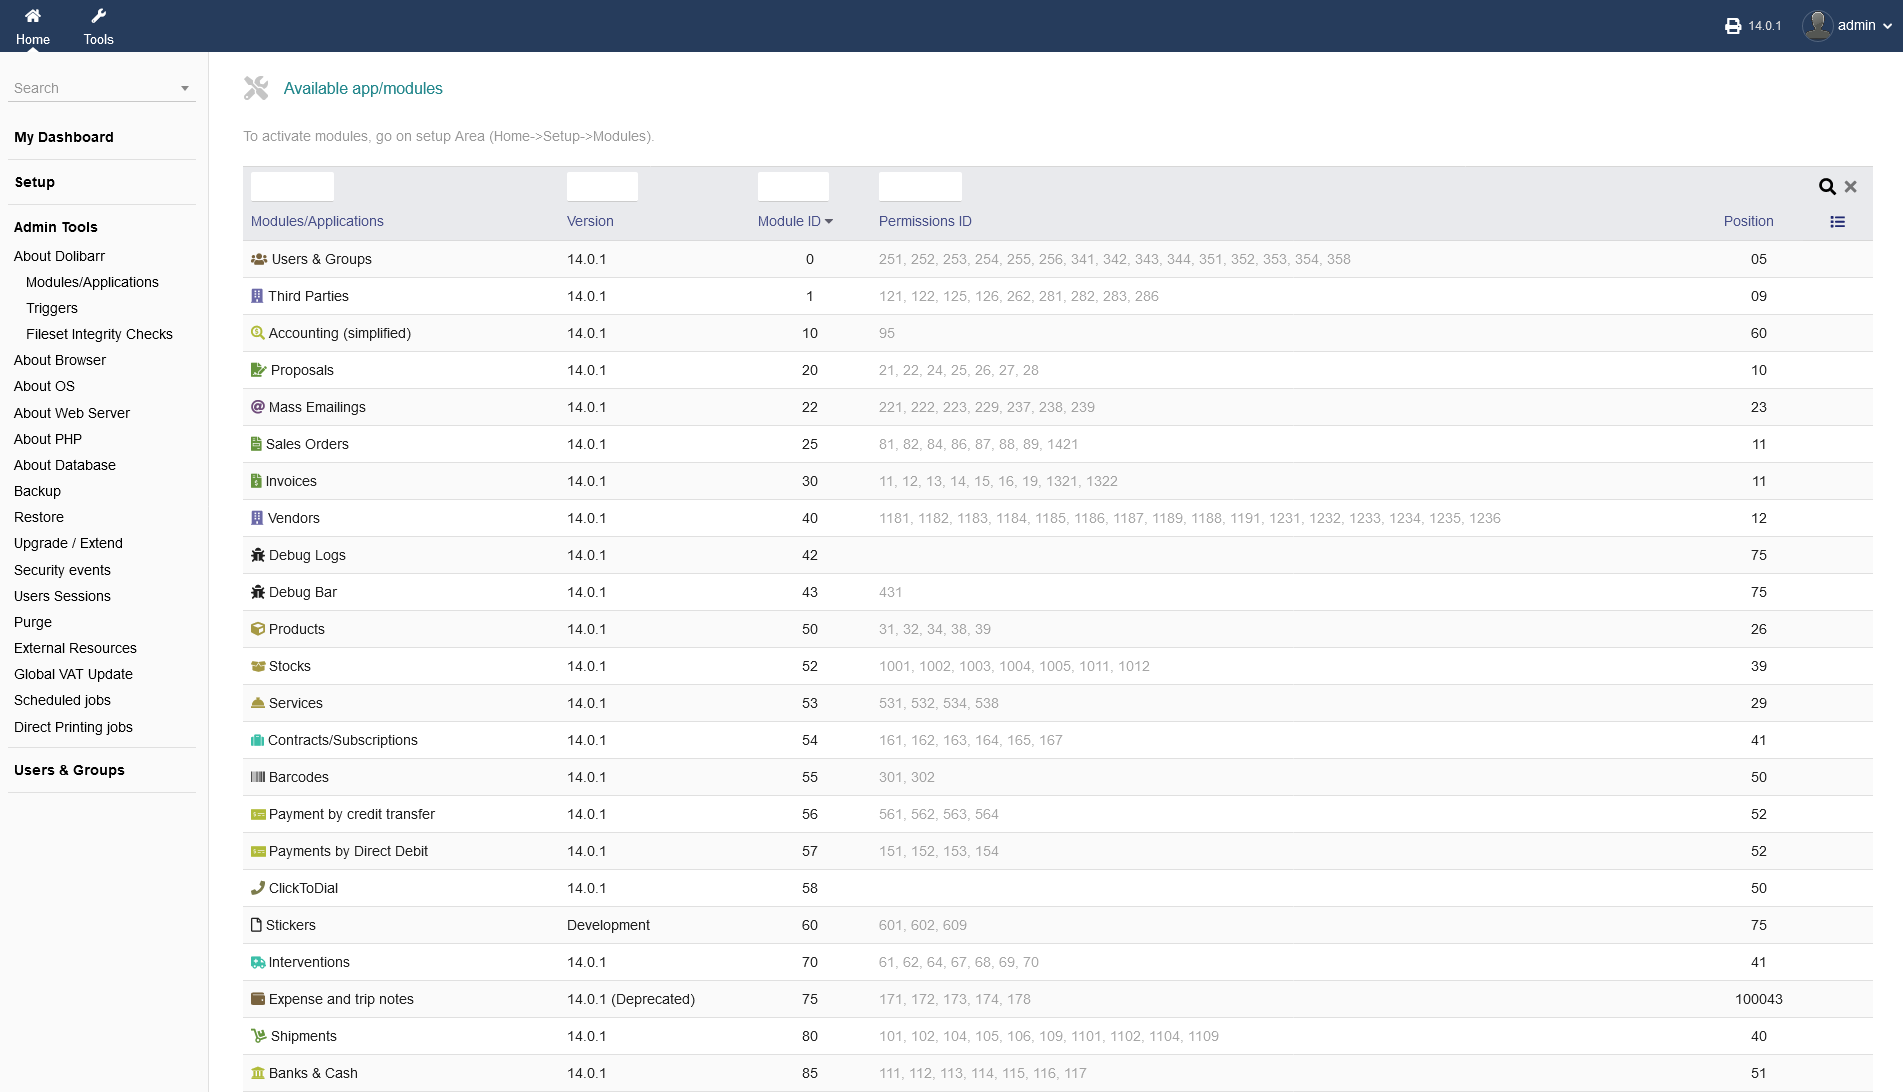
"Admin Tools -> About intERP -> Modules/Applications" gives you an overview of the available modules/applications, available in your intERP installation.
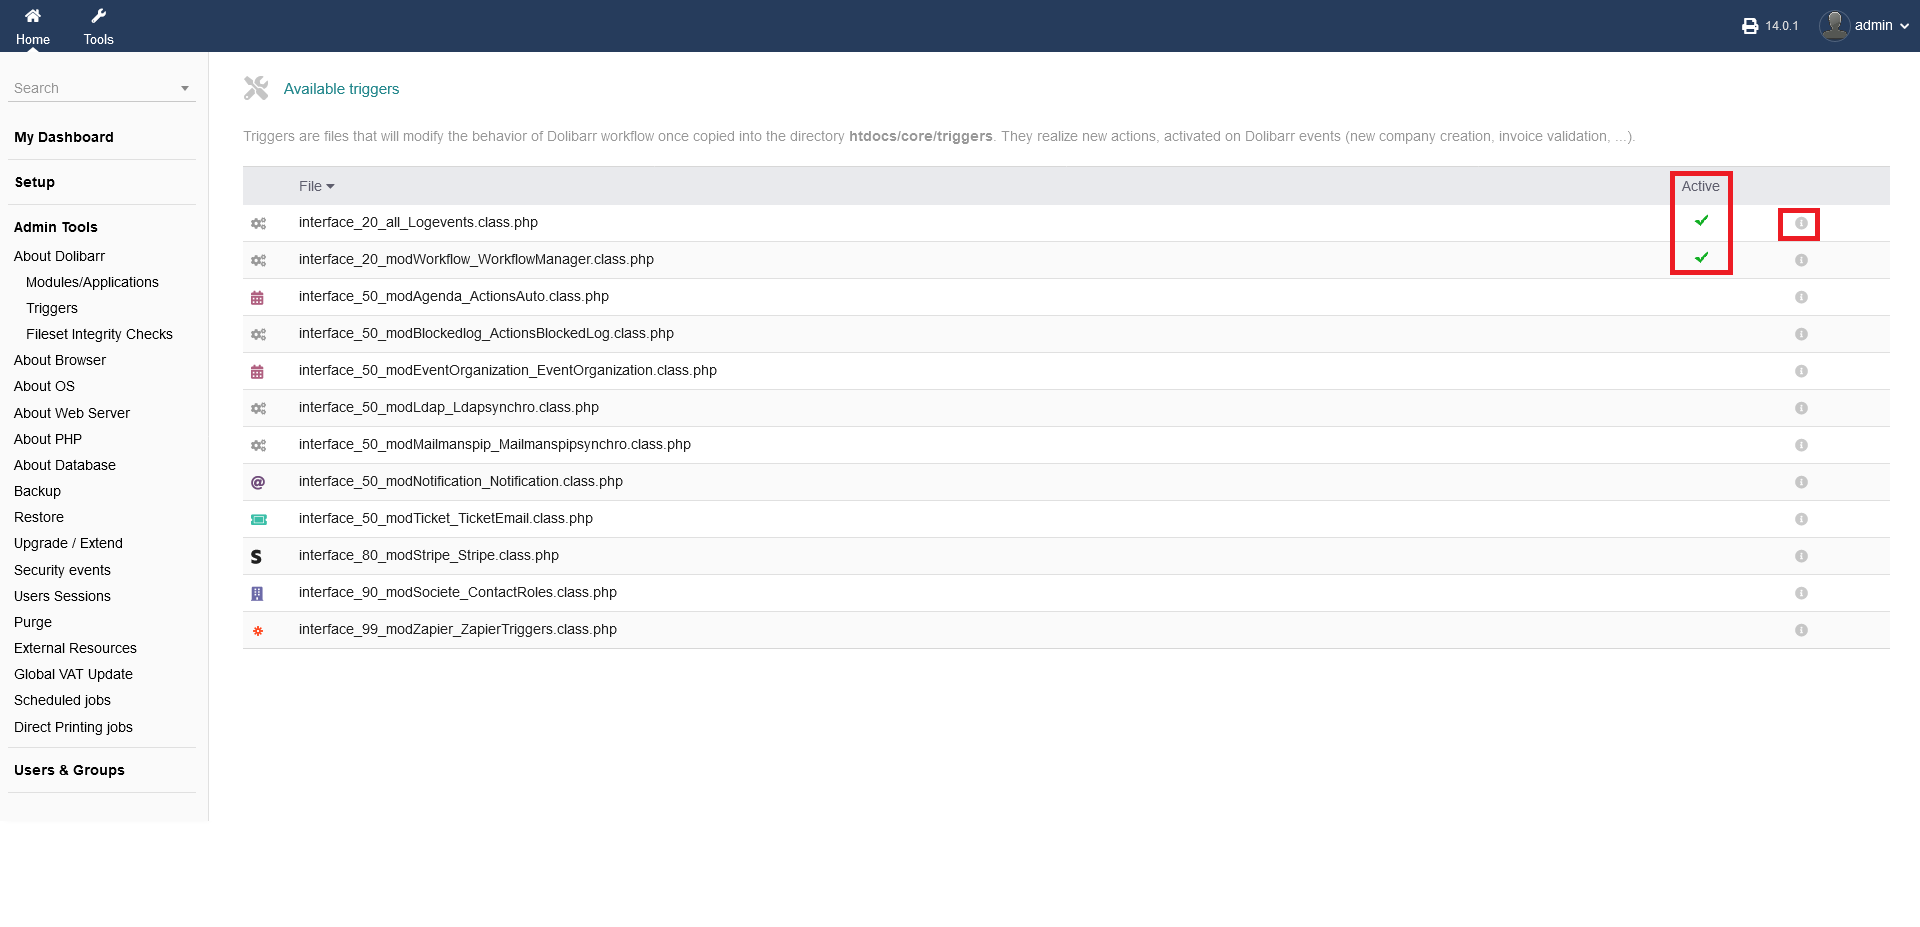
"Admin Tools -> About intERP -> Triggers" gives you an over view of your intERP triggers. Triggers are files that will modify the behavior of intERP workflow once copied into the directory htdocs/core/triggers. They realize new actions, activated on intERP events (new company creation, invoice validation, ...). You can see which one are active. The active status is indicated by a gree arrow. Each trigger has an explanation of what it is and what it does by just hovering the mouse curser over die "i" button on the very right hand side.
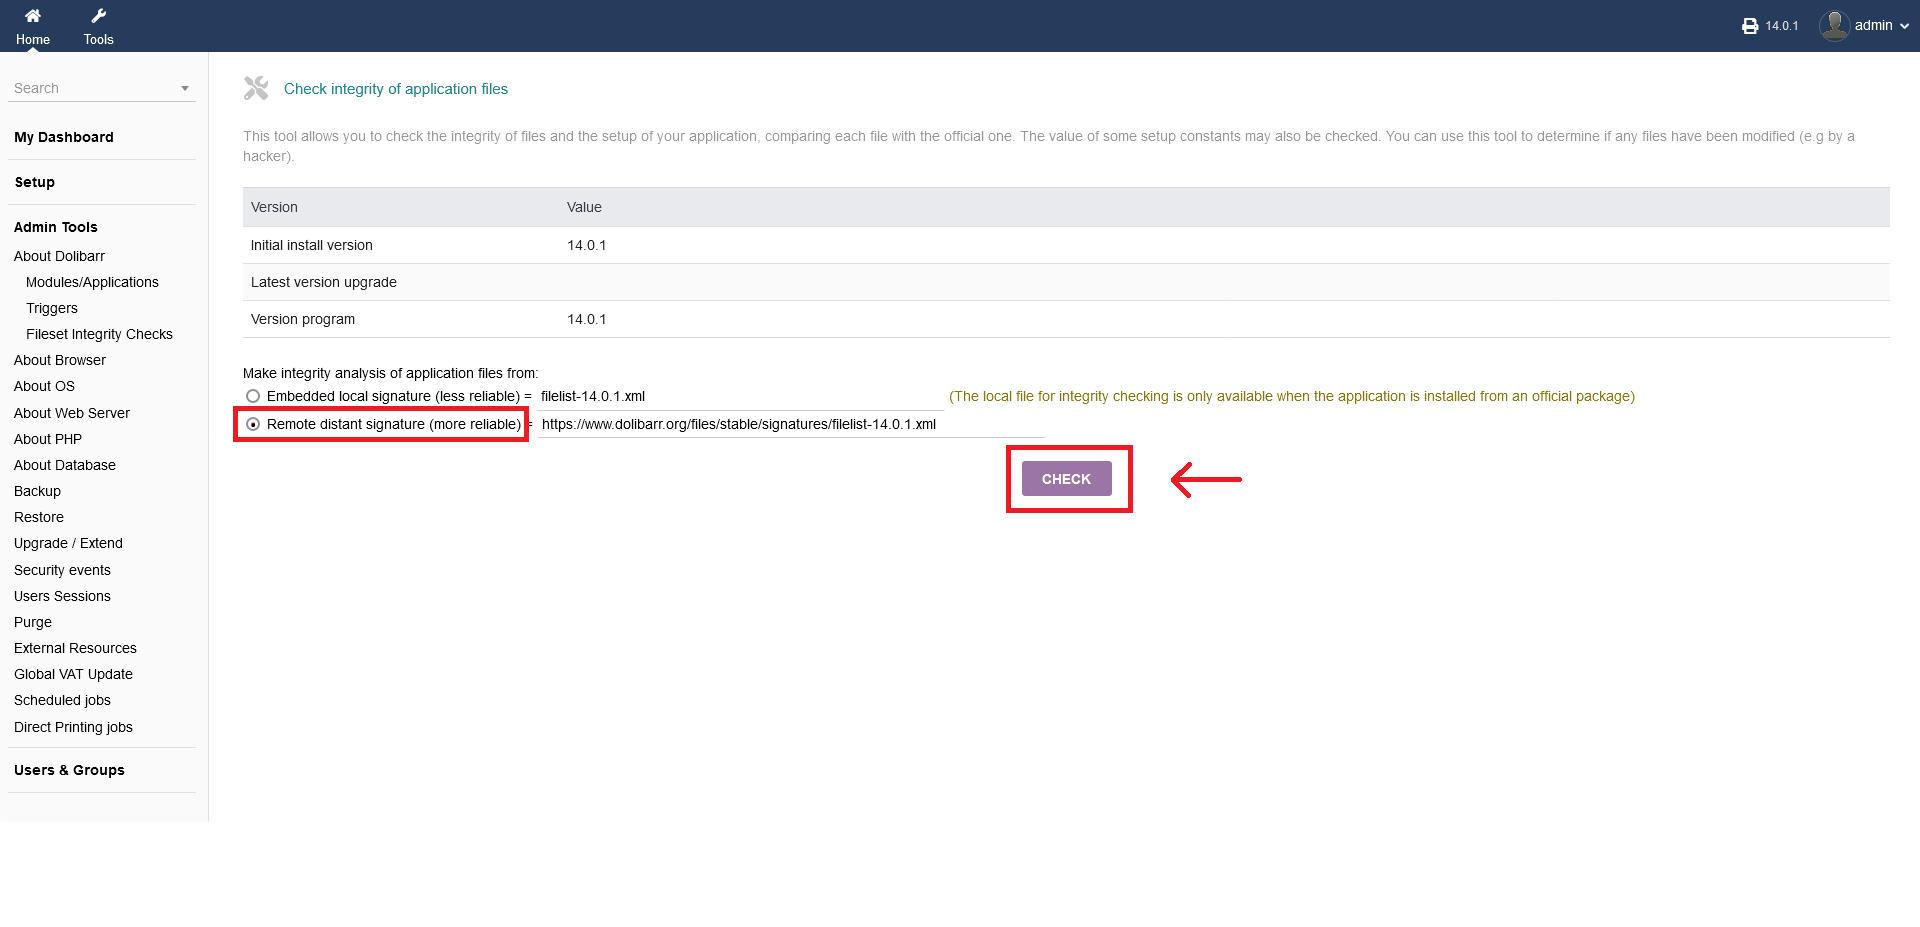
"Admin Tools ->About intERP -> Fileset Integrity Checks" allows you to check the integrity of files and the setup of your application, comparing each file with the official one. The value of some setup constants may also be checked. You can use this tool to determine if any files have been modified (e.g by a hacker). Befor you do any integrity inspection, choose from two available checking option. It is recommended to choose ". You do perform the integrity check by clicking "CHECK".
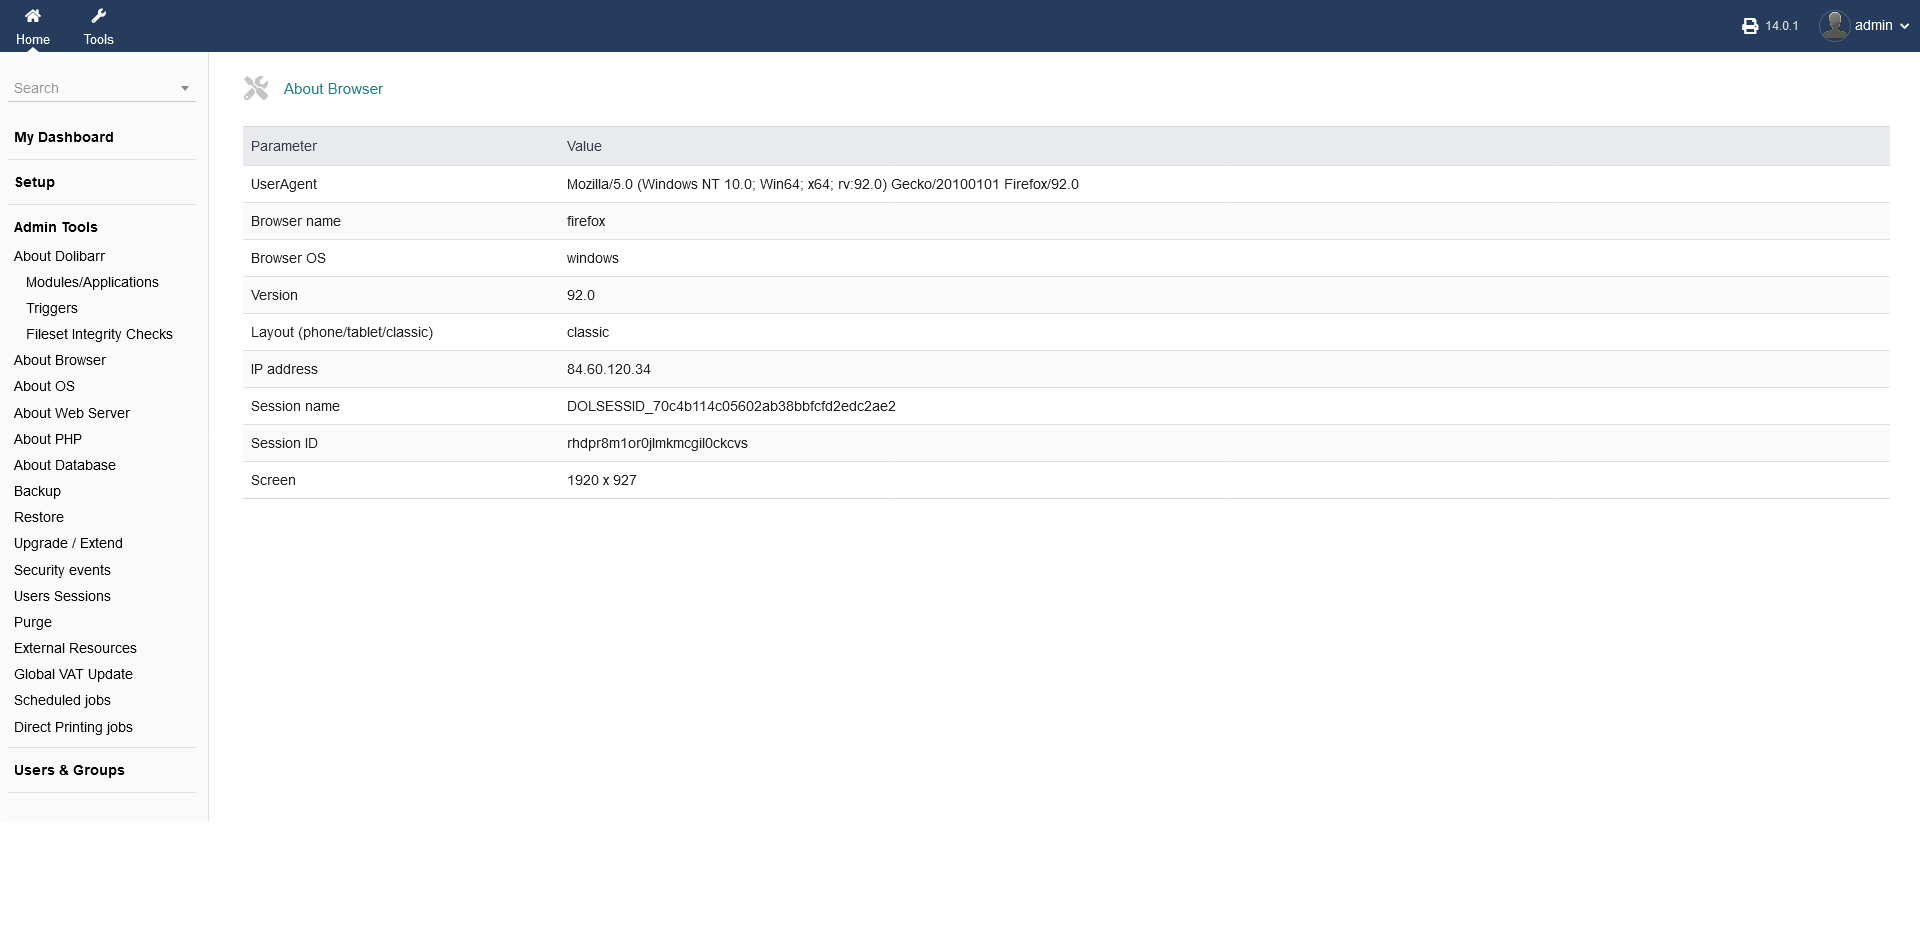
3.1.2 About Browser
"Admin Tools -> About Browser" gives you information about your current web browser you are using.
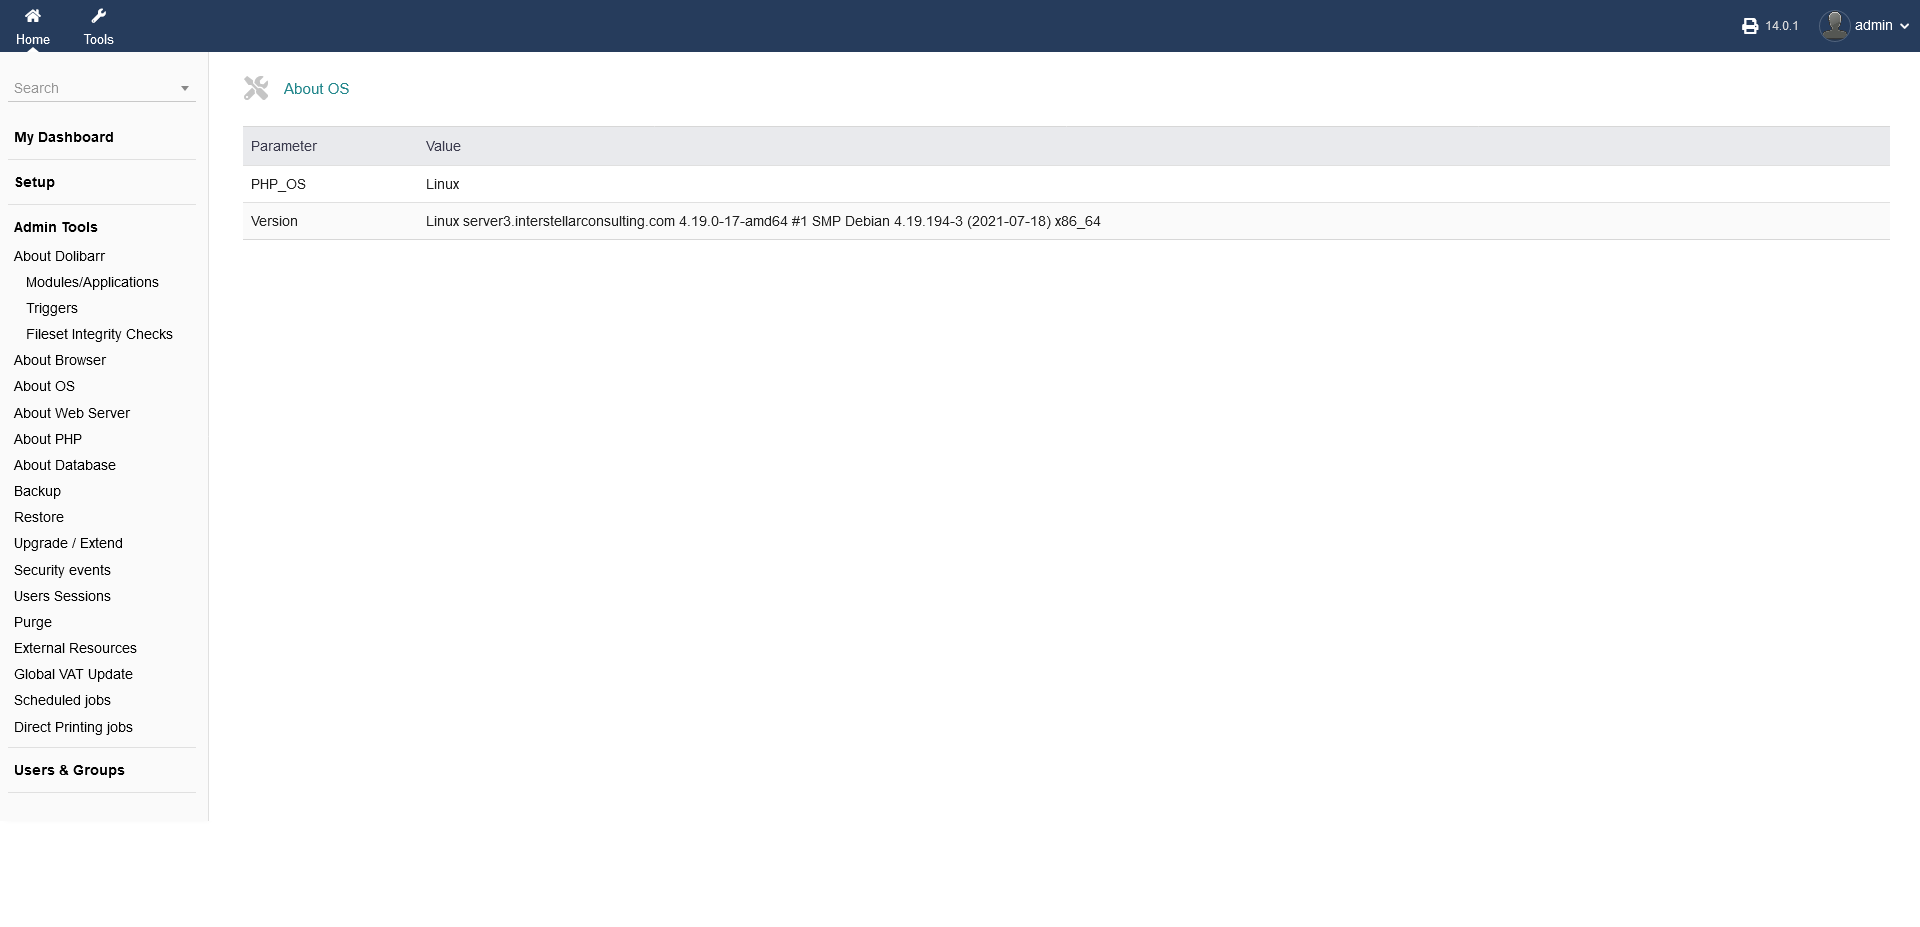
3.1.3 About OS
"Admin Tools -> About OS" shows the currenty underlining operating system (os) that your server, where intERP is installed on, is using. In this case (screenshot) it is an Linux Debian installation.
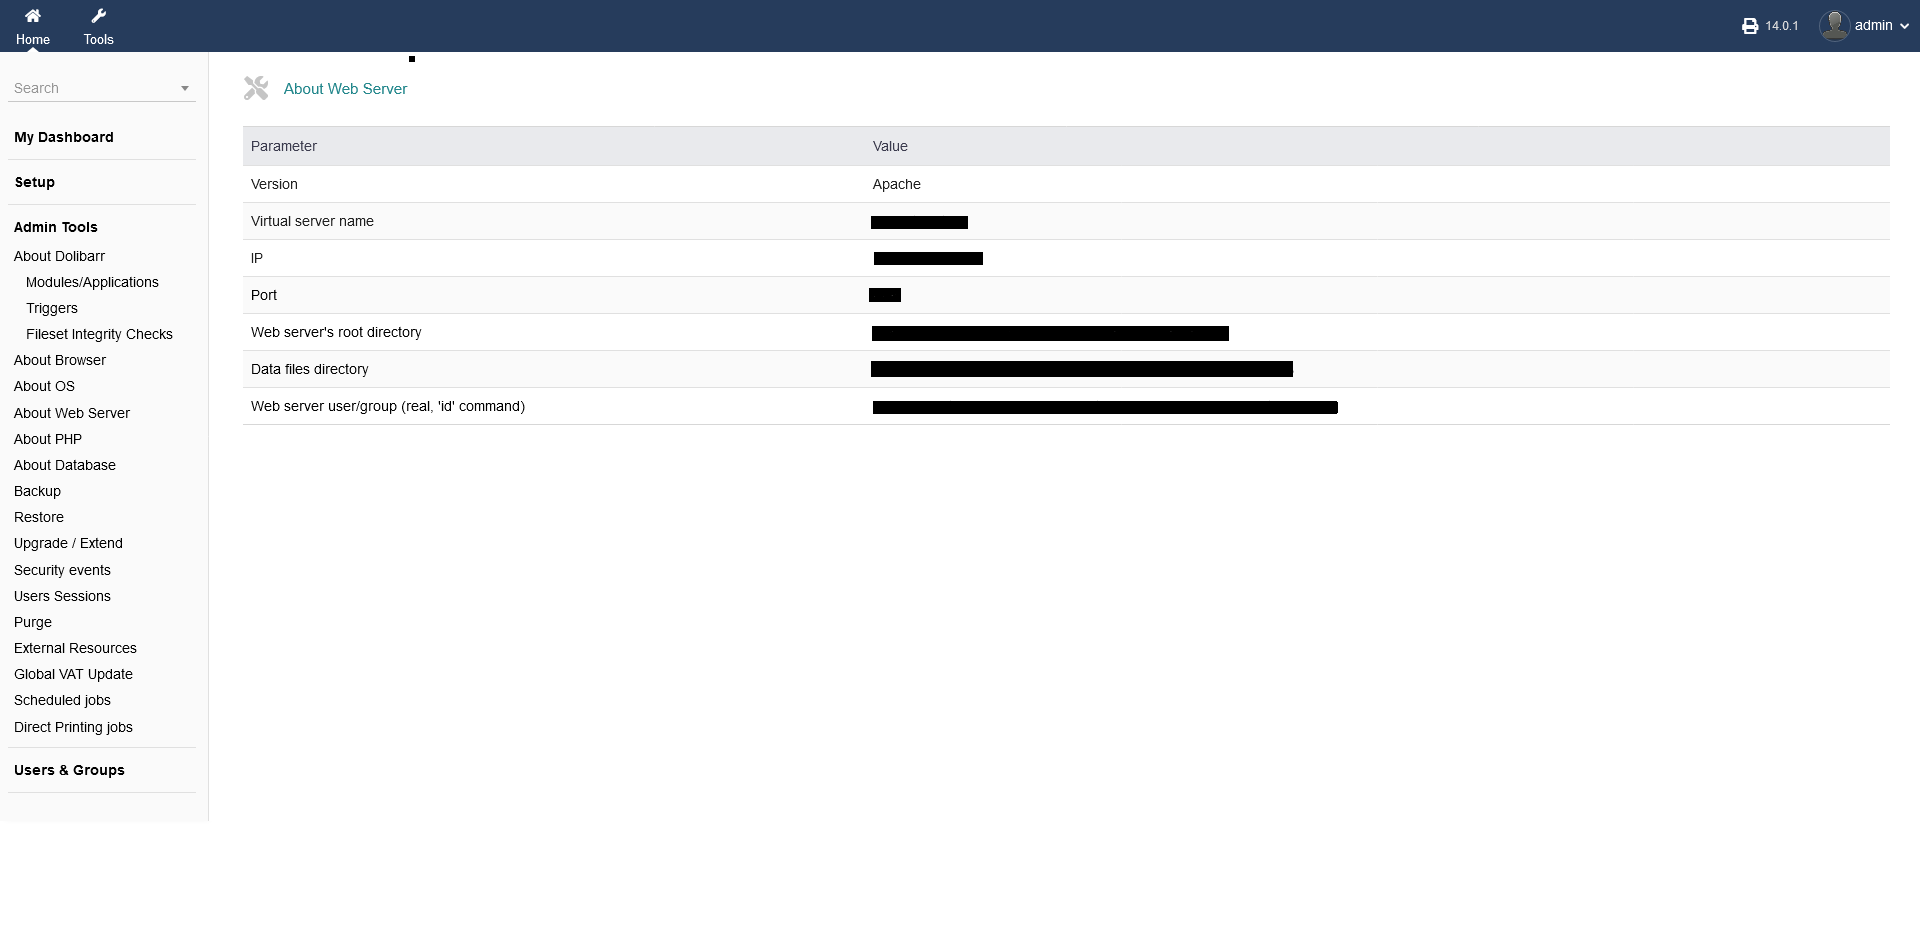
3.1.4 About Web Server
"Admin Tools -> About Web Sever" is granting information about the server itself, where intERP is installed on. In this case (screenshot) it is a virtual server (with name, ip, port etc.). File and root directory are shown as well.
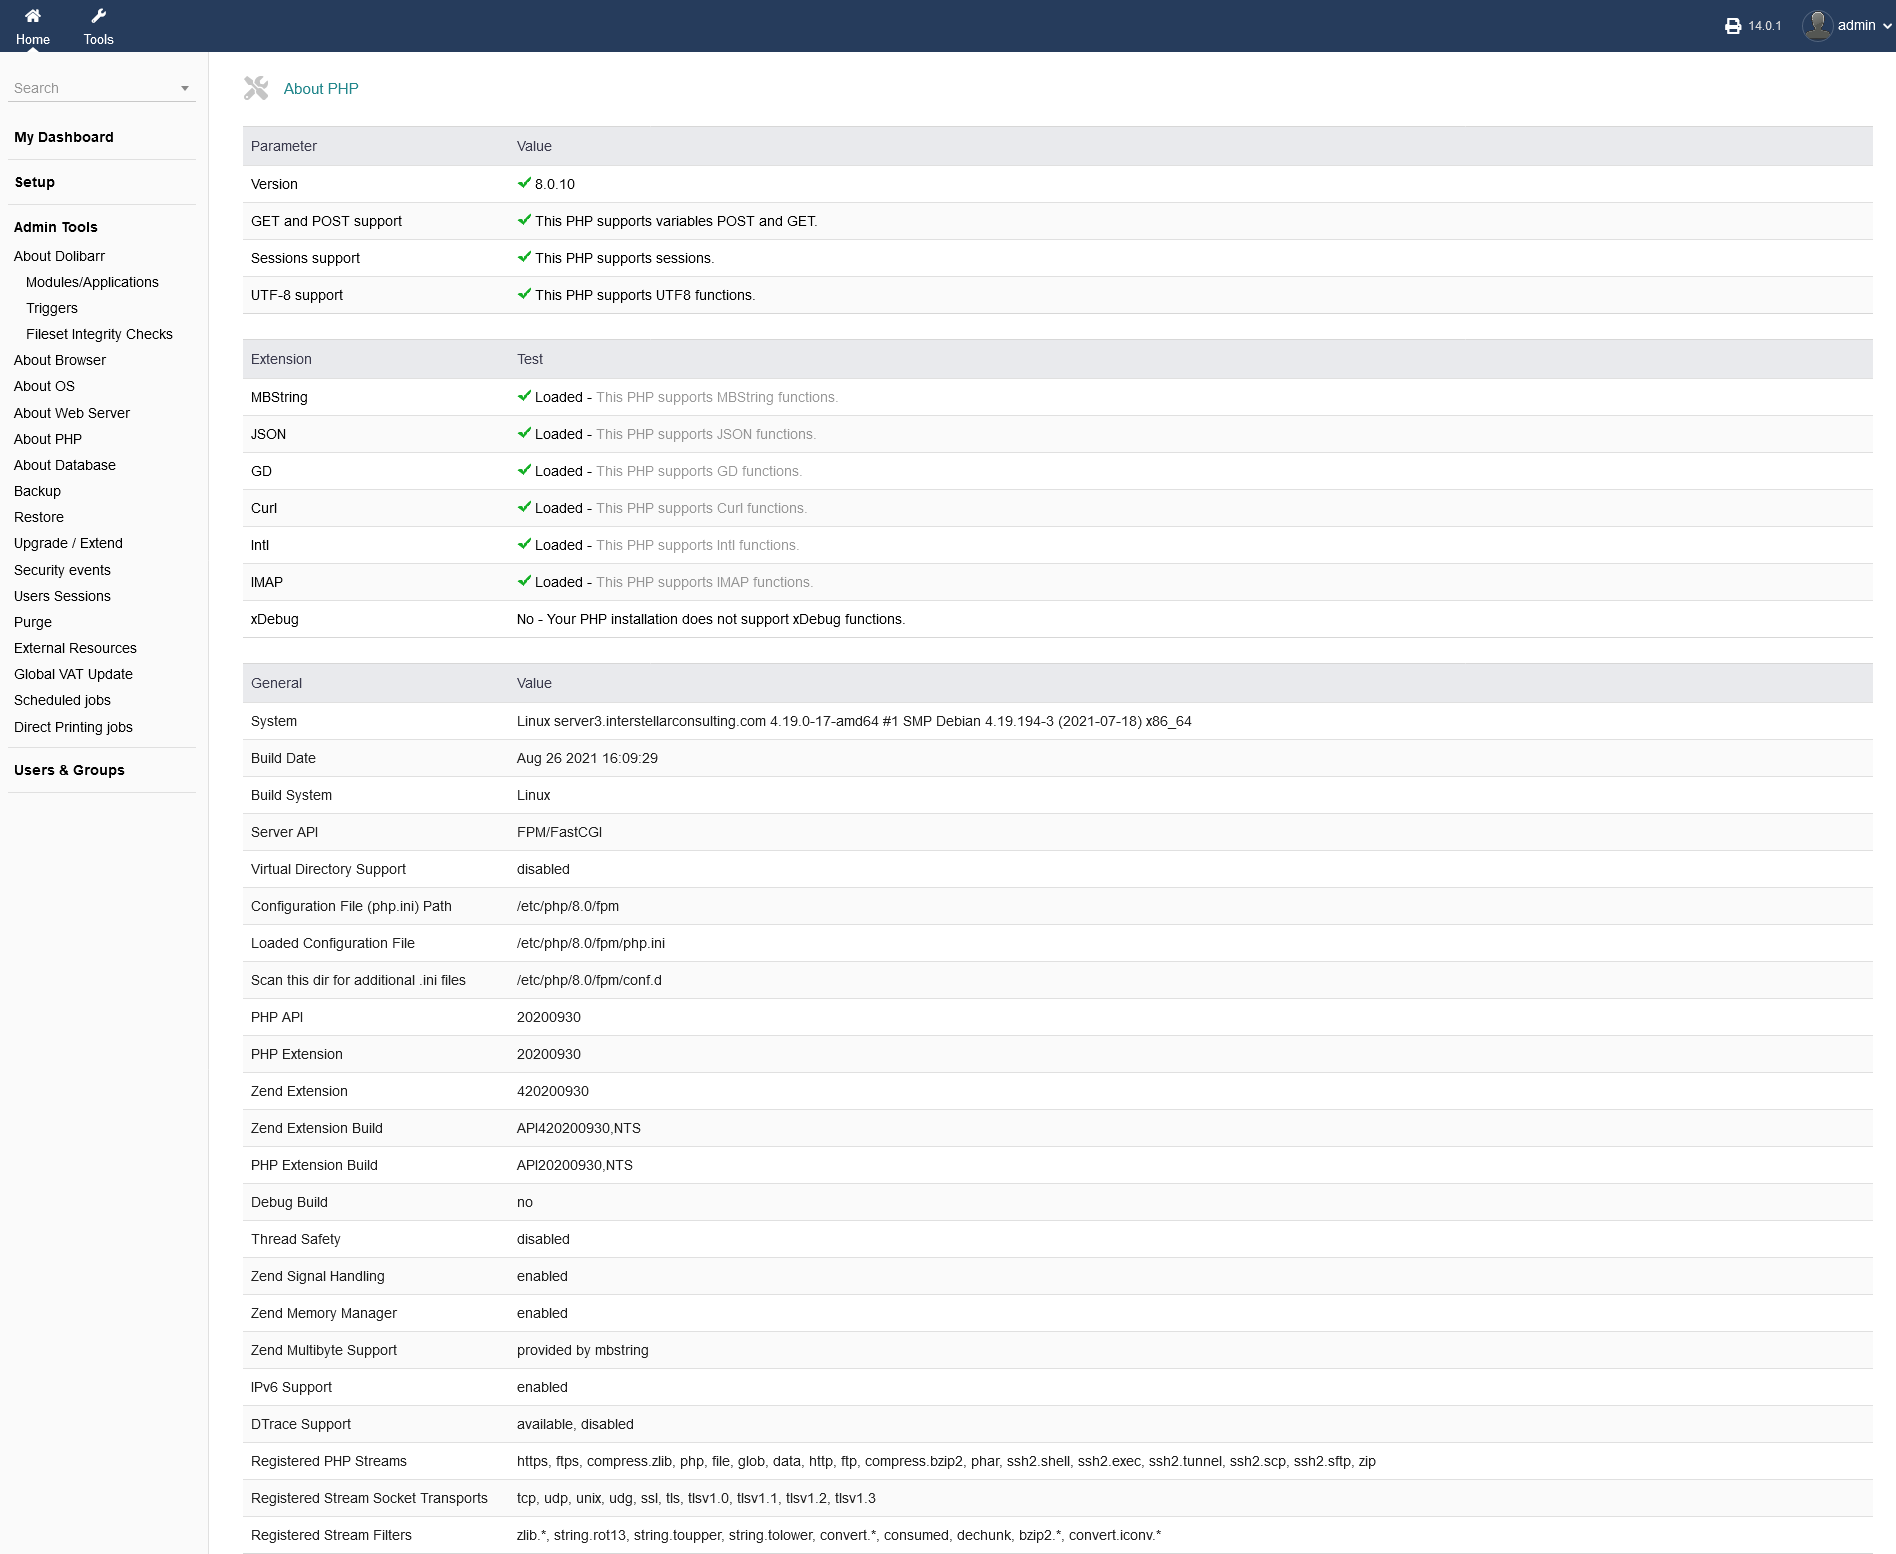
3.1.5 About PHP
"Admin Tools -> About PHP" is showing you information about the PHP version and status you are currently running. This page is giving you an extensive list of all PHP related data. Again, this is only an informational overview. You cannot manipulate anything or update/check for updates of your PHP version. You have to update your PHP via your server/virtual server software.
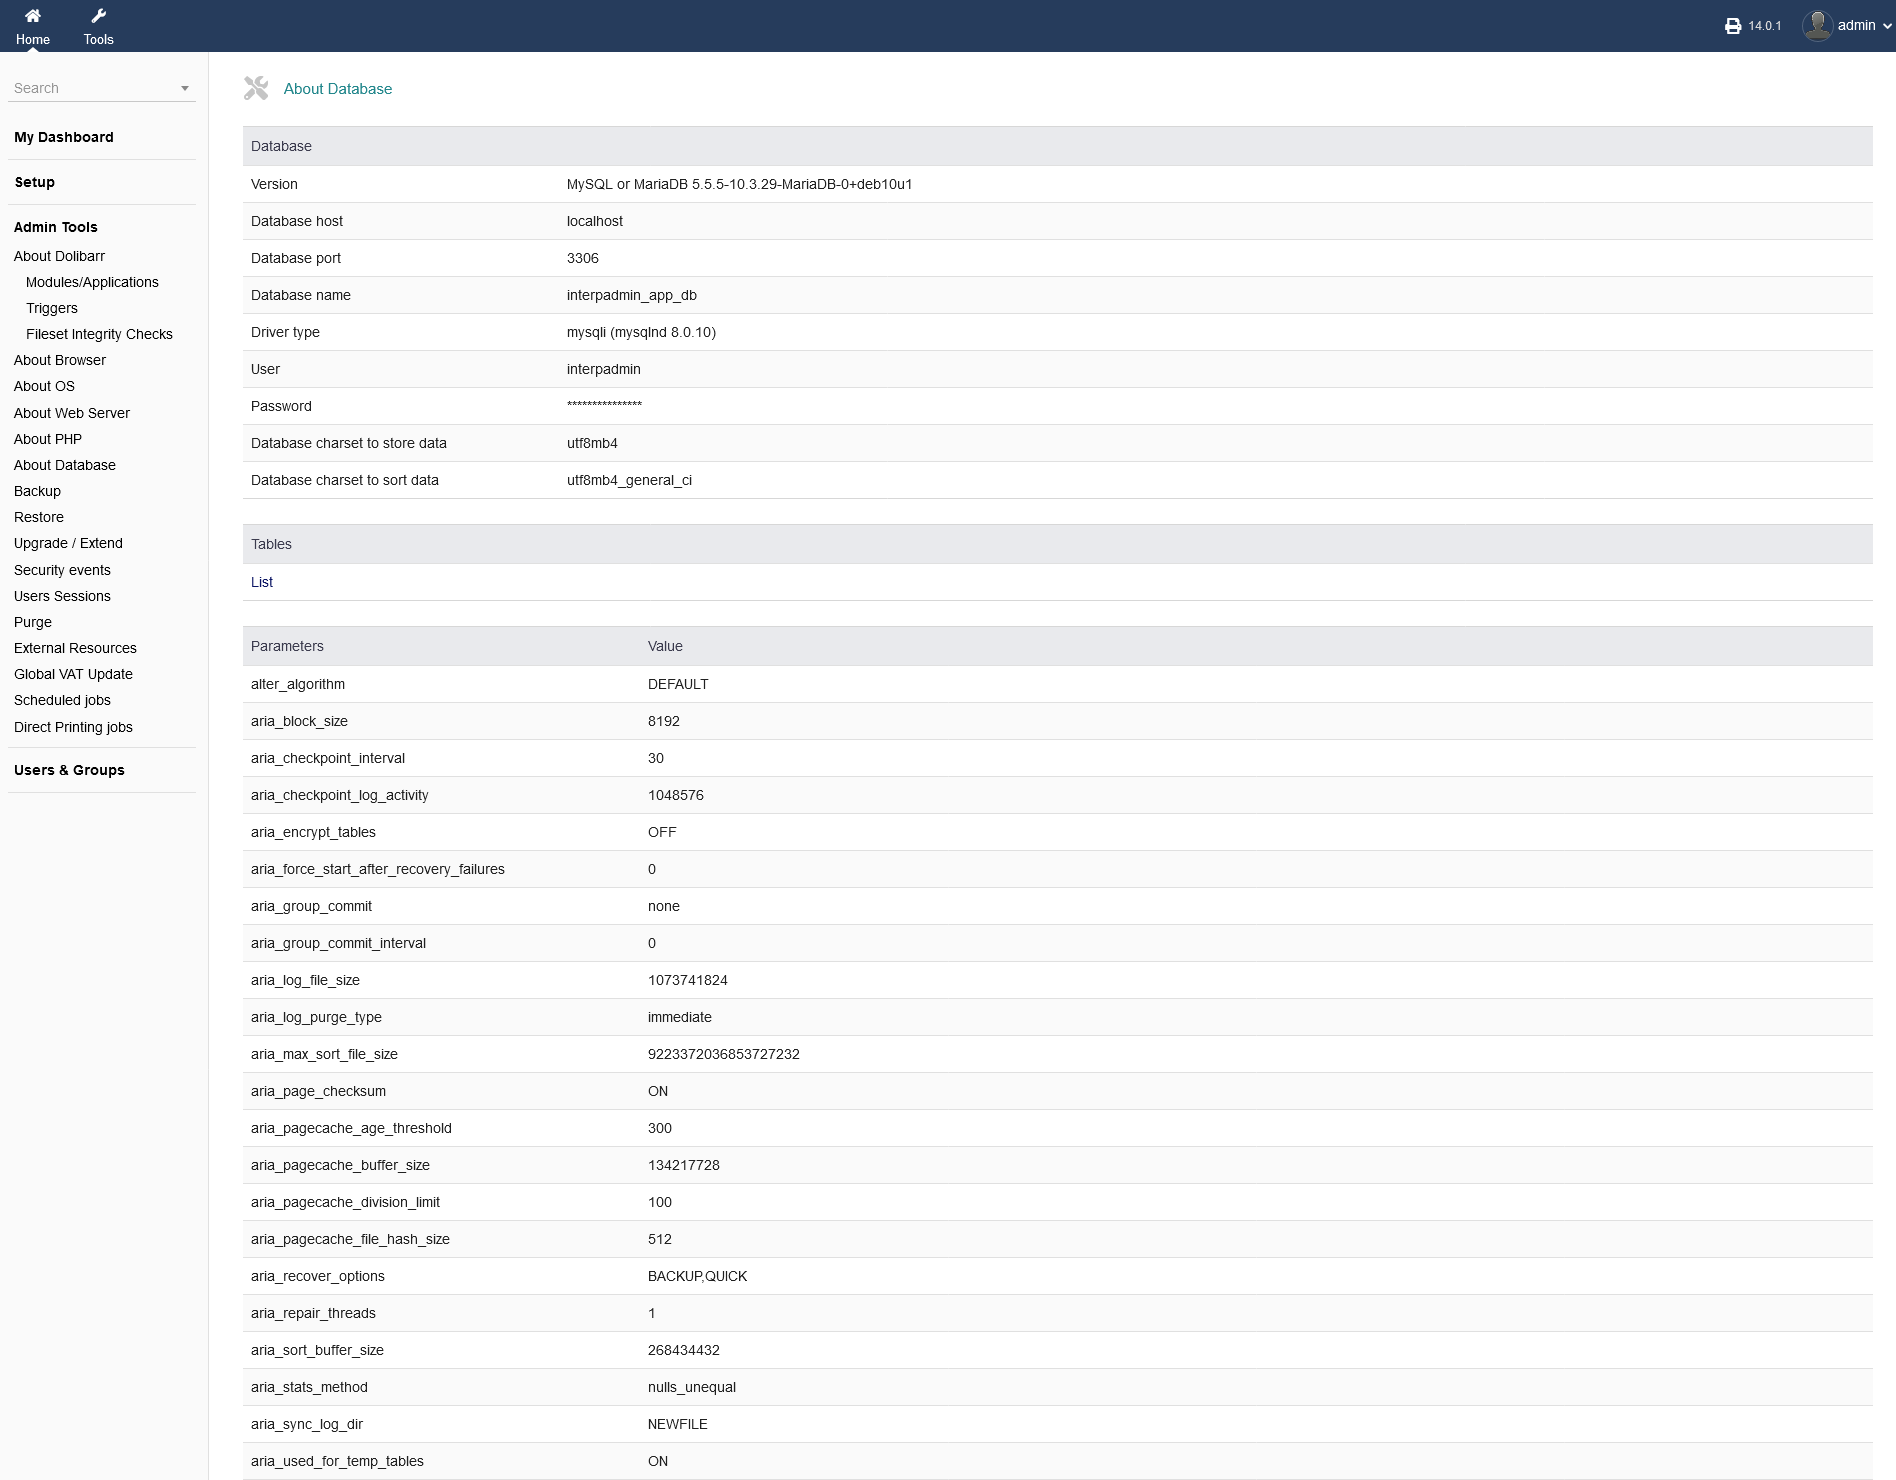
3.1.6 About Database
"Admin Tools -> About Database" gives you the same informational overview but only related to your database. You can get an overview about your database tables by clicking on "List" under die header "Tables".
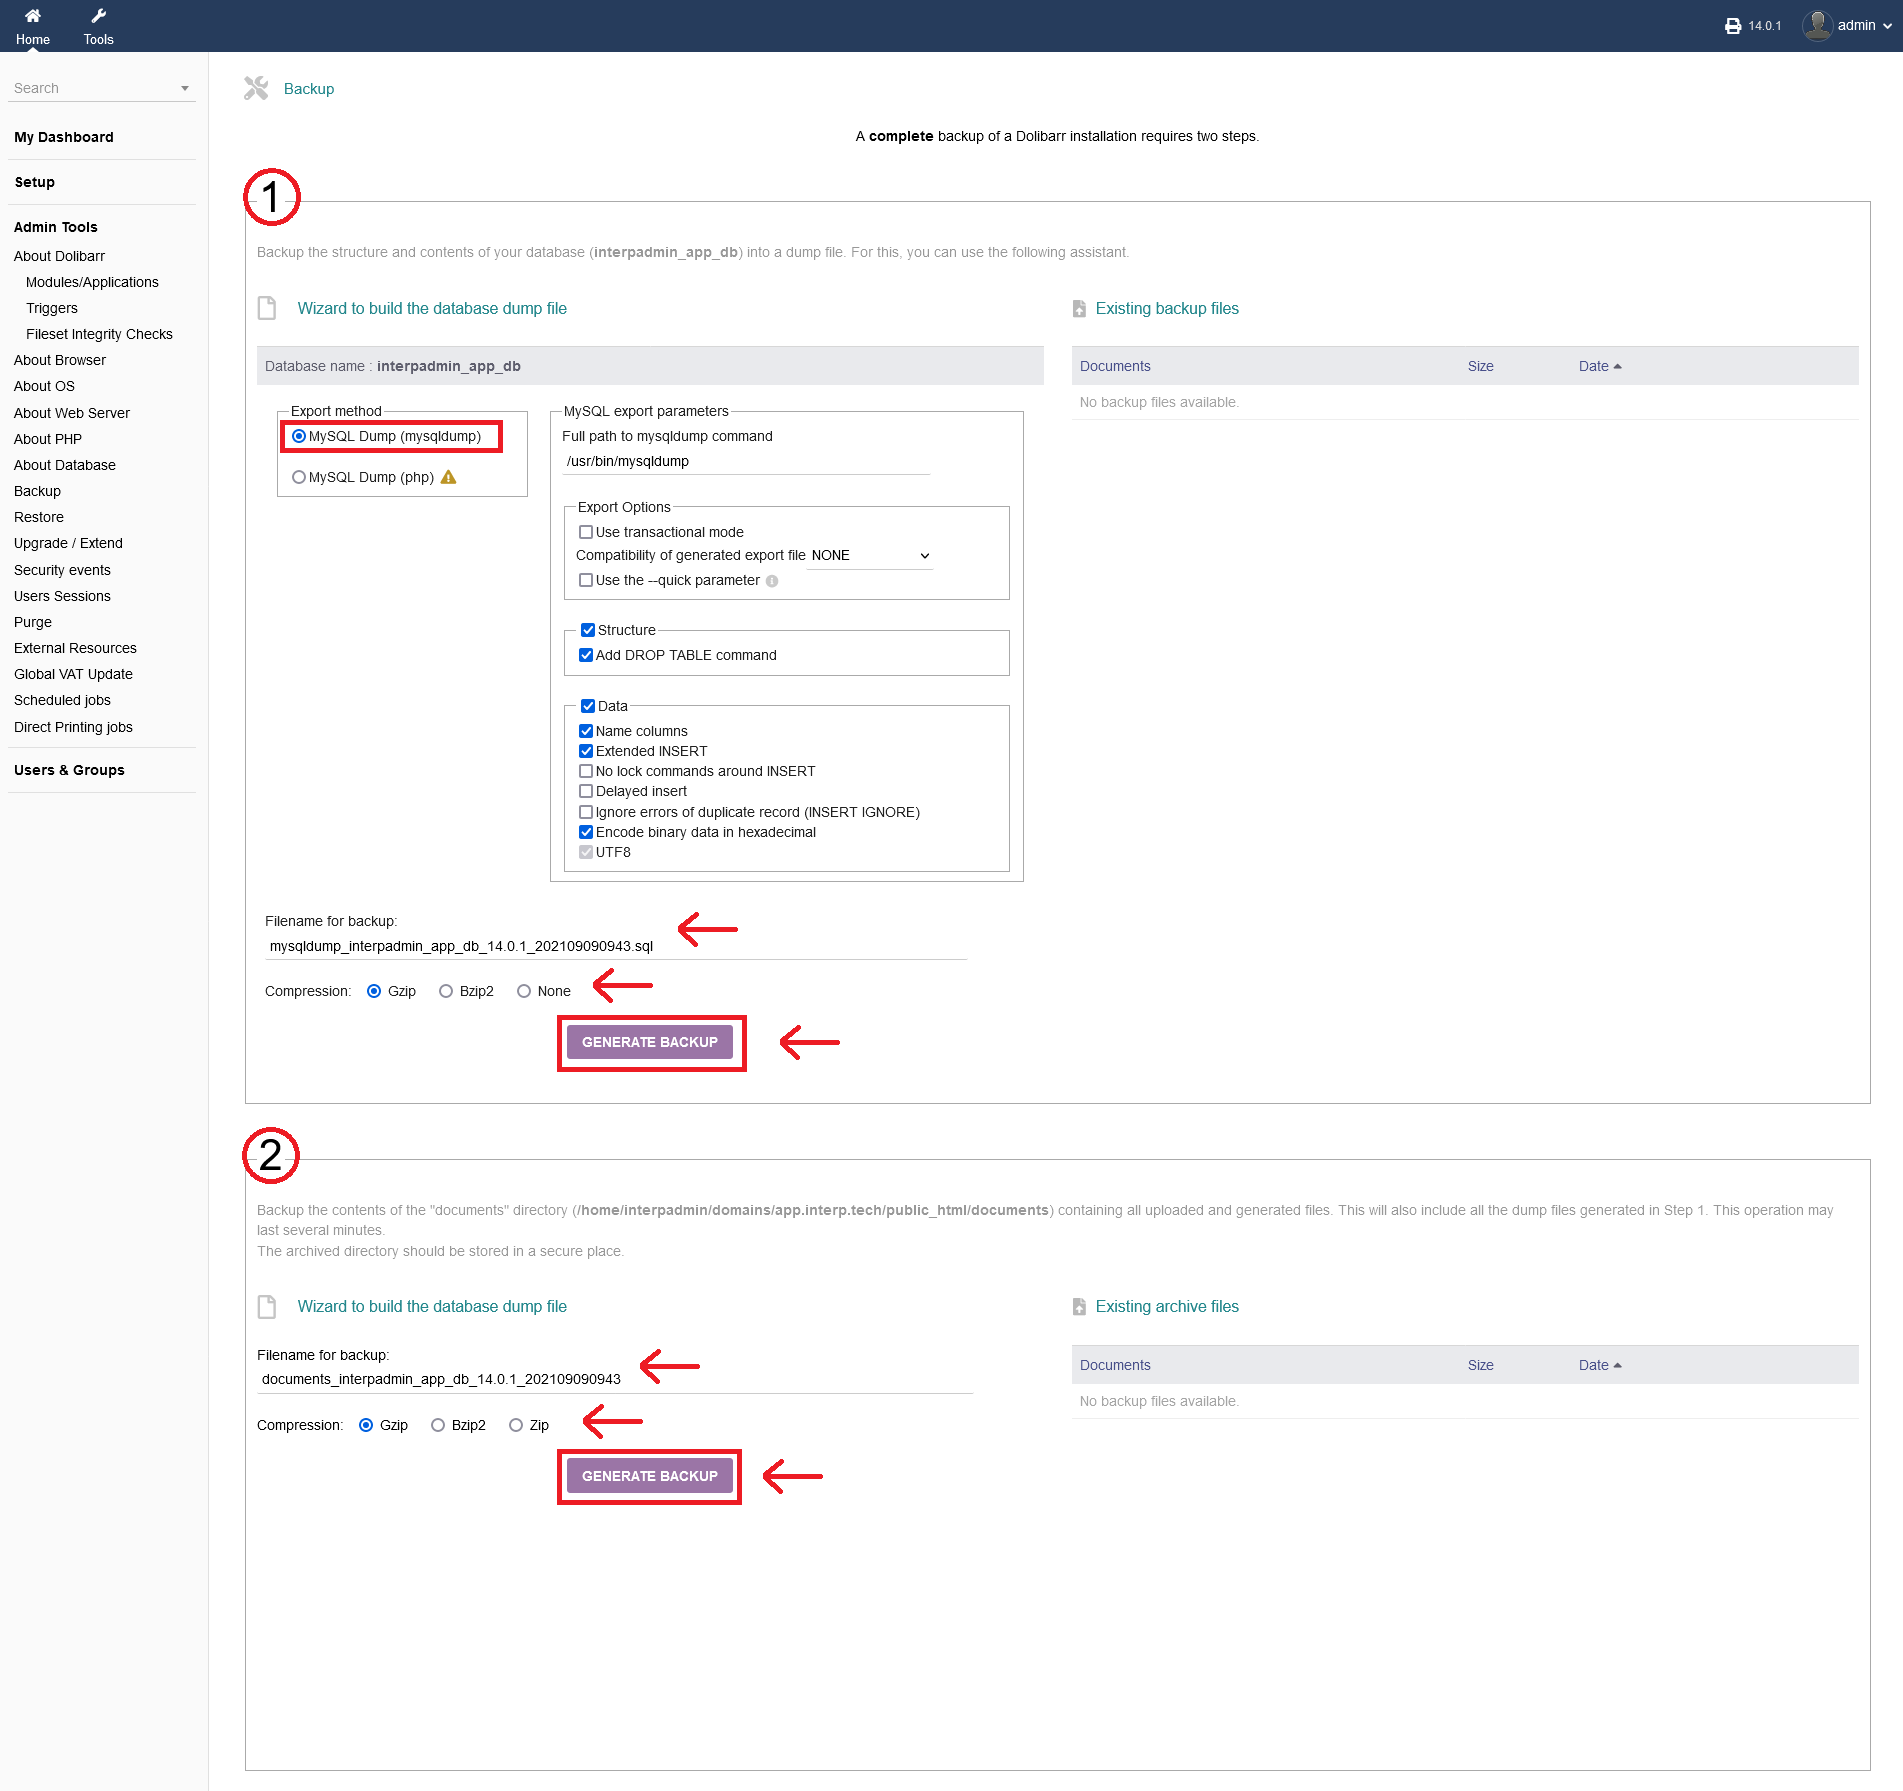
3.2 Backup
intERP is offering you a backup function to save your data of your complete intERP installation under "Admin Tools -> Backup". It is recommended to perform backups regularly. It requires two steps to perform a full backup (database + files).
1. Choose a backup method to export your database to a dumb file. The method "MySQL Dump (mysqldump)" is the recommended method for a complete backup. You can choose additional export parameters, as well as a filename and compression type.
On the right hand side, you have an listing of existing backup files that are present in your file system.
When you are done, click "GENERATE BACKUP".
2. To backup documents/files, just choose a filename and a compression method an click "GENERATE BACKUP".
Not, this backup will also include all the dump files generated from your database backup in Step 1. This operation may last several minutes.
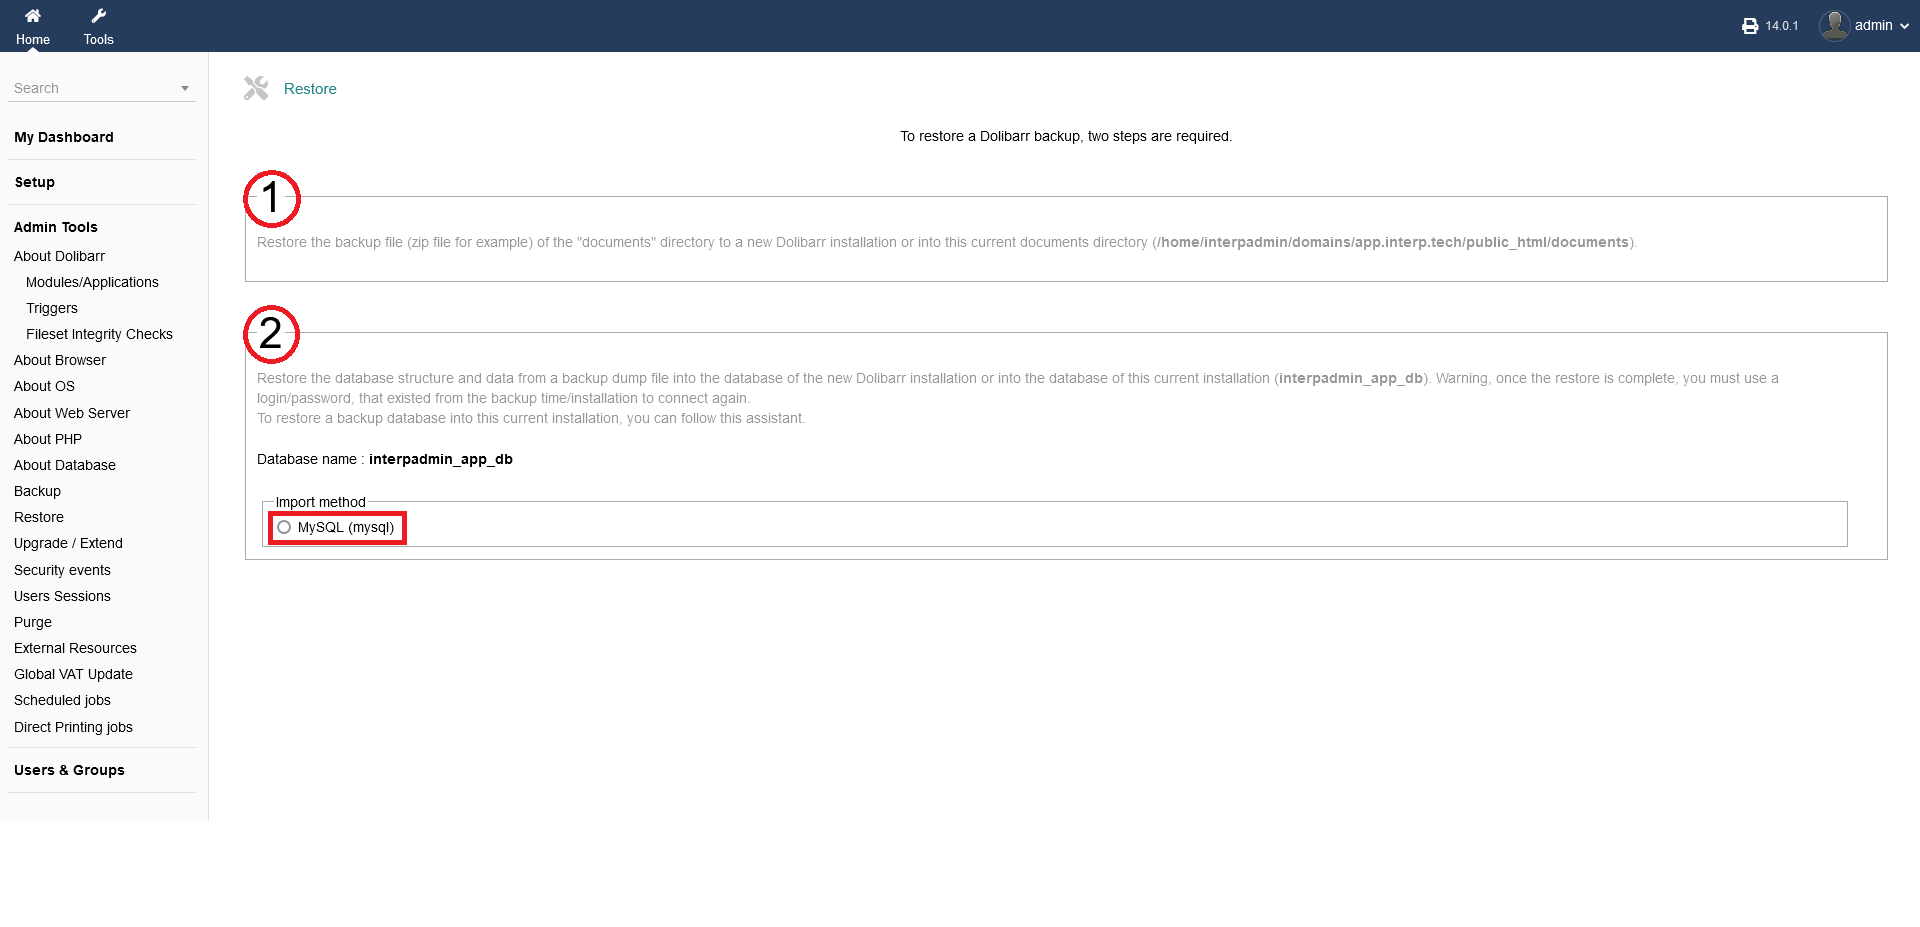
3.3 Restore
Under "Admin Tools -> Restore" you can restore your backups. As the backup function was a two step process (database backup + file backup), the restore process is a two step process too. You can restore your database and/or your files.
Choose your import method (MySQL), if your database is based on MySQL.
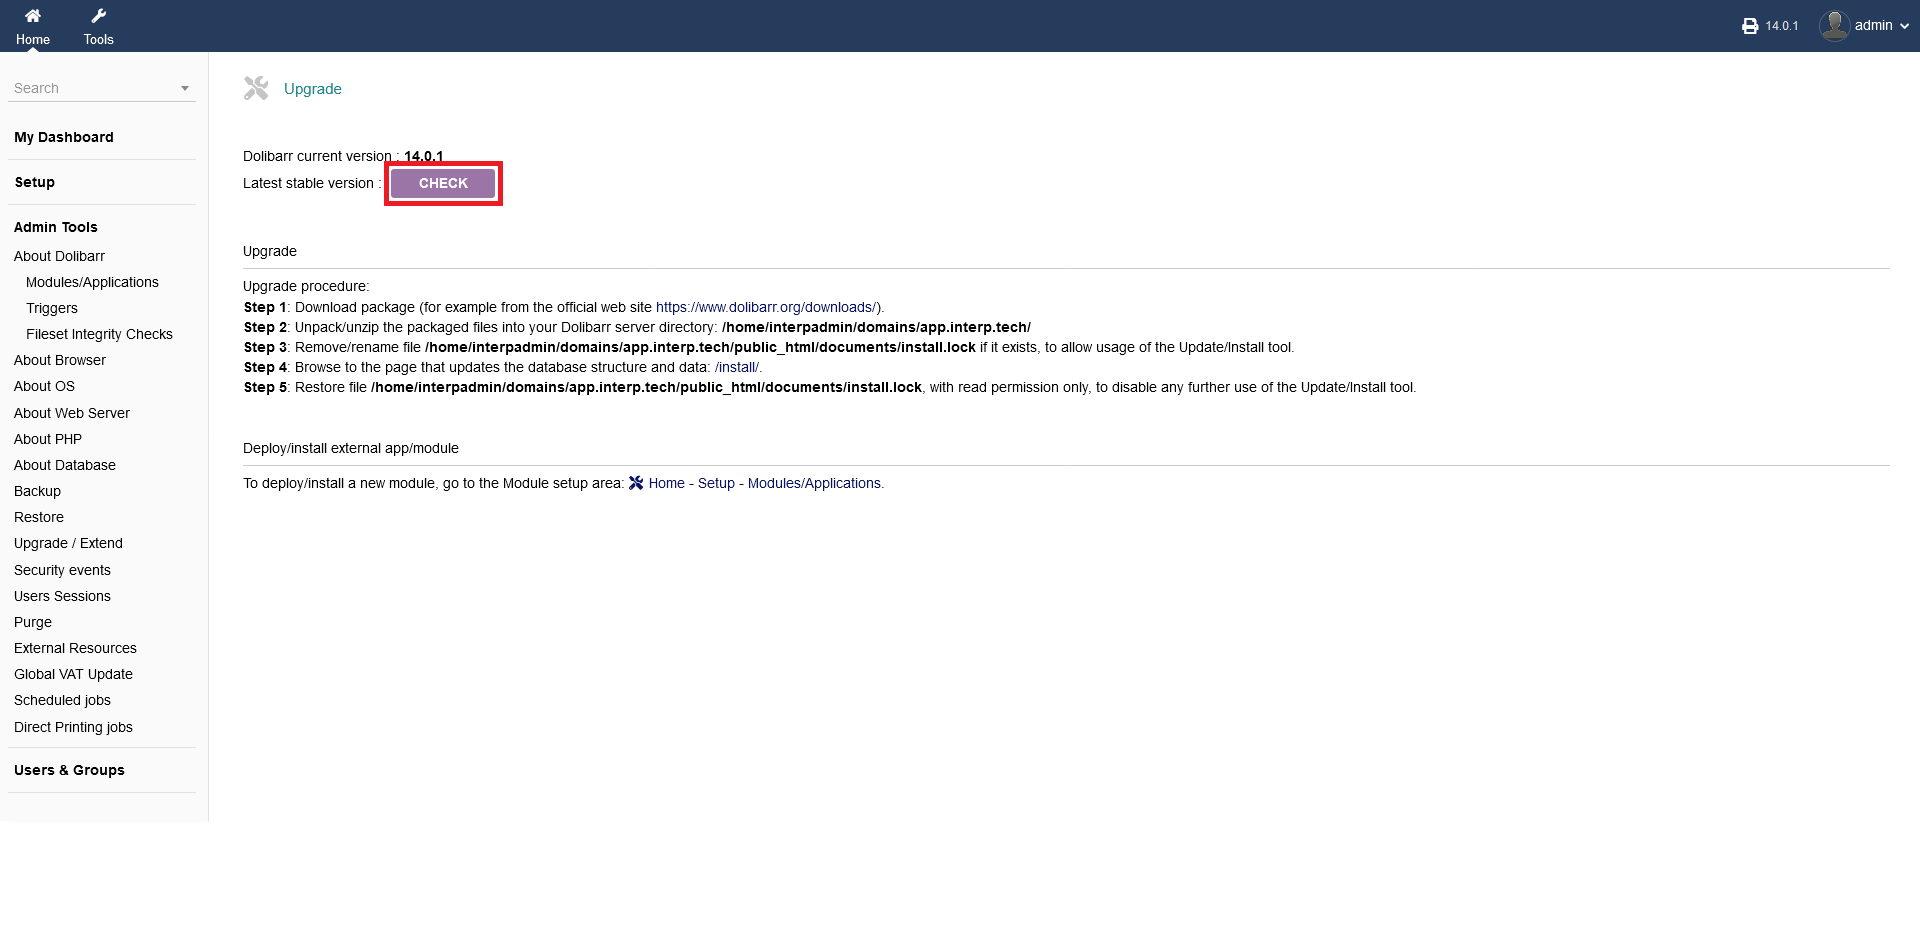
3.4 Upgrade/Extend
Under "Admin Tools -> Upgrade/Extend", you can check your intERP installation for a more current version. Click "CHECK" to proceed.
If there is new version of intERP, you have to manually download it from the intERP website and deploy the new files manually onto your server/file system. Follow the described steps that are shown under "Upgrade procedure".
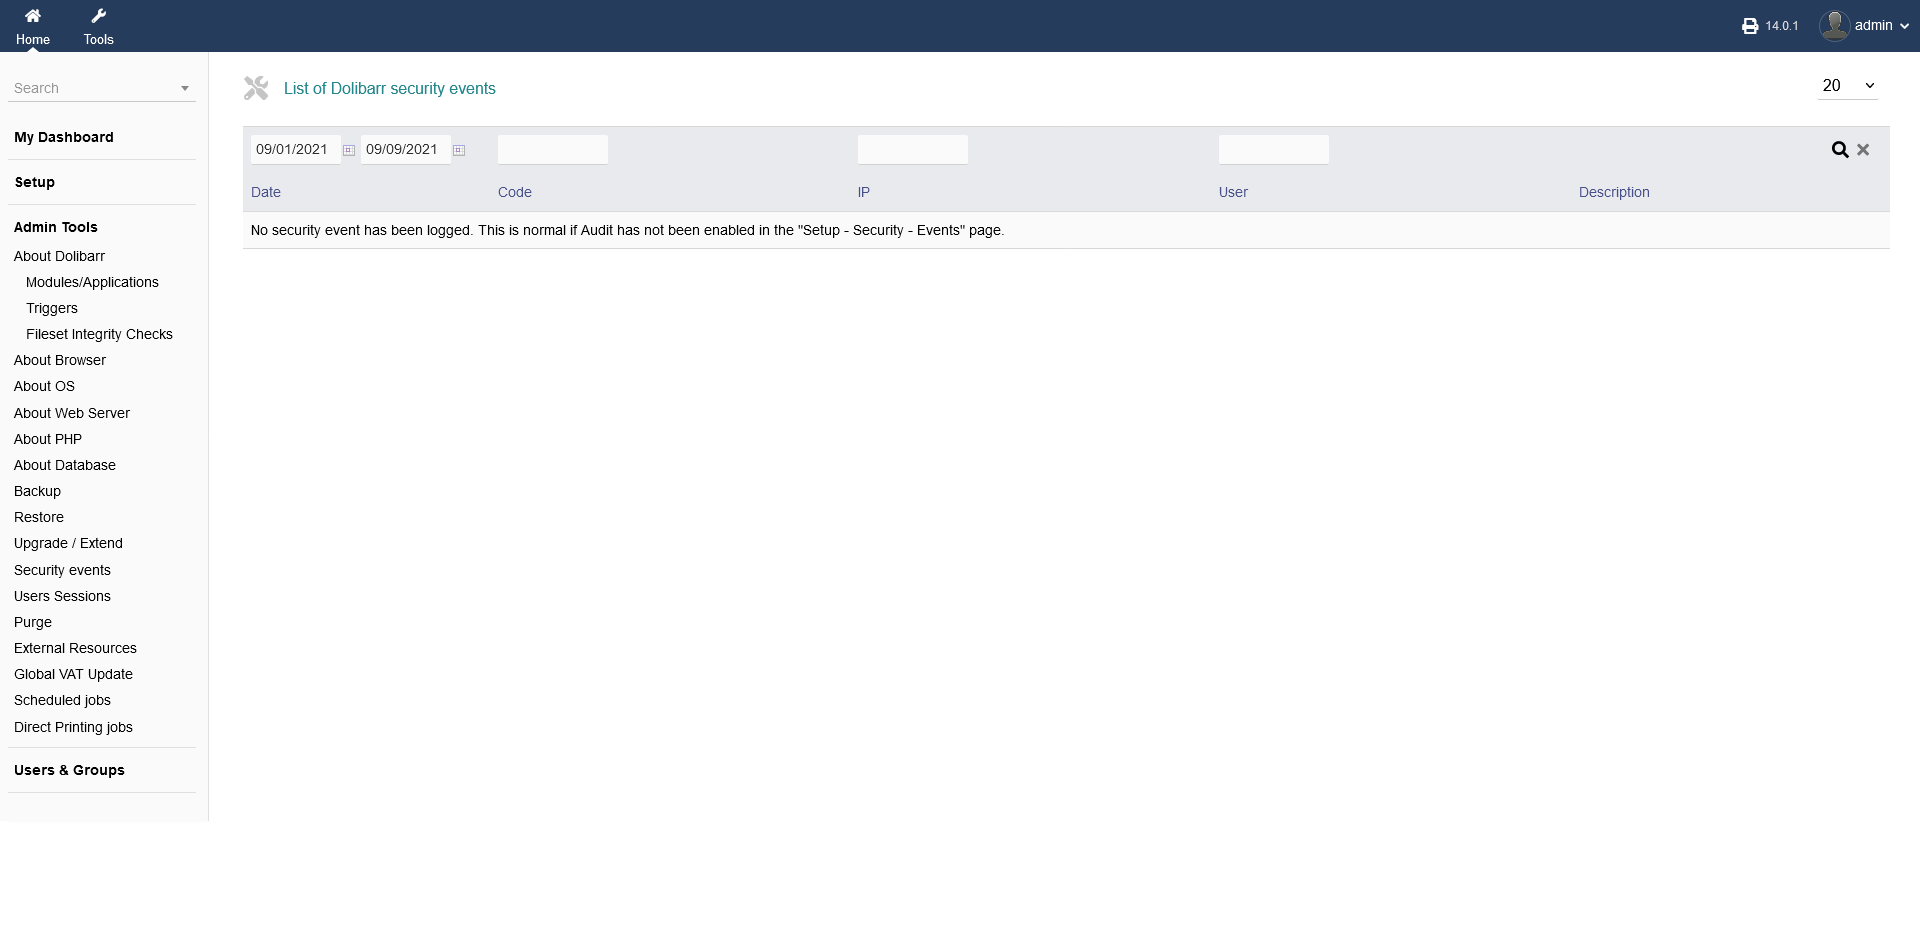
3.5 Security events
Under "Admin Tools -> Security events" you find a listing of intERP secutrity events. You can search/sort after dates, code, ip adress, user and description. To perform the search, click the "magnifying glass" symbol.
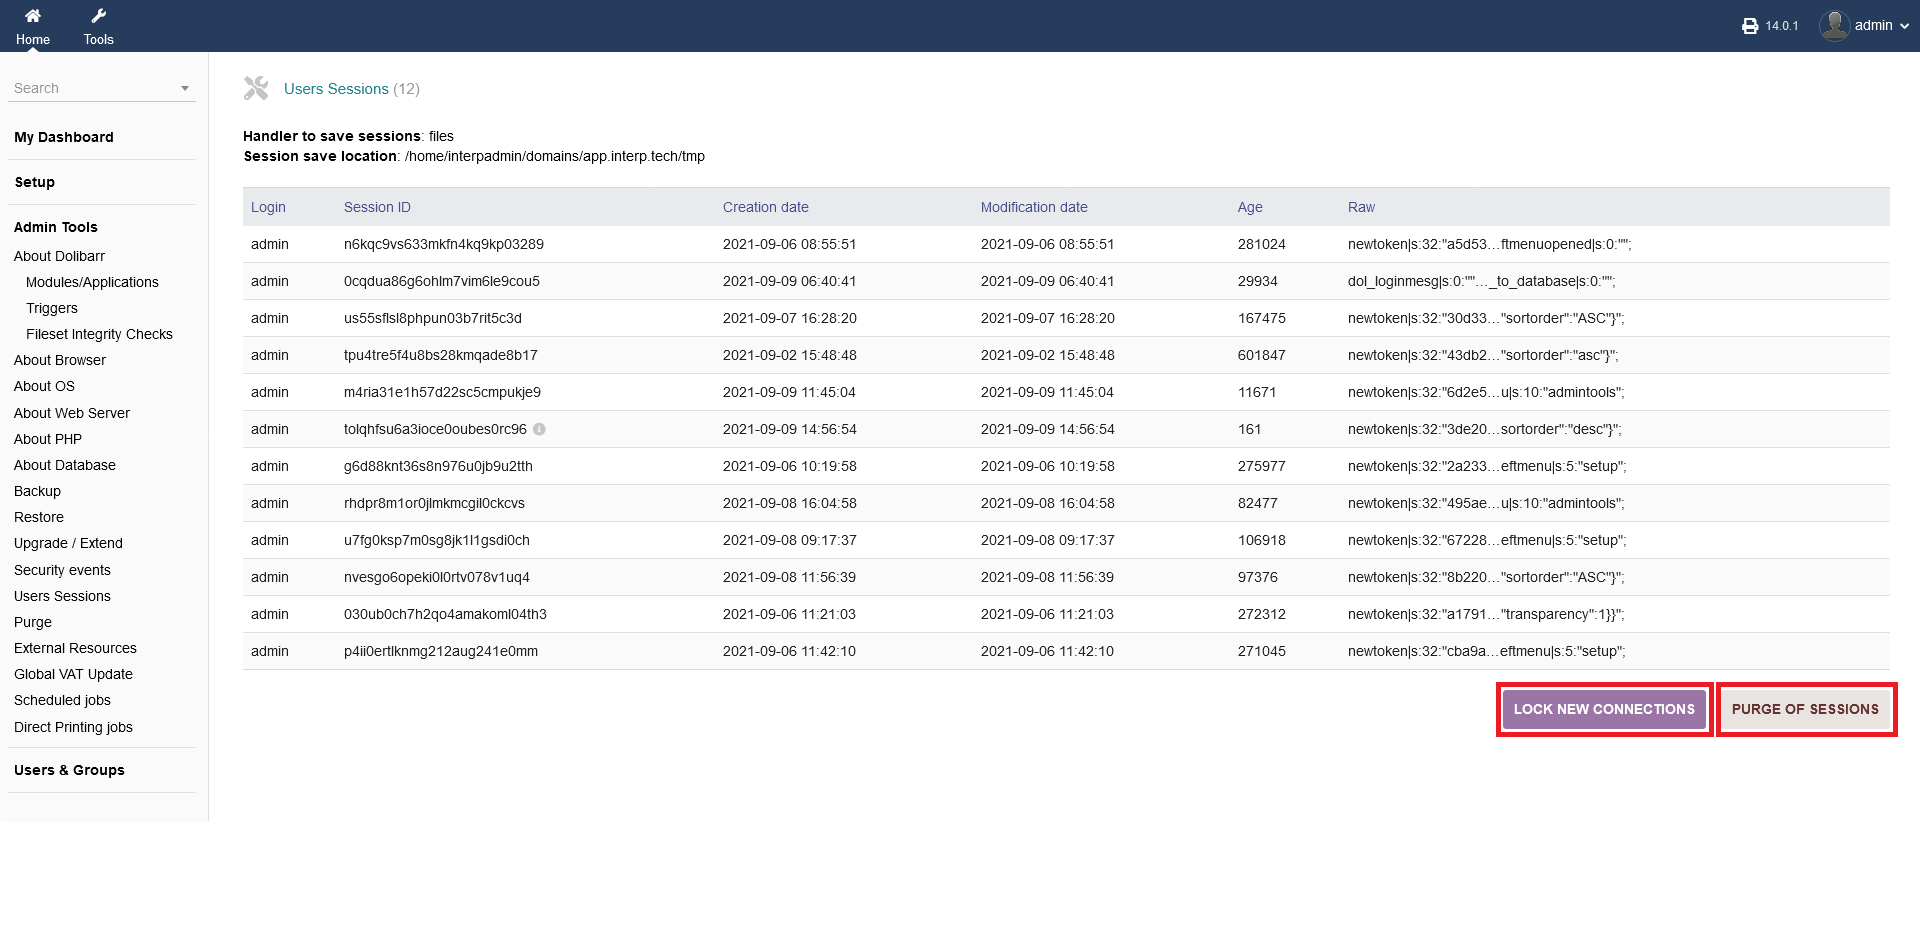
3.6 Users Sessions
Under "Admin Tools -> User Sessions", you can find a listof all logins of any user/admin, including data like session ID, date and connection time.
By clicking on "LOCK NEW CONNECTIONS" you can restrict any new intERP connection to yourself (admin). Only user admin will be able to connect after that.
Clicking on "PURGE OF SESSIONS" you purge all sessions (even current once)? This will disconnect every user (except yourself).
Use those options carfully!
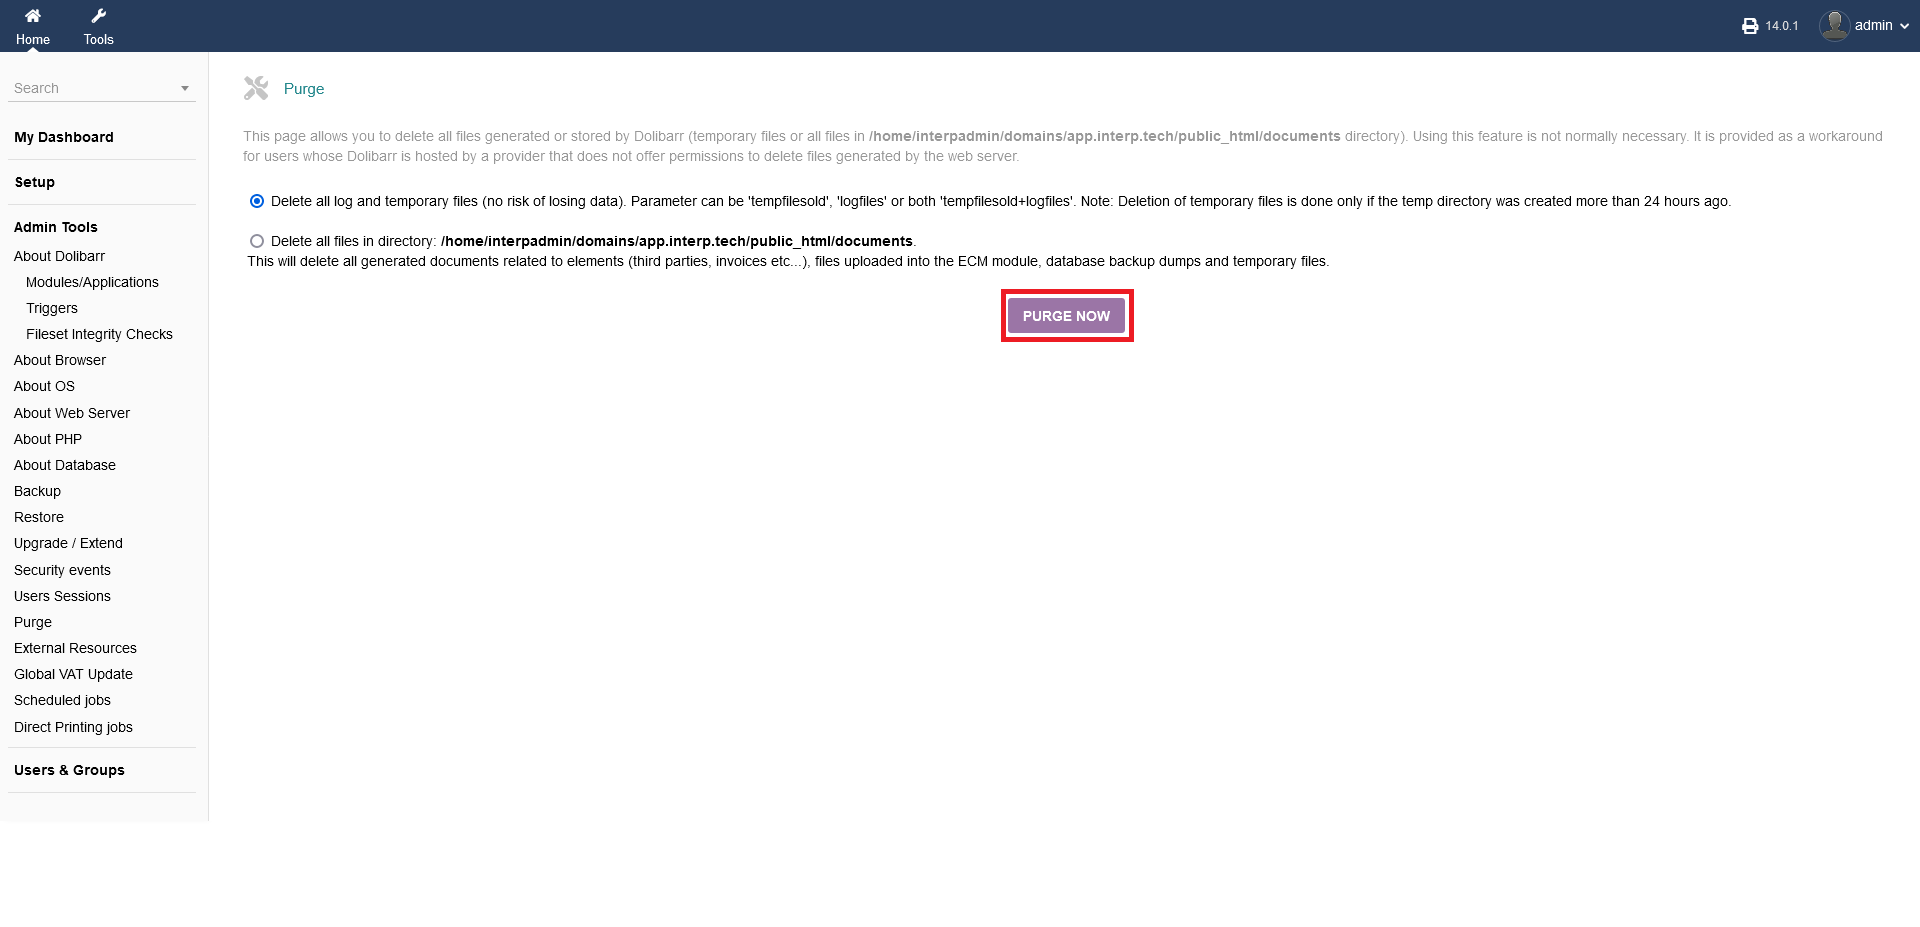
3.7 Purge
The option "Admin Tools -> Purge" allows you to delete all files generated or stored by intERP. Using this feature is not normally necessary. It is provided as a workaround for users whose intERP is hosted by a provider that does not offer permissions to delete files generated by the web server.
You can delete eigther log files and tempory files or delete directory files. Purging log/tempory files ist not resulting in any data loss. PURGING DIRECTORY FILES WILL DELETE YOUR DATA!!! Use the last option carefully, only if your are really sure or took a backup beforehand.
When you decided what to purge, click "PURGE NOW".
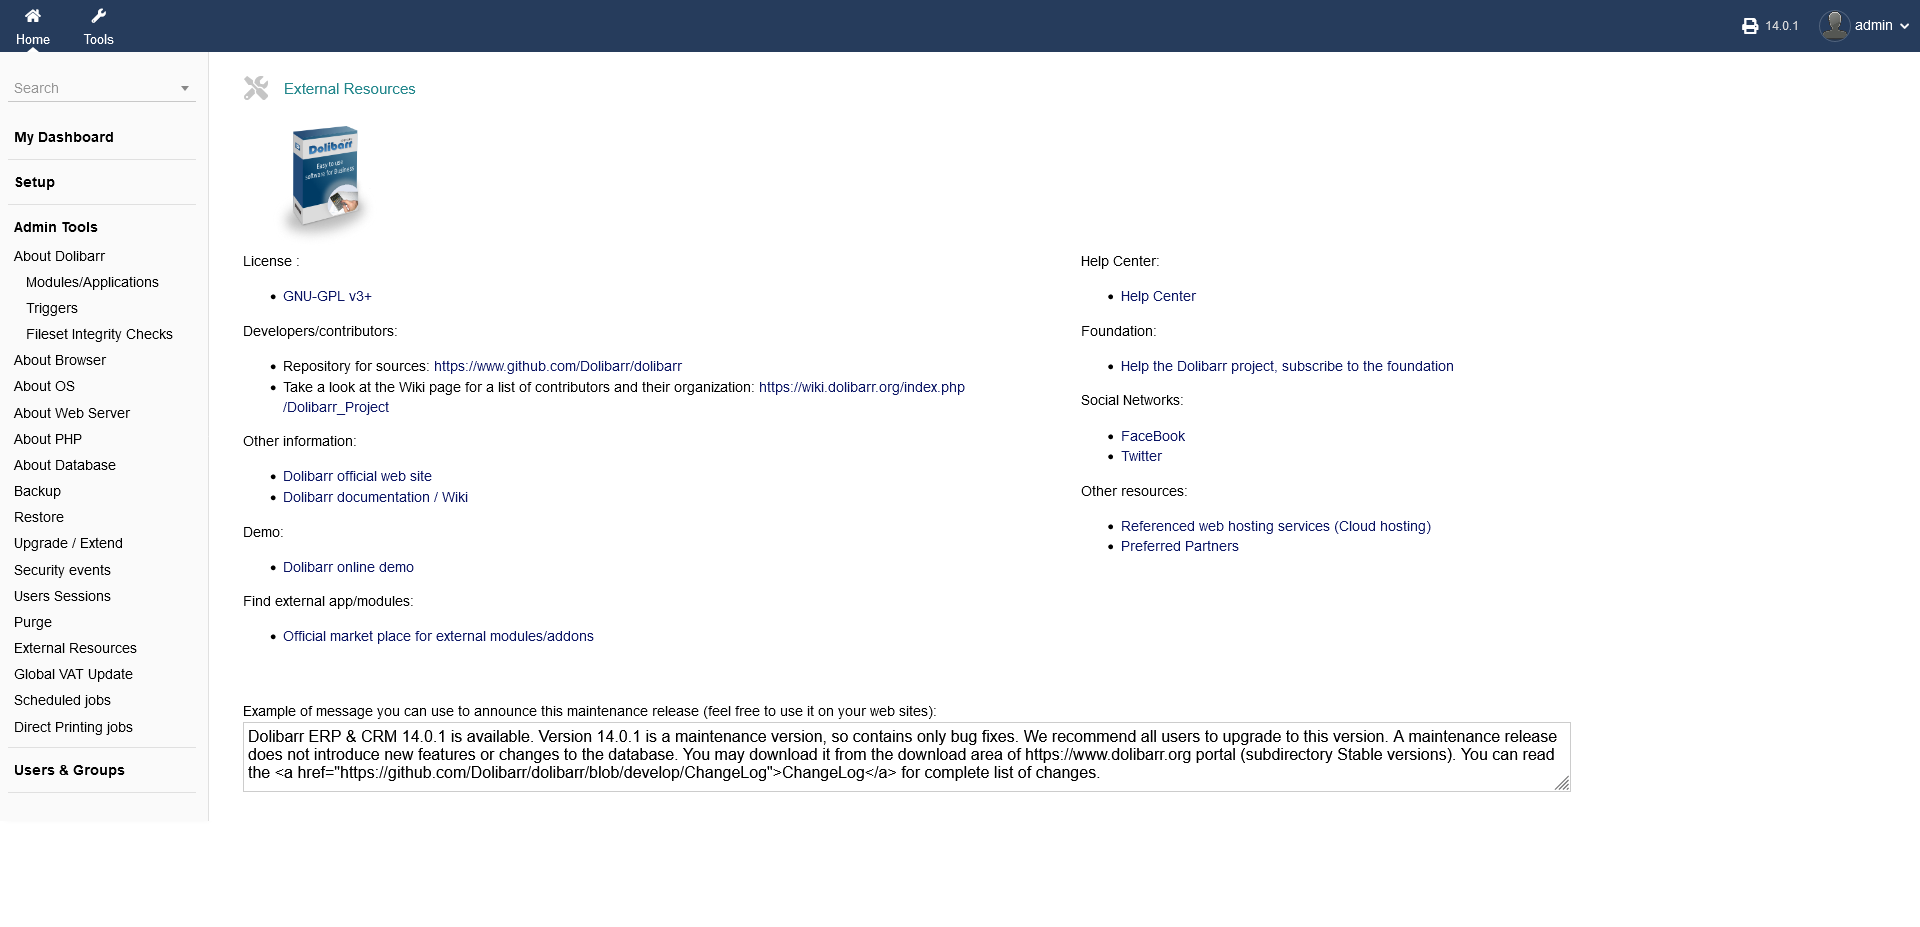
3.8 External Resources
Under "Admin Tools -> External Resources" you get a listing of all external sources regarding intERP.
On the bottom part of the screen you can type a custom message to announce a maintenance release, that is visible to other users.
3.9 Global VAT Update
Under "Admin Tools -> Global VAT Update" you can change the VAT rate defined on ALL products and services!
As parameters you have to choose the old and the new VAT rate and click "LAUNCH BULK CONVERSION".
Please use that functionality carefully!

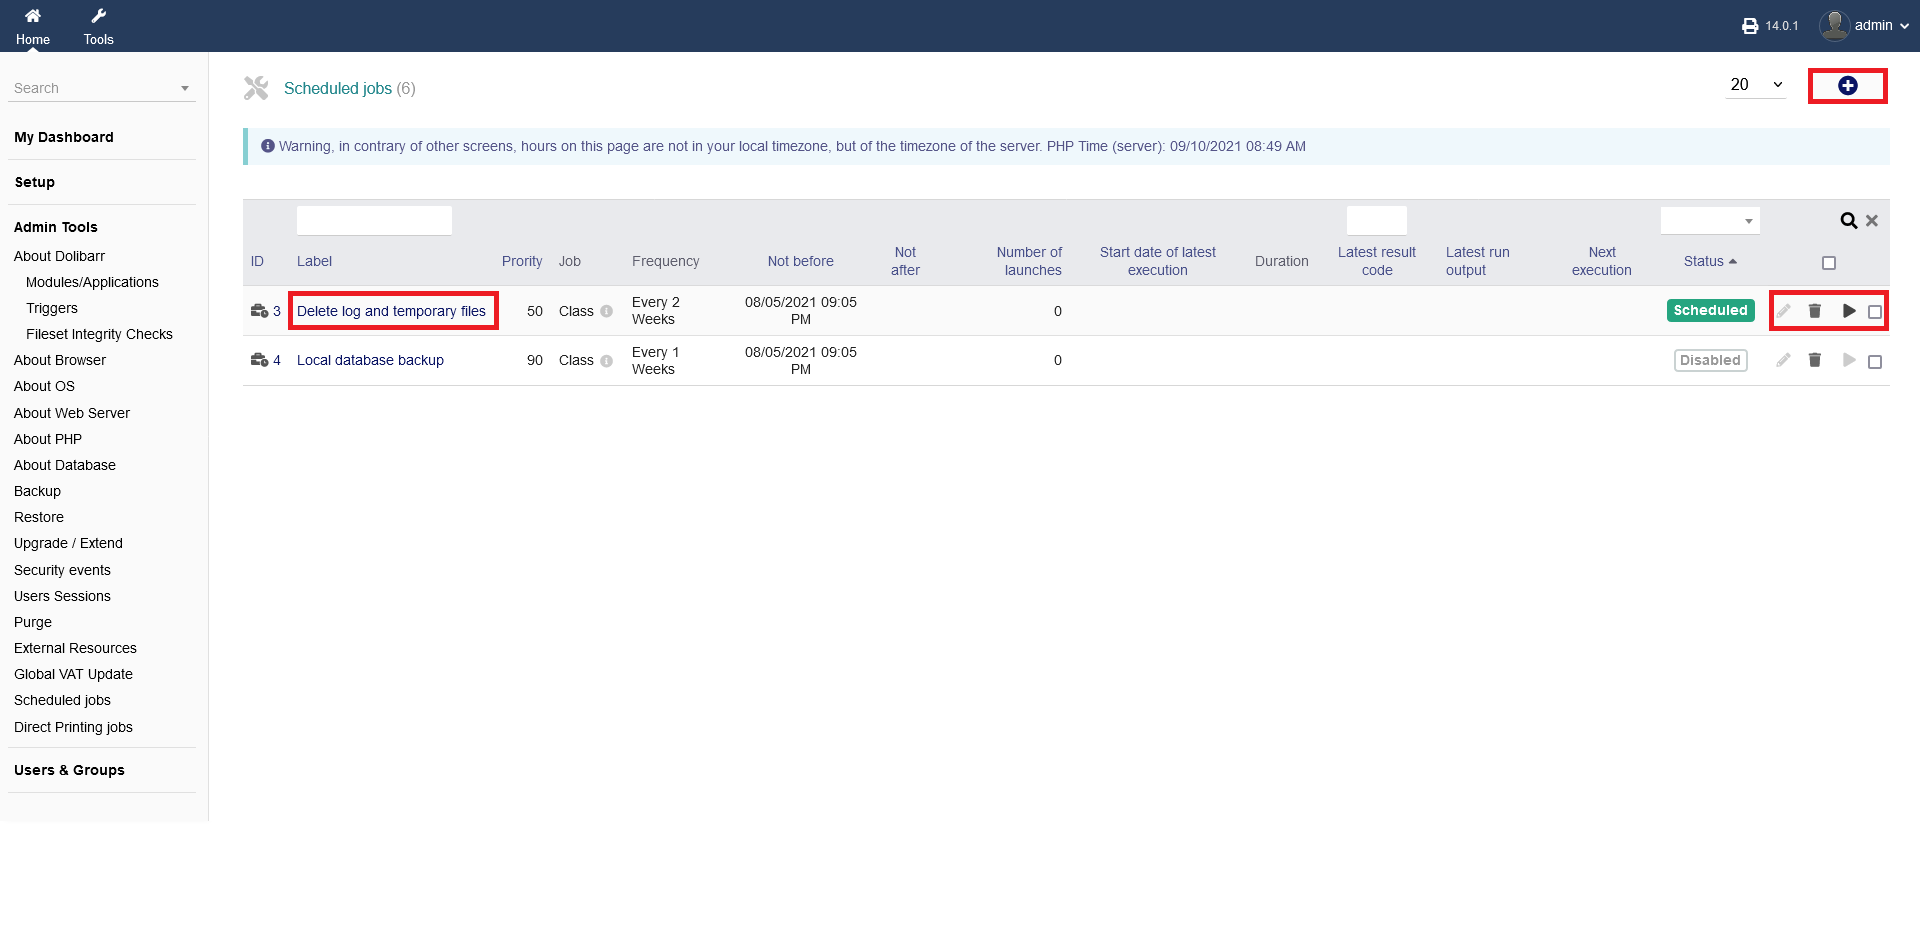
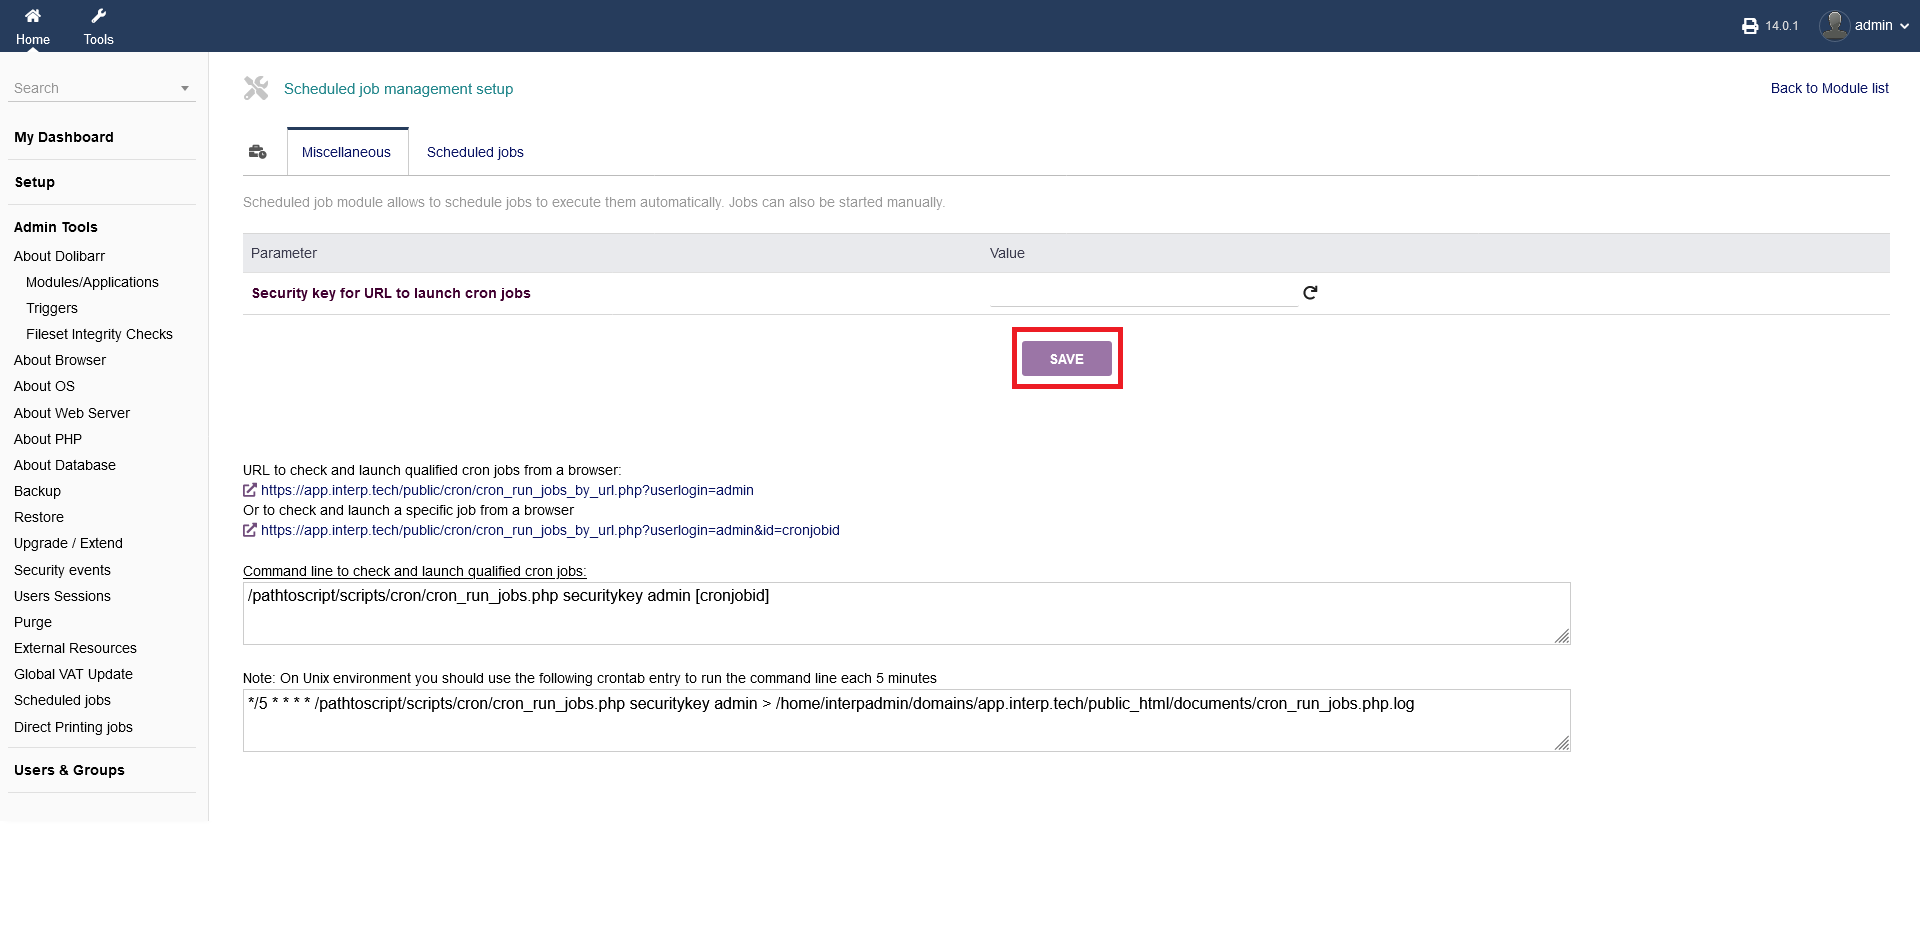
3.10 Scheduled jobs
NOTE: Option availability only for SUPERADMIN and not for user admins that where created as users by default.
Under "Admin Tools -> Scheduled jobs" you can activate/deactivate/setup automated jobs or cron jobs. As an example, you can automate, that your temporary files will be purged in a certain period of time (e.g. ever one or two weeks) or that intERP is doing an automated backup of your database/files (e.g. ever one or two weeks).
On the initial screen, you see a listing of your created automated tasks which you can enable/disable. If you want to edit a setup job, click the "pencil" button. To manually launch a scheduled job, click the "play" button. To delte an automated task, click the "trash" icon. Additionally, you can select/unselect your tasks by clicking the radio boxes on the far right hand side.
To add a new task, click the "plus" button on the top right hand side.
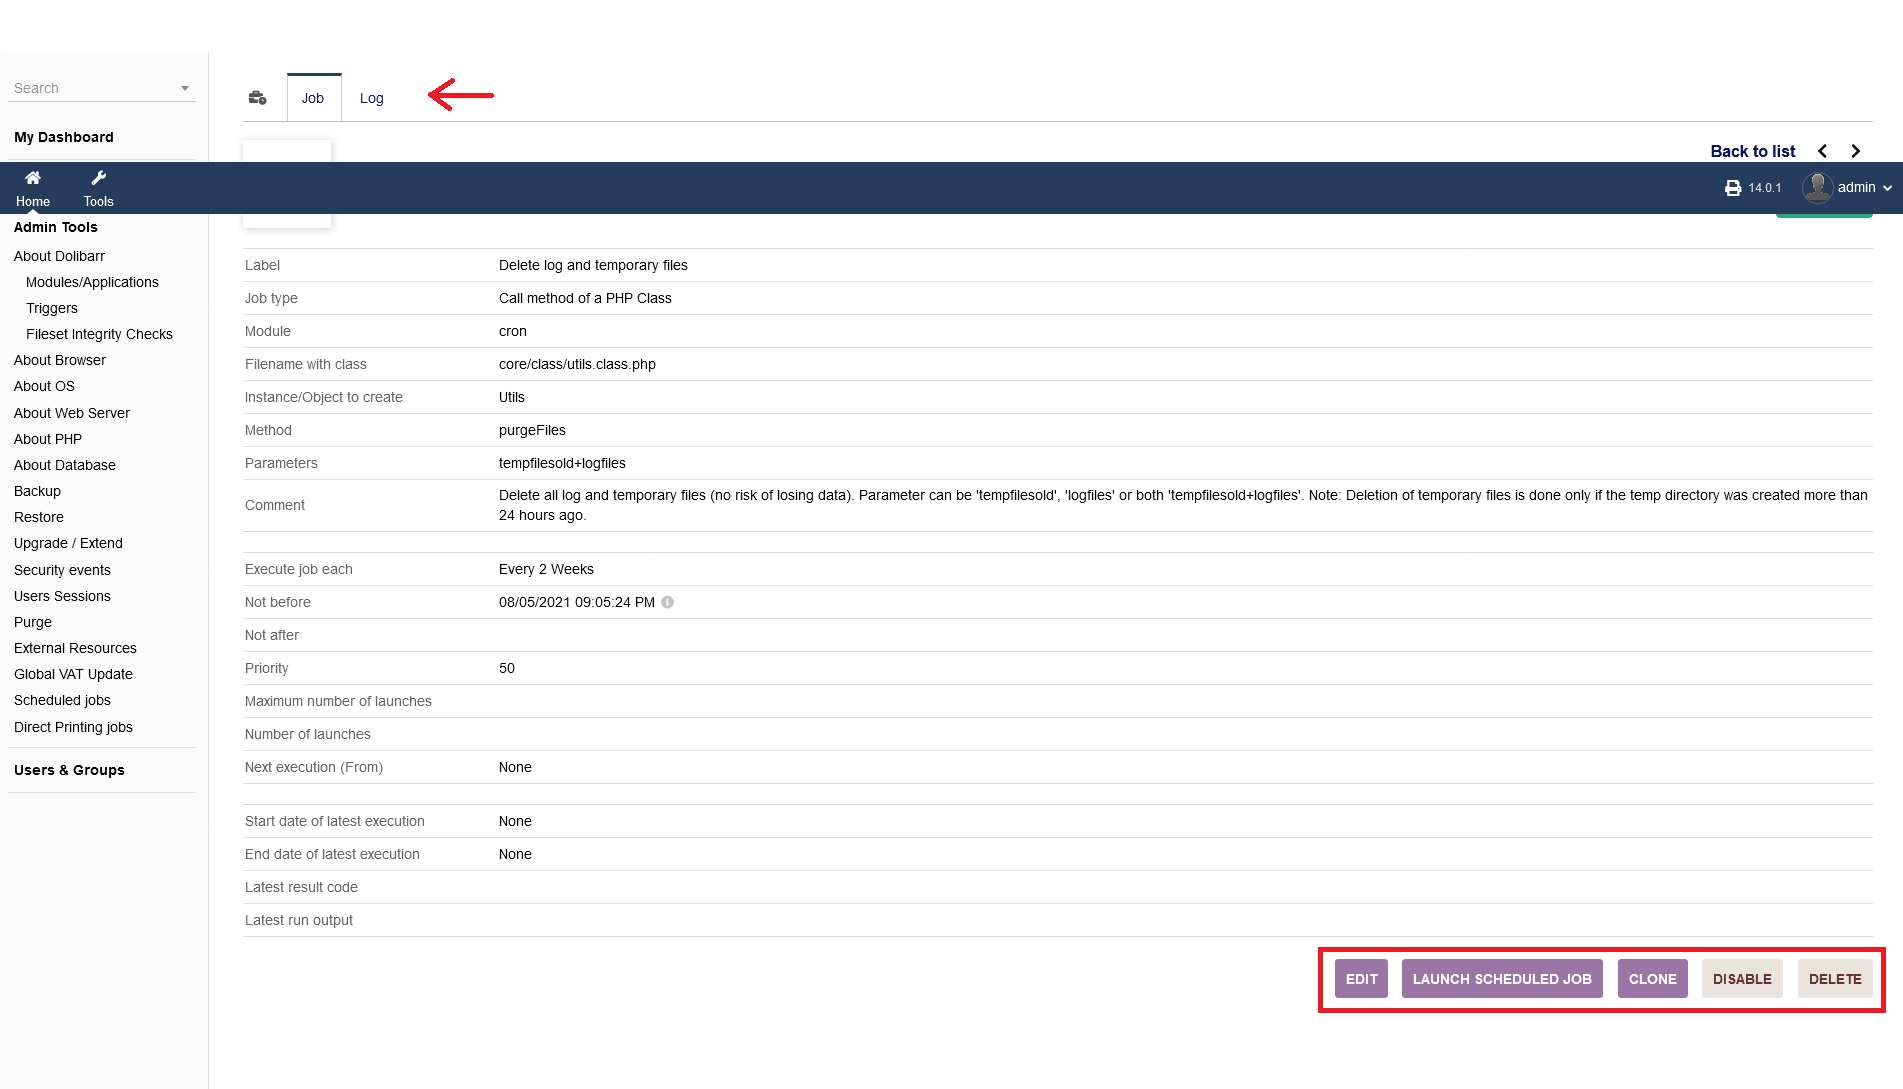
To view details, click onto the task label itself (eg. "Delete log and temporary files"). You will see all information about the task and any related logs.
After clicking onto the task label you will see further options below the details list.
To edit any details, click "EDIT", to launch the job click "LAUNCH SCHEDULED JOB". Those options are the same as clicking the "pencil" or the "play" button on the inital screen, seen above.
You also can disable the job by clicking "DISABLE", delete the job by clicking "DELETE" or clone the job by clicking "CLONE".
Additionally, you can switch between your task details and the related logging list.
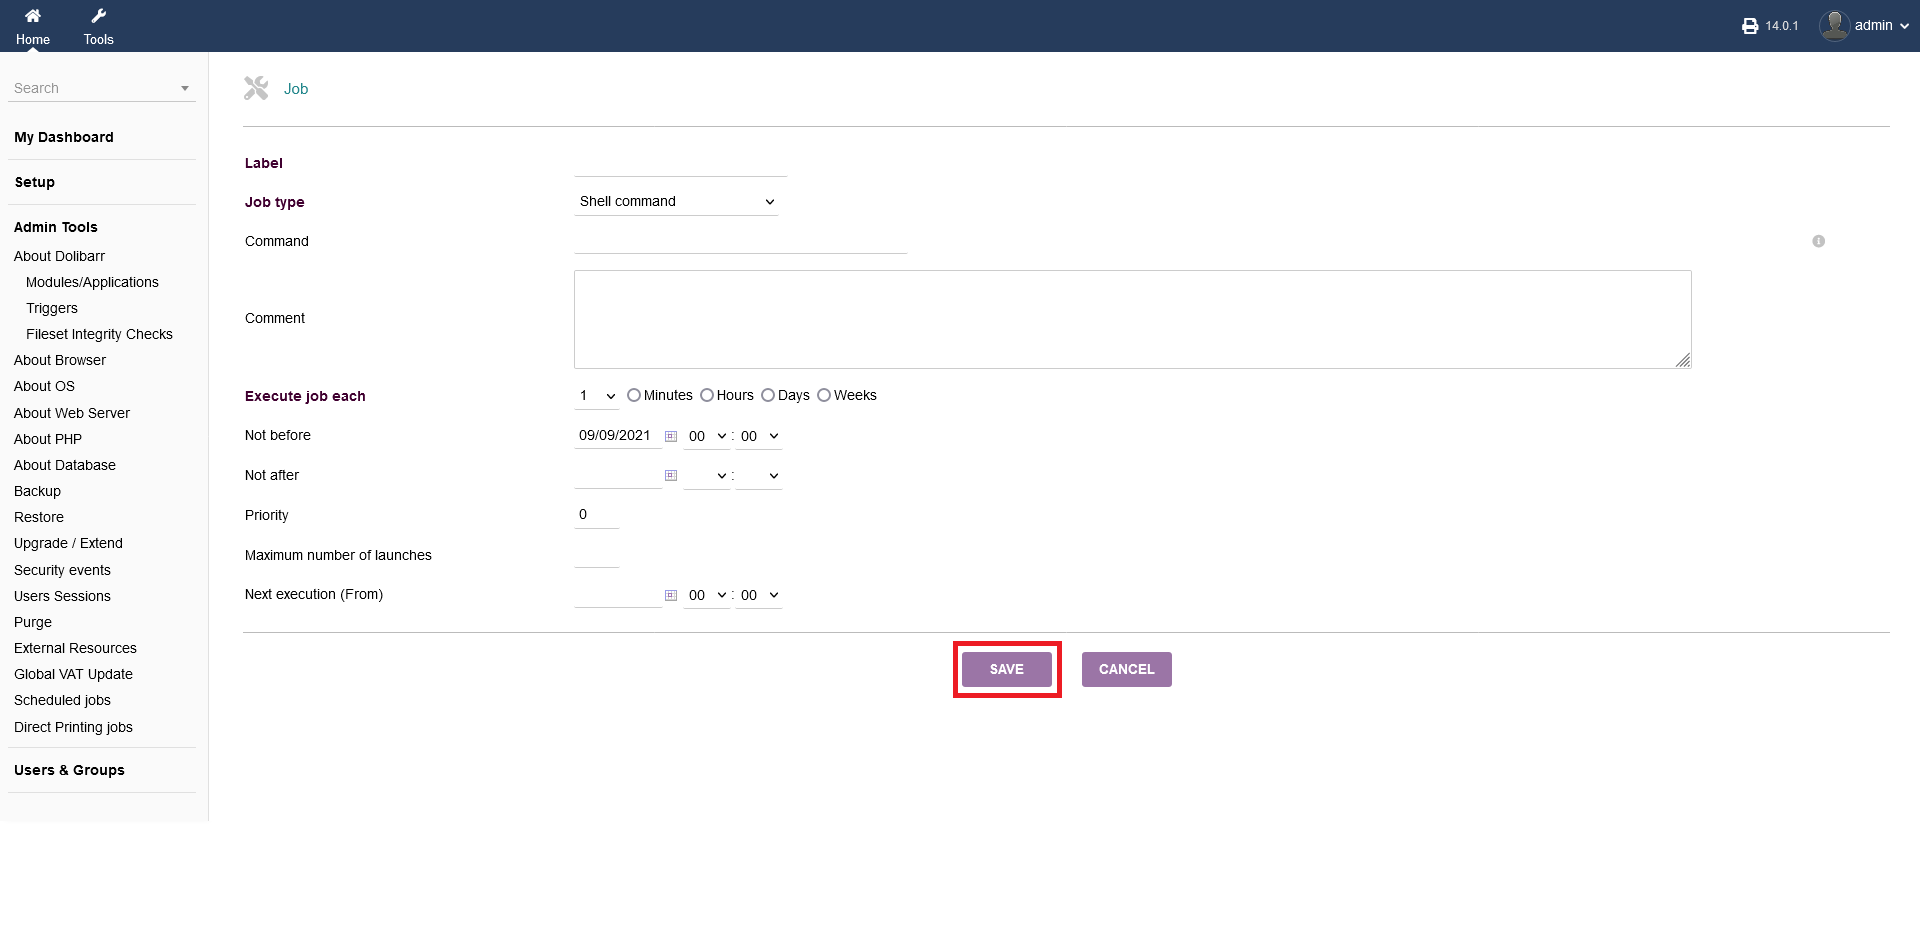
After clicking the "plus" button to add a new task on the initial screen (see first picture above), you will see an interface where the required details need to be set accordingly.
As a job type, you can choose between a shell command or a php method.
When you are done, click "SAVE".
!!!!!!!!!!
3.11 Direct Printing jobs
NOTE: Option availability only for SUPERADMIN and not for user admins that where created as users by default.
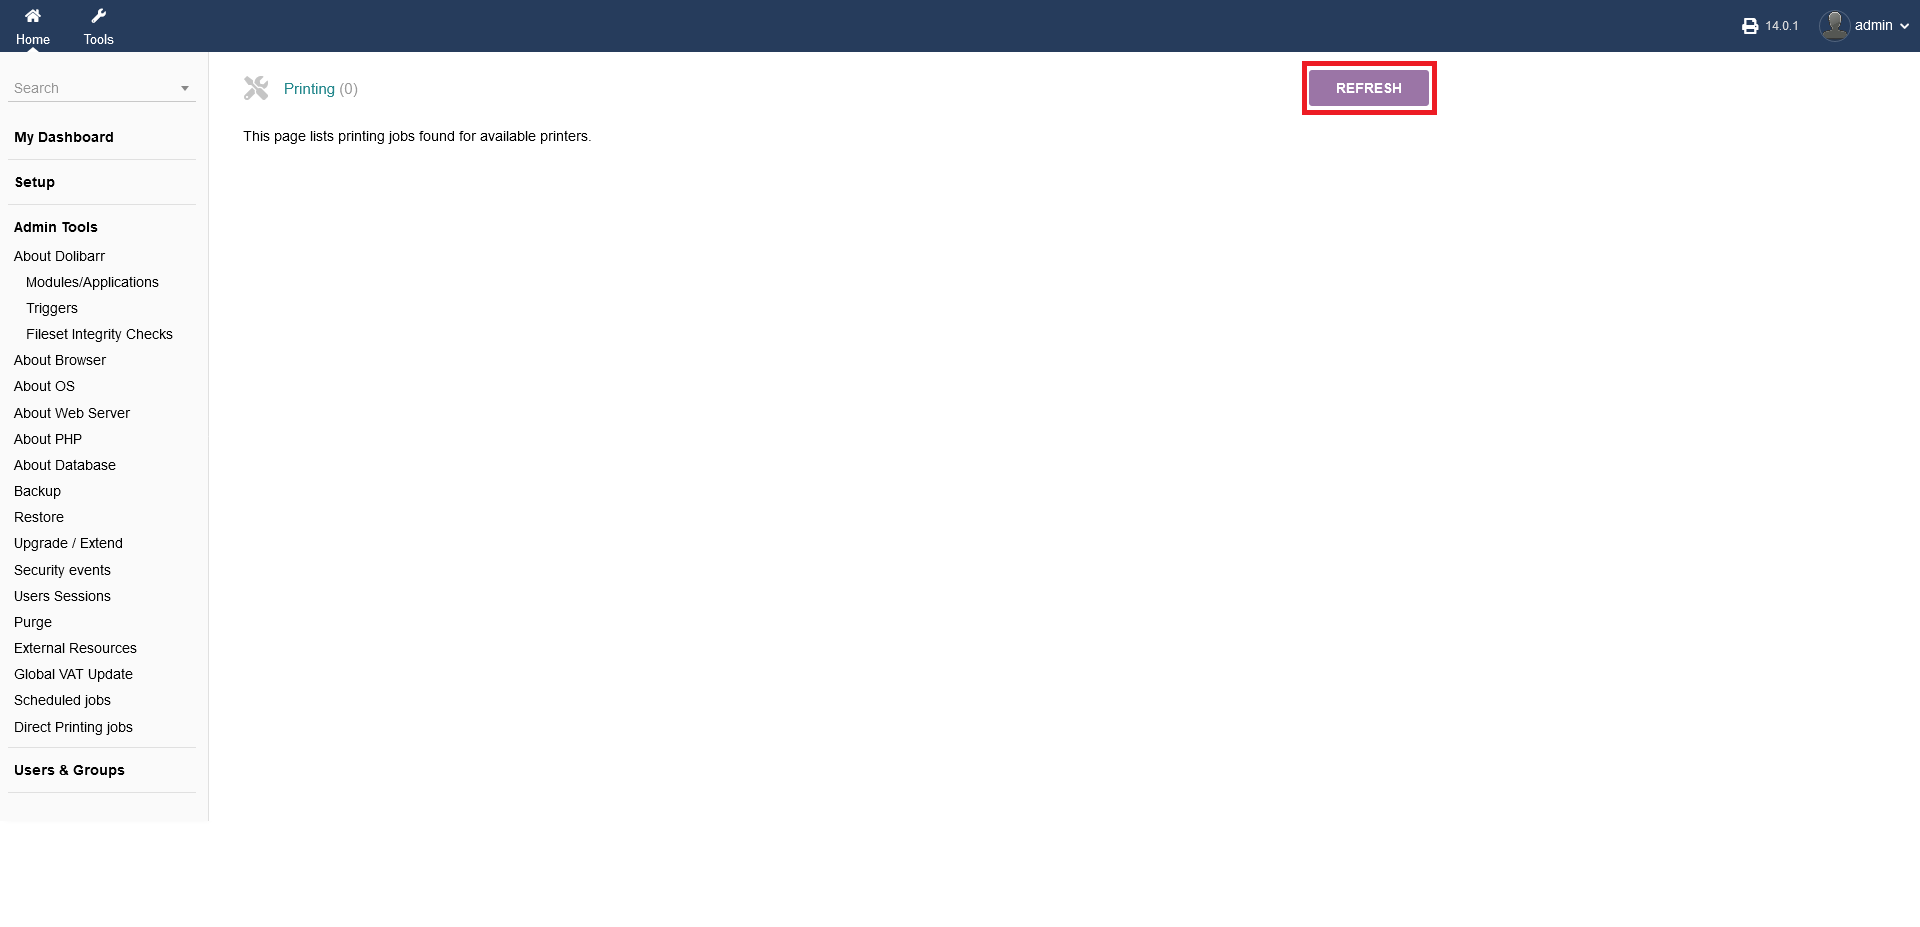
Under "Admin Tools -> Direct Printing jobs" you get a listing of jobs, available for printers. If you dont see any jobs, click "REFRESH".