General Options :
To manage your general contacts, addresses and third parties like vendors, customers and prospects, use the menu "Thirds-parties" in the top menu bar.

Overview :
To make work easy, by allowing to having options to search by given "Category" , "Names" or by "Status" .
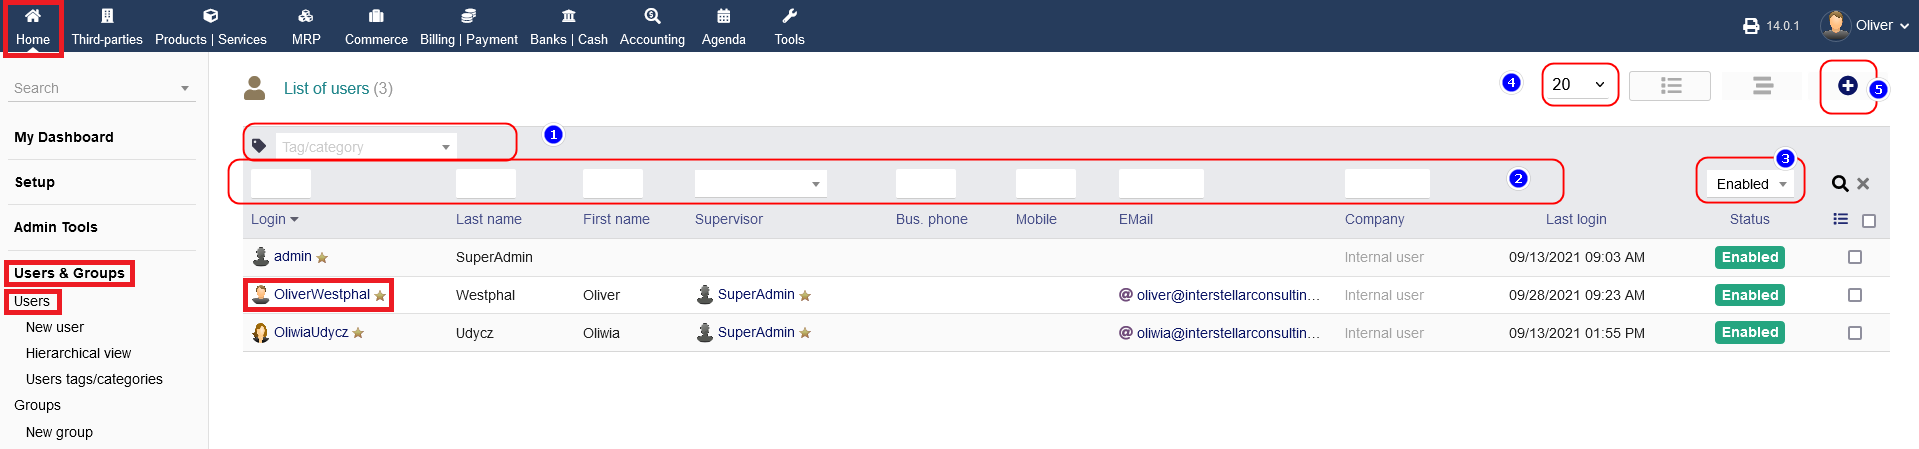
1. Tags/Category : Here you can search the contact/ or a person's details by selecting or entering the Tags.
2. Search options : Here you can enter the Last name , or search by supervisor , or by email or by any company to get relevant prospect/customer details .
3. Status : You can filter any prospects/customer's/vendor's details by "Status" by selecting from the drop-down.
4. Display number : You can select from the drop-down how many of the details to be displayed per page .
5. Create : When you click on "+" button on top-corner , allows you to create new "Users" , new "Prospect/Customer" and new "Vendor".
Filter by :
With this option you can select from given options on what you want display on the screen , as shown below :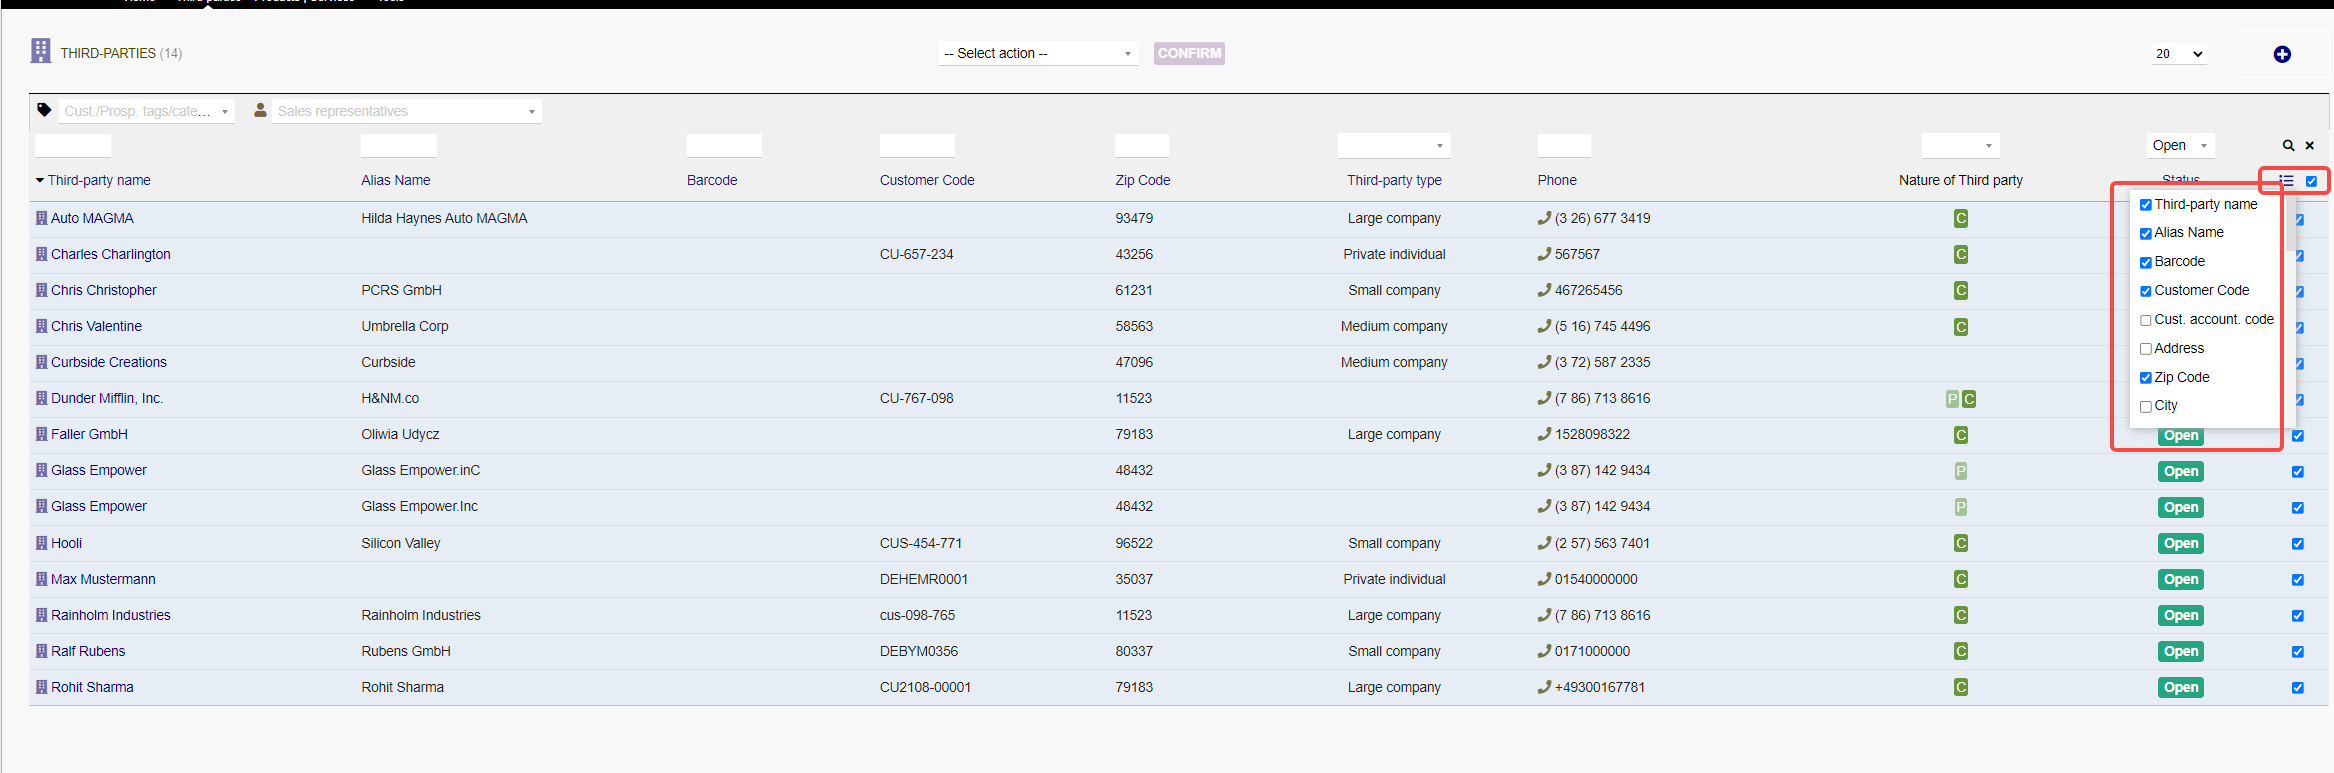
Tags :
You can create different tags for vendors, customers, prospects and general contacts tags. This is helpful to sort certain third parties additionally (e.g. "reliable", "unreliable", etc.). You can select a tag while setting up a new third party or contact/address via the forms mentioned above. You find a section on the lower half of these forms, where you can select a fitting tag.
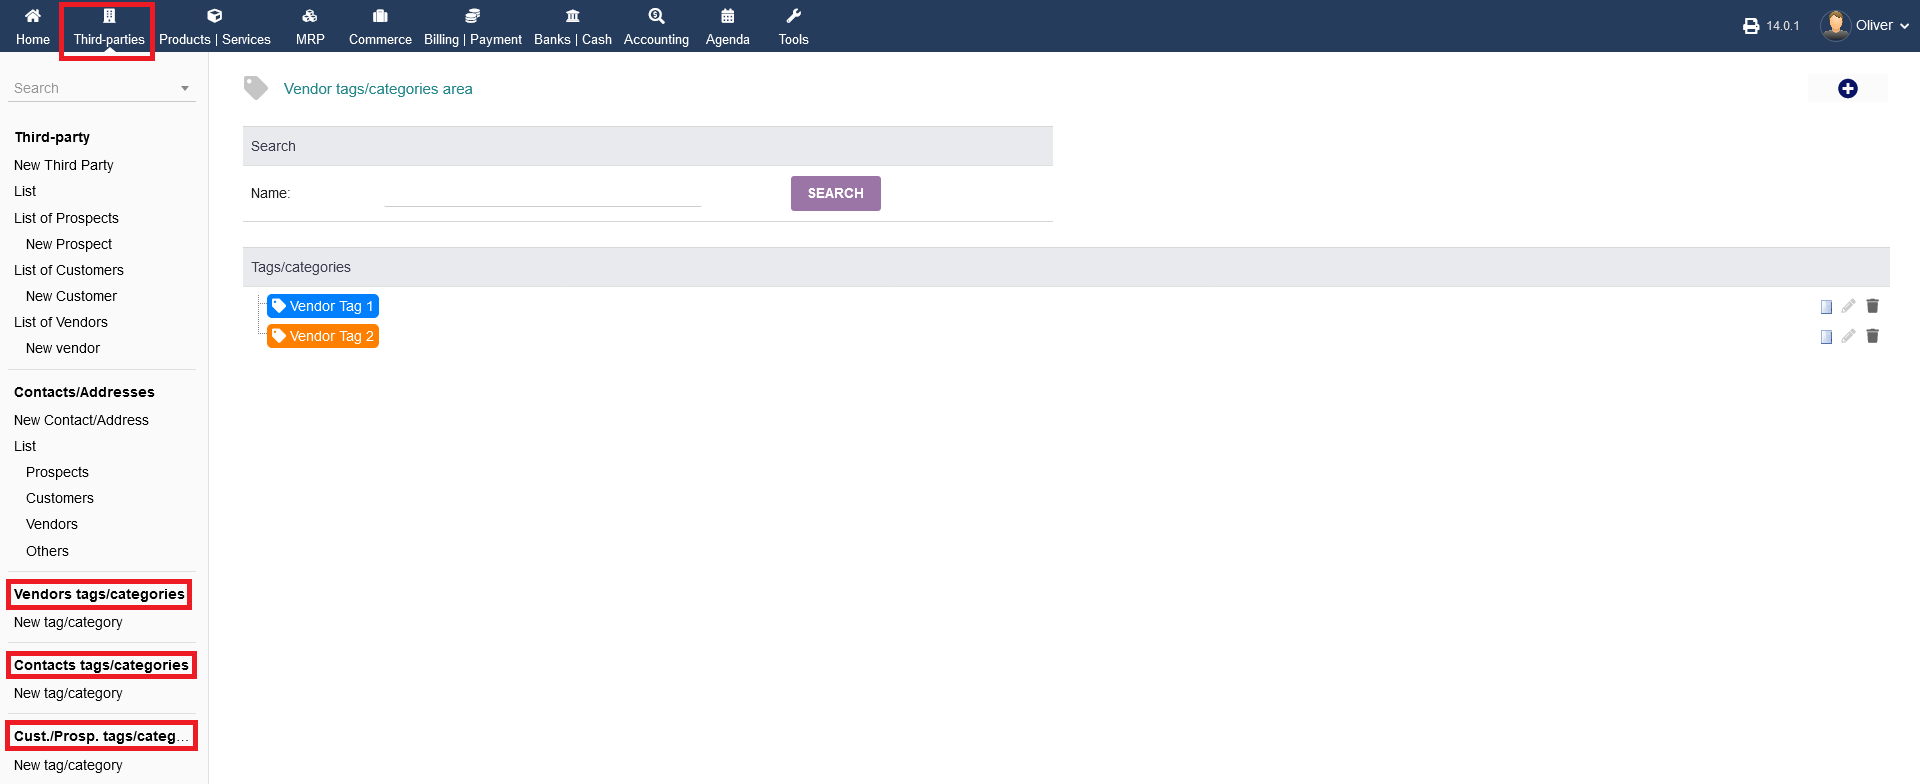
Overviews :
To get an overview of your tags, click on "Vendors tags/categories", "Contacts tags/categories" or "Customer tags/categories". There you see all tags you created in the respective category.
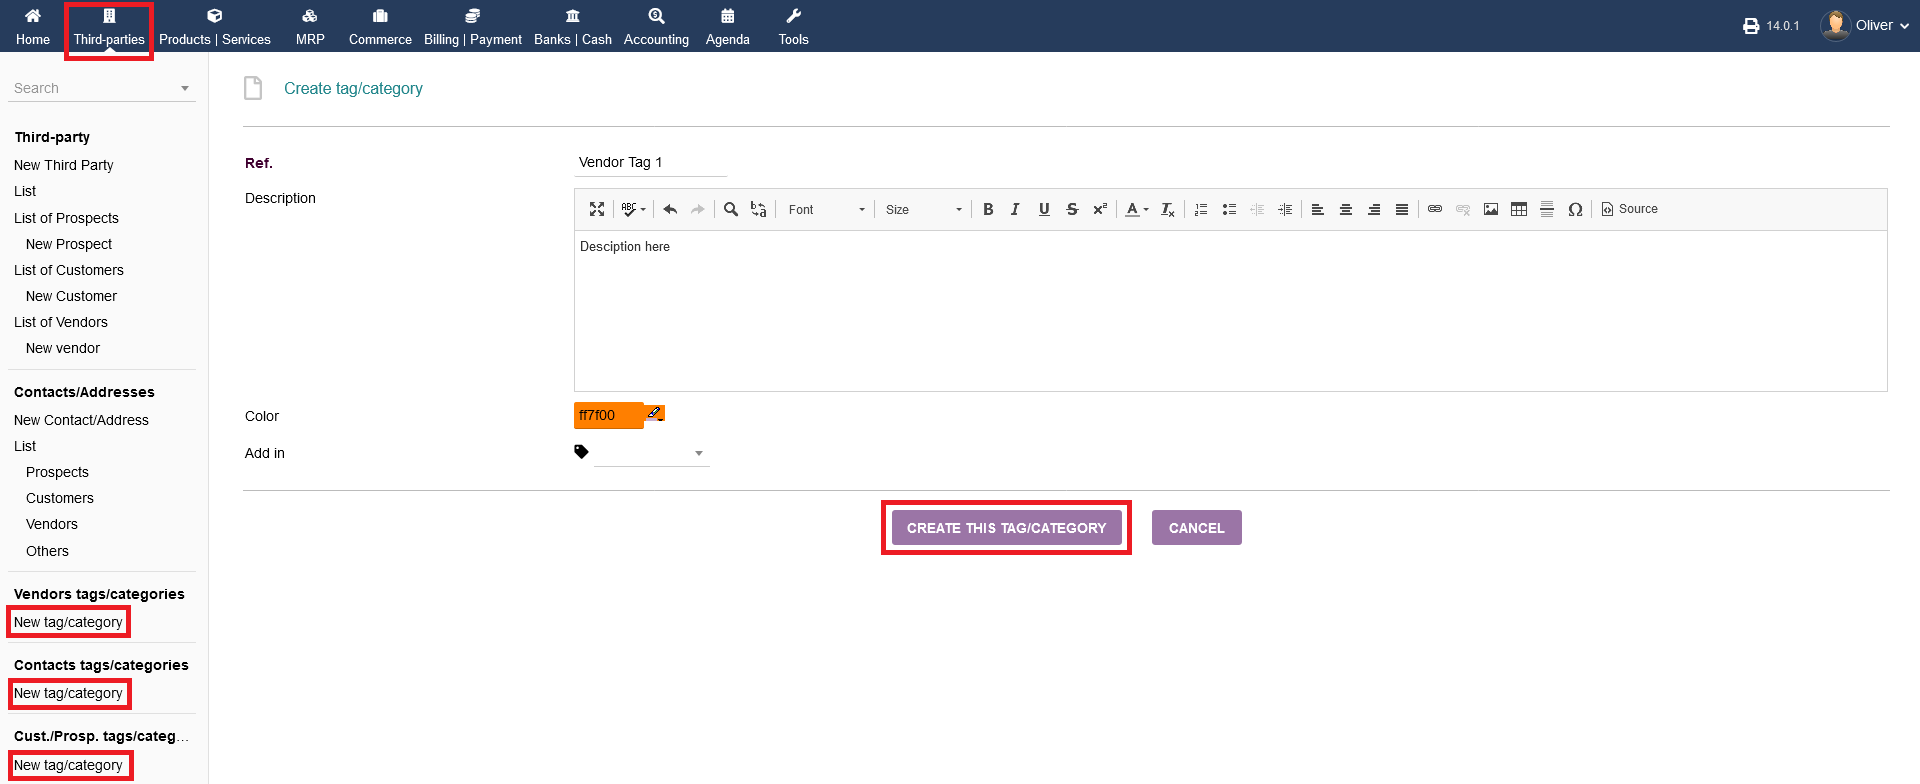
Creating a tag :
To create a tag , Click on "New tag/ Category" under the respective category for vendors, contracts or customer/prospects.
- Fill out the form shown with all necessary details.
- Under "Add in " you can create a sub-tag to a parent tag . When you are done , Click on "CREATE THIS TAG/CATEGORY".
Editing tags & further options :
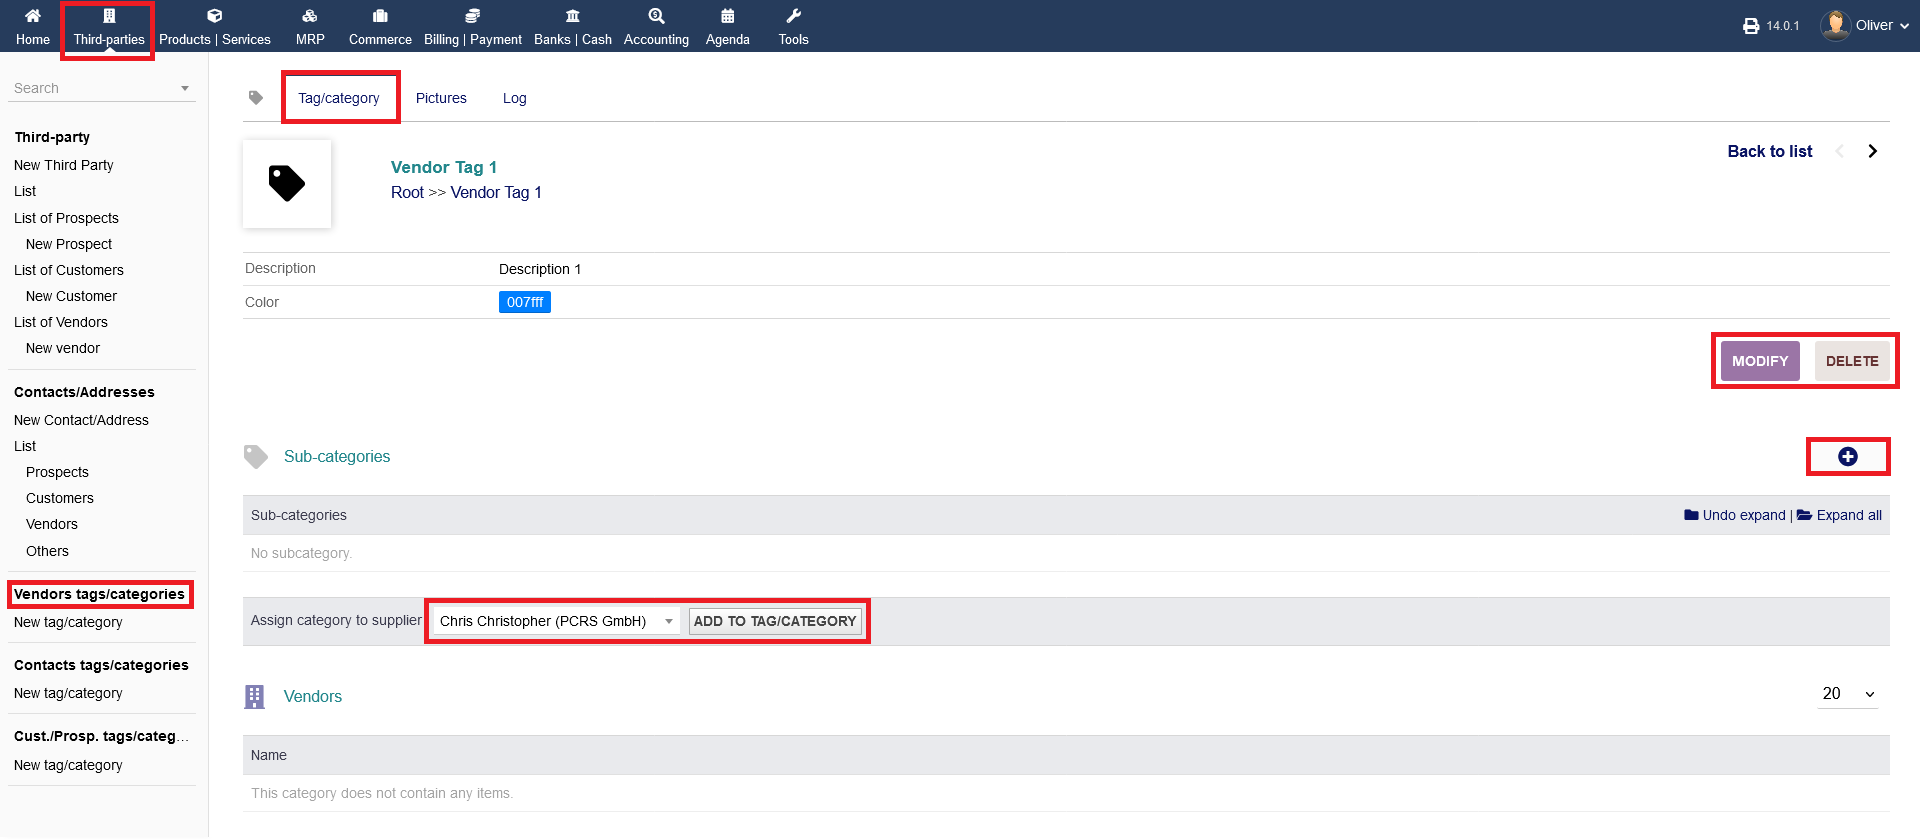
Going to the overview you see all created tags for the respective type of third party. You can edit the tag by clicking the "pen" icon or delete the tag by clicking the "trash" icon. To get further details/options, click on the "eye" icon or alternatively onto the tag name itself.

There you see listings of all sub-tags/categories and vendors, having that specific tag added to their profile. Click on "MODIFY" to edit the tag. You can delete the Tag by clicking "DELETE". Furthermore, you can add sub-categories by clicking the "plus" icon. Lastly, you can assign that chosen tag to a third party by the drop down menu. Finish the process by clicking "ADD TO TAG/CATEGORY".
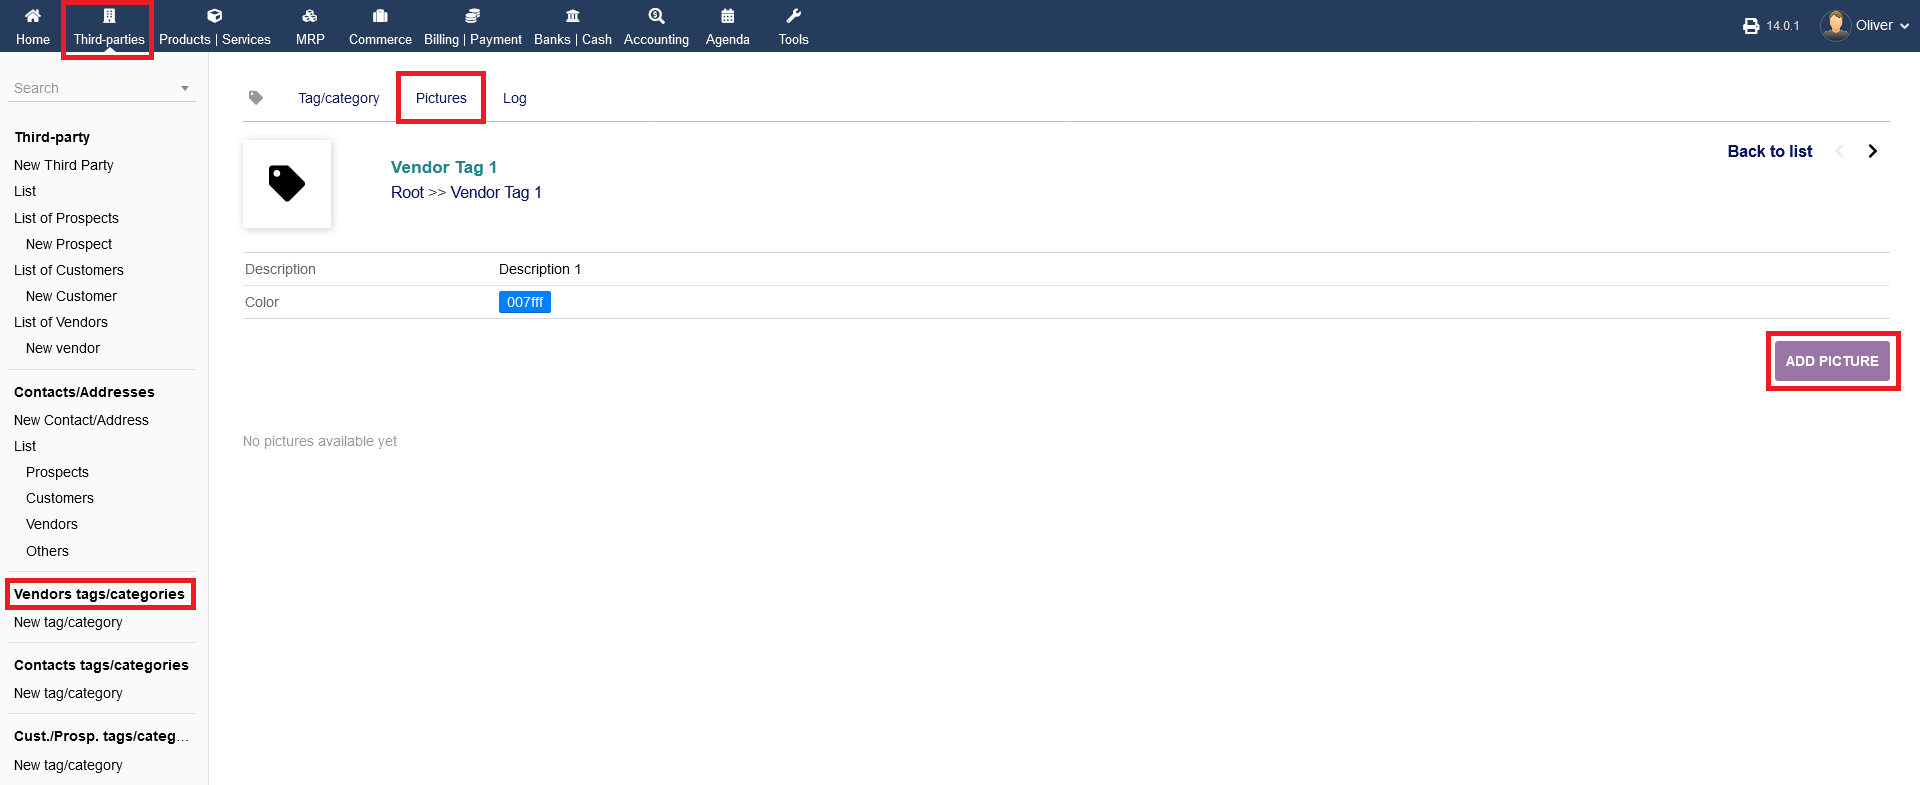
Pictures Tab :
Go to the tab "Pictures" to add a picture for a better identification of that tag. Click on "ADD PICTURE" to proceed. Search for a file and click "UPLOAD" in the end.
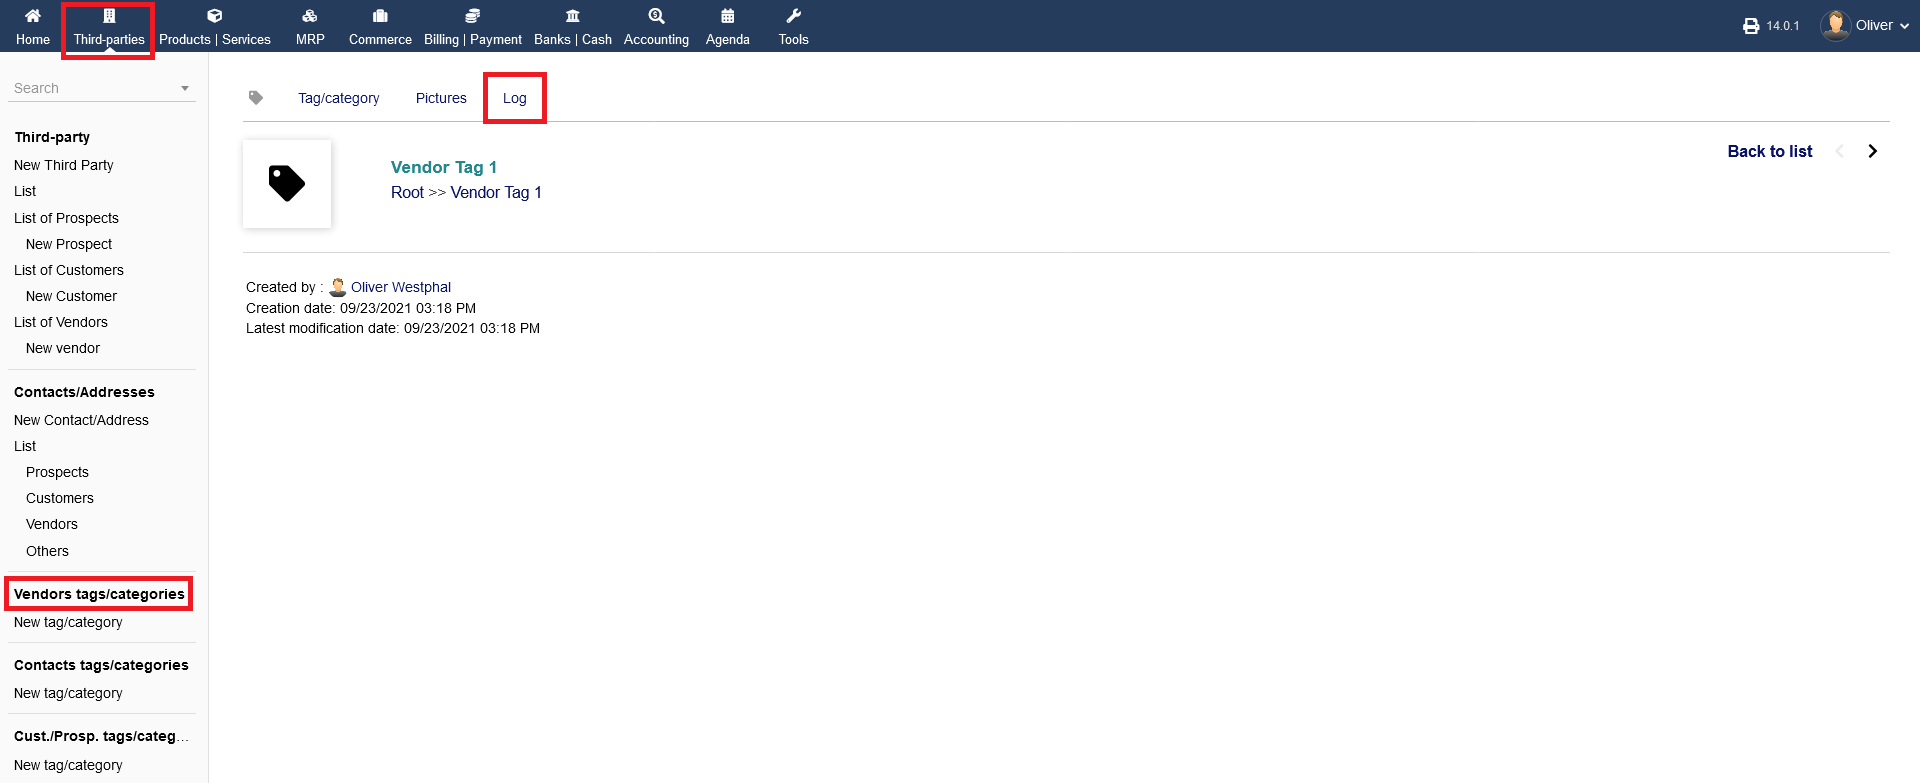
Logs Tab :
Any changes/activities regarding that tag will be documented and can be seen under the tab "Log".