4.1 Basics
intERP is offering shipment functionality.
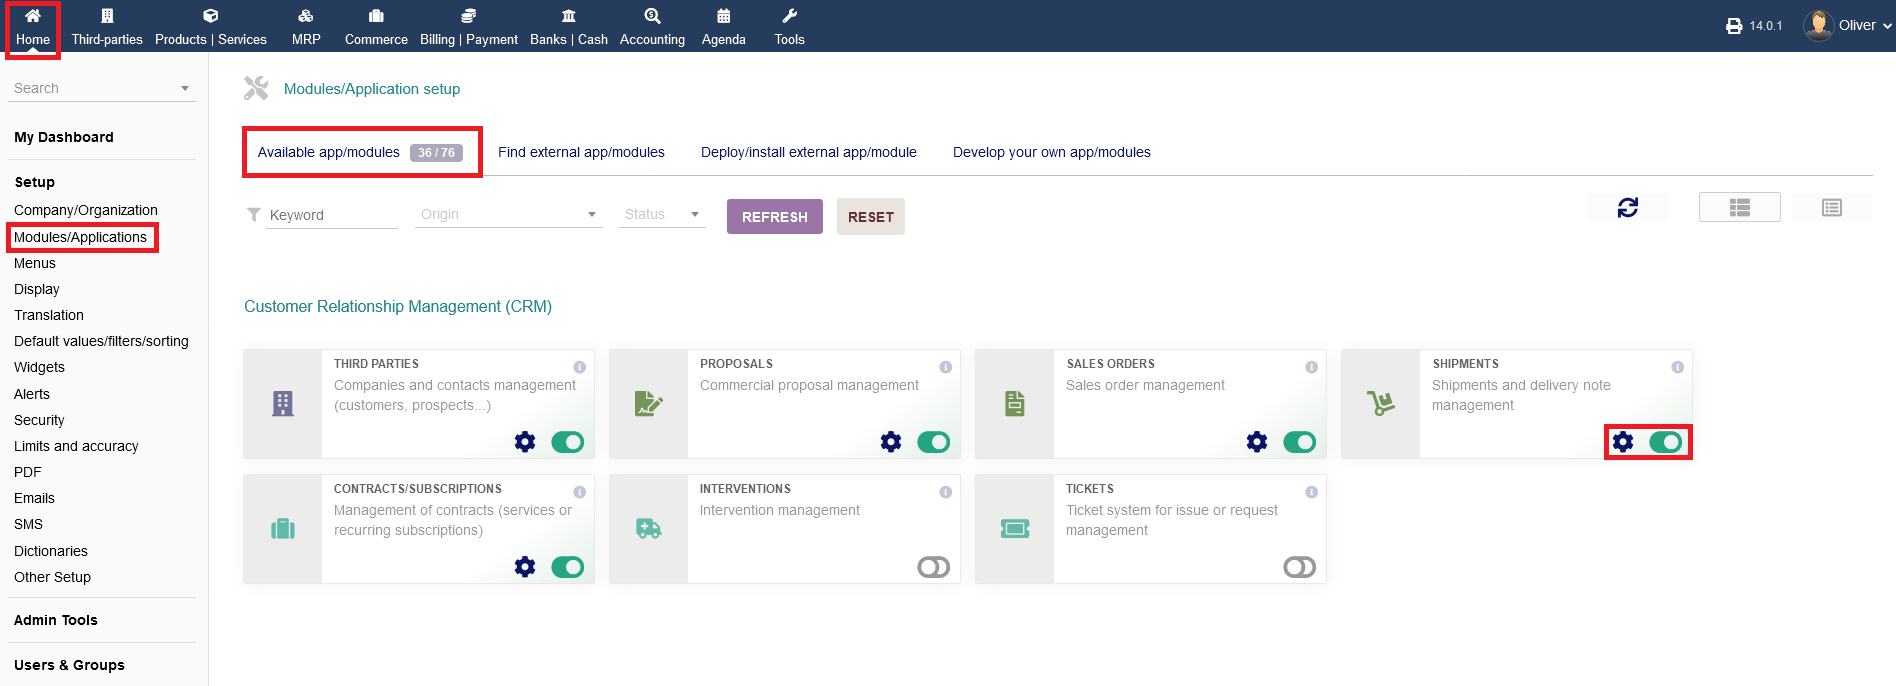
To change any settings regarding the module "Shipments", go to "Setup -> Modules/Applications -> Customer Relationship Management (CRM) -> Shipments" and click on the "gear" icon.
You can activate/disable that module by clicking the toggle switch. Green indicates, that the module is active.
4.2 Setup
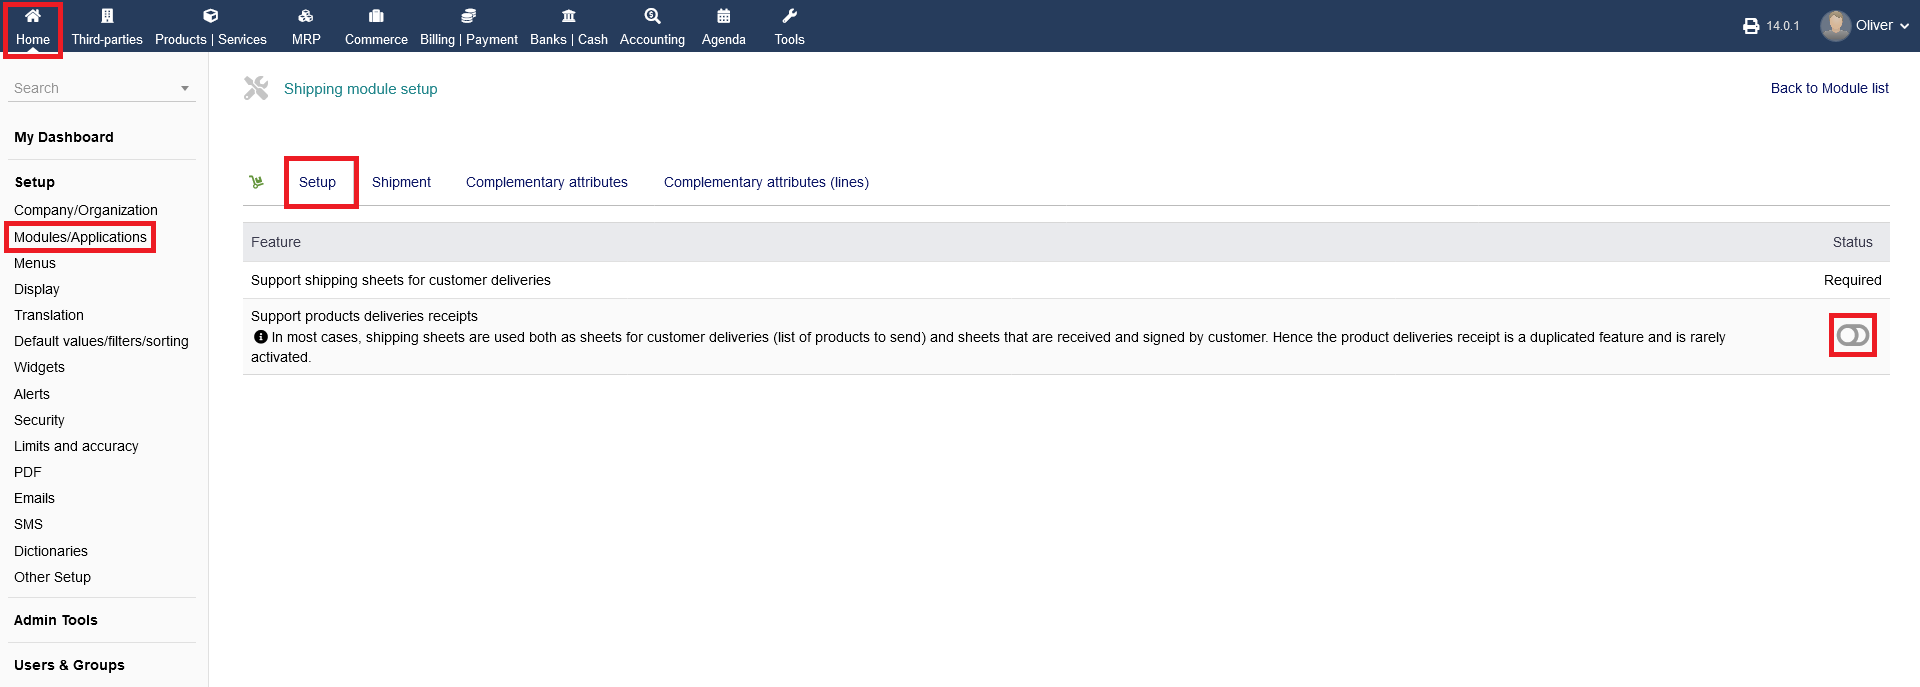
Under "Setup" you have just limited settings to manipulate. Mainly, there is one option that you can activate/deactivate, regarding the support of products deliveries receipts. You can activate/disable that module by clicking the toggle switch.
4.3 Shipment
4.3.1 Sendings numbering modules
You can set two different ways to let intERP generate the sending numbering, under "Sending numbering models". You can set a custom rule/mask under the option "Ribera" or select the standard pre-defined numbering model under the option "Safor". To activate or deactivate each option, click on the toggle switch on the right side of the section. If you specifi a custom numbering mask, dont forget to click "MODIFY" in the end or else your mask gets lost. For further explainations/information, click on the grey "info" icons.

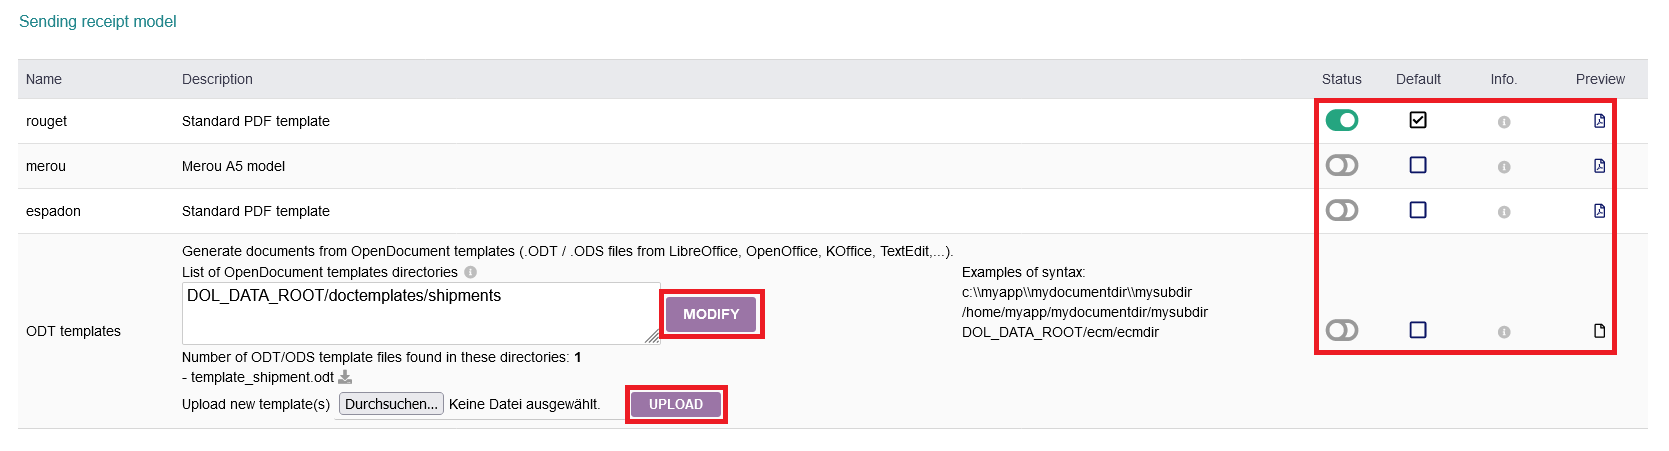
4.3.2 Sending receipt model
Under "Sending receipt model", you can define either a standard or a custom sending receipt template. This is following the same template/option procedure as mentioned in the other module configurations. Remember to click on "MODIFY" or "UPLOAD" to execute and finish the respective actions. On the right side of that section, you find your usual options to activate, set as default and preview each template form.
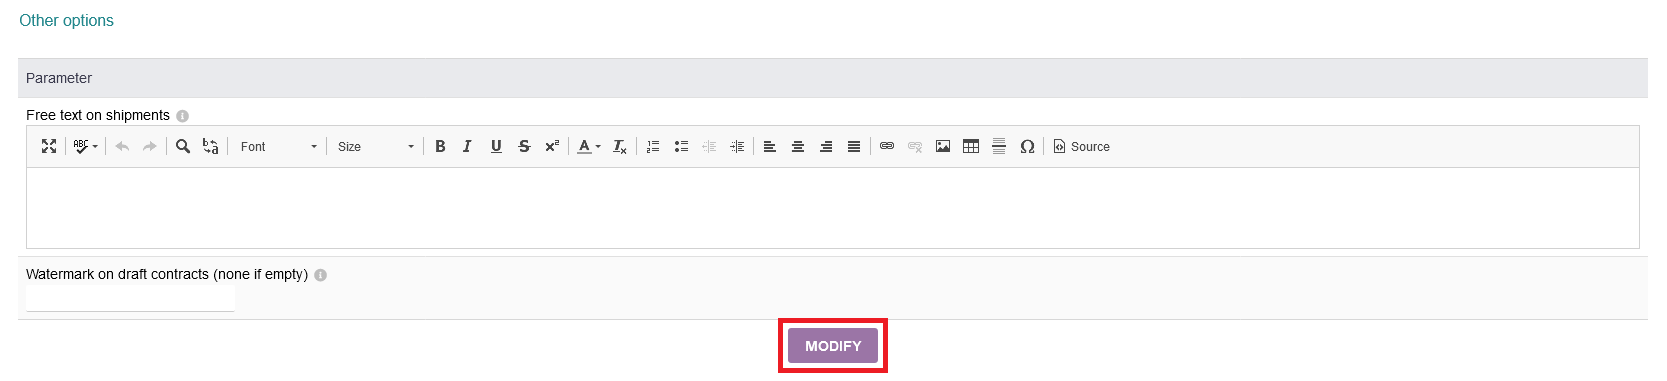
4.3.3 Other options
Under the above mentioned section, you can define a free text that appears in your sending receipt. Furthermore, you can specify a watermark for your sending drafts. Remember die click on "MODIFY" to save your changes.
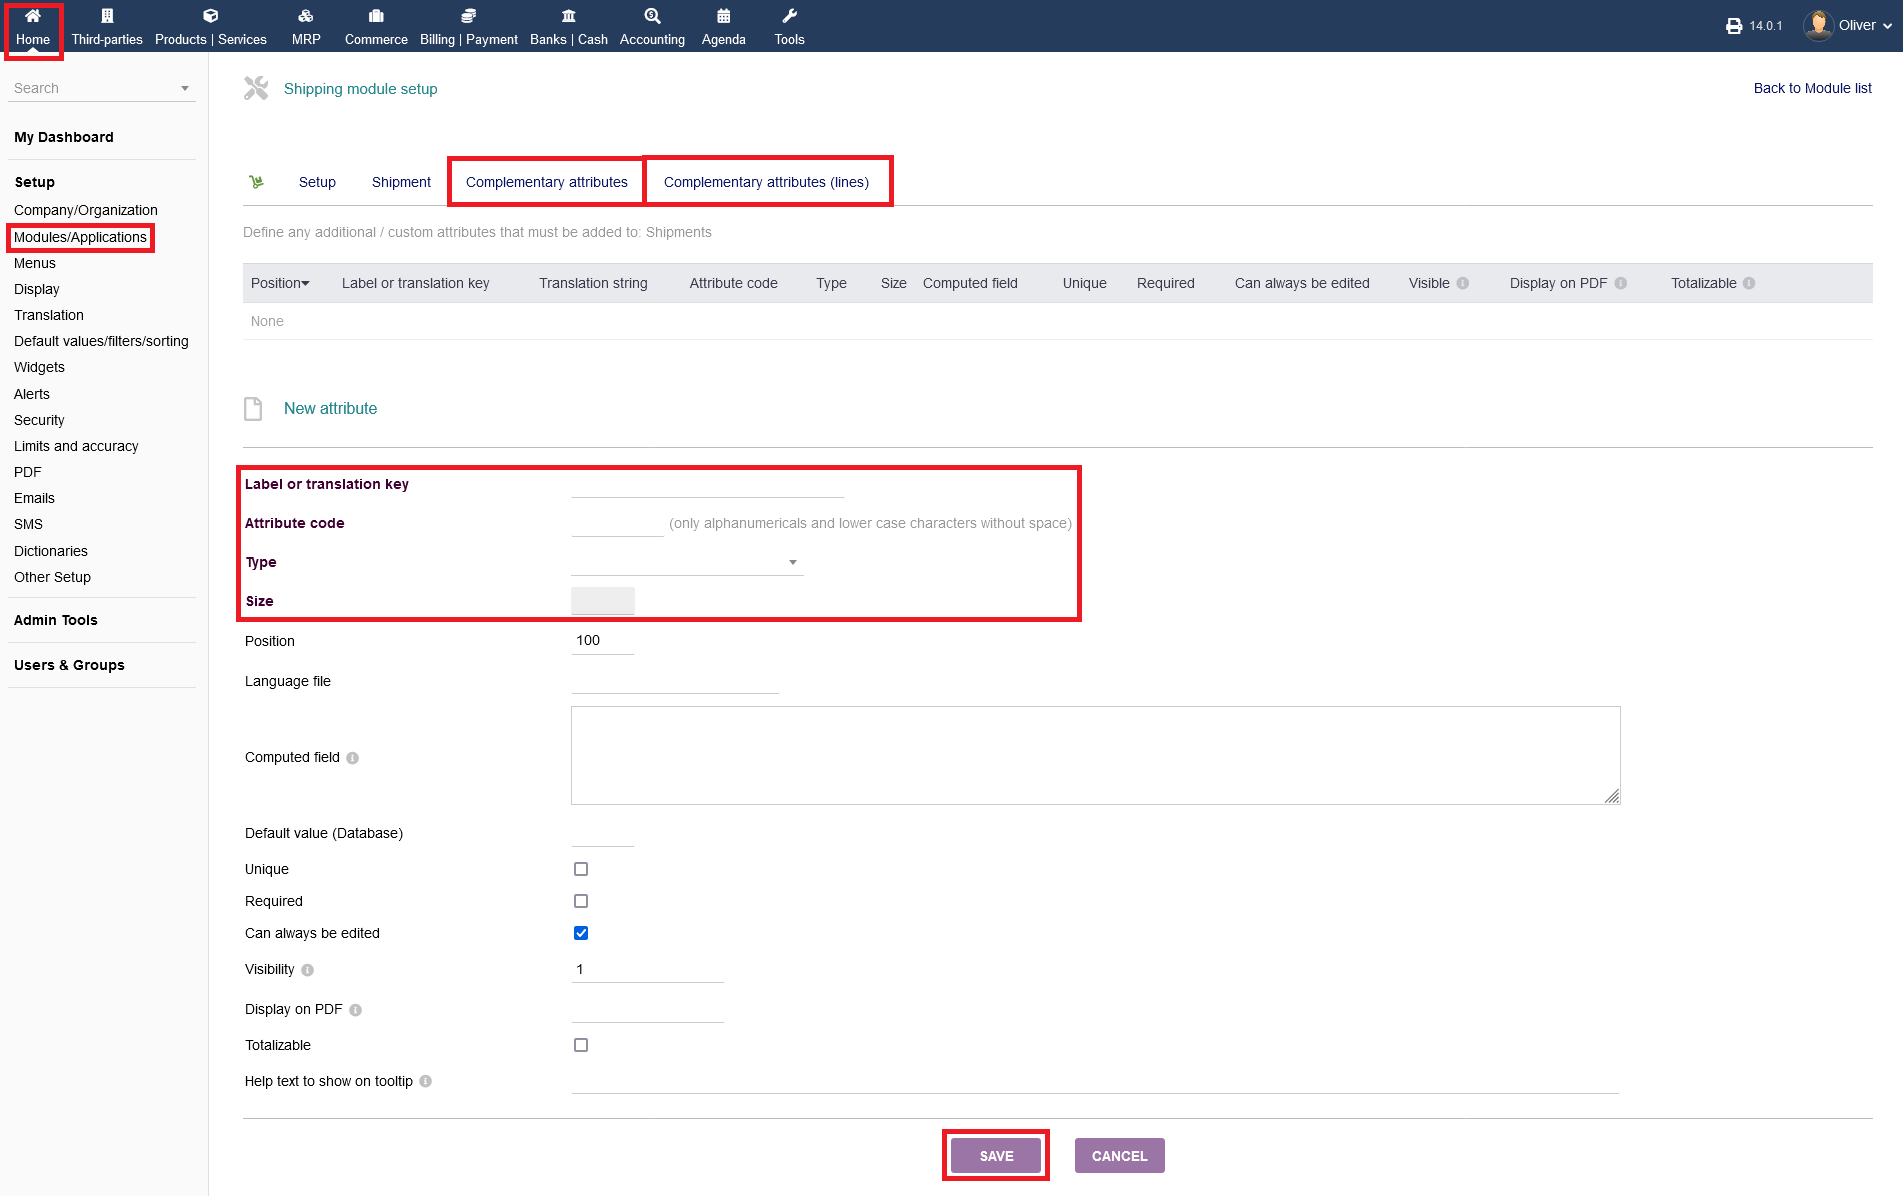
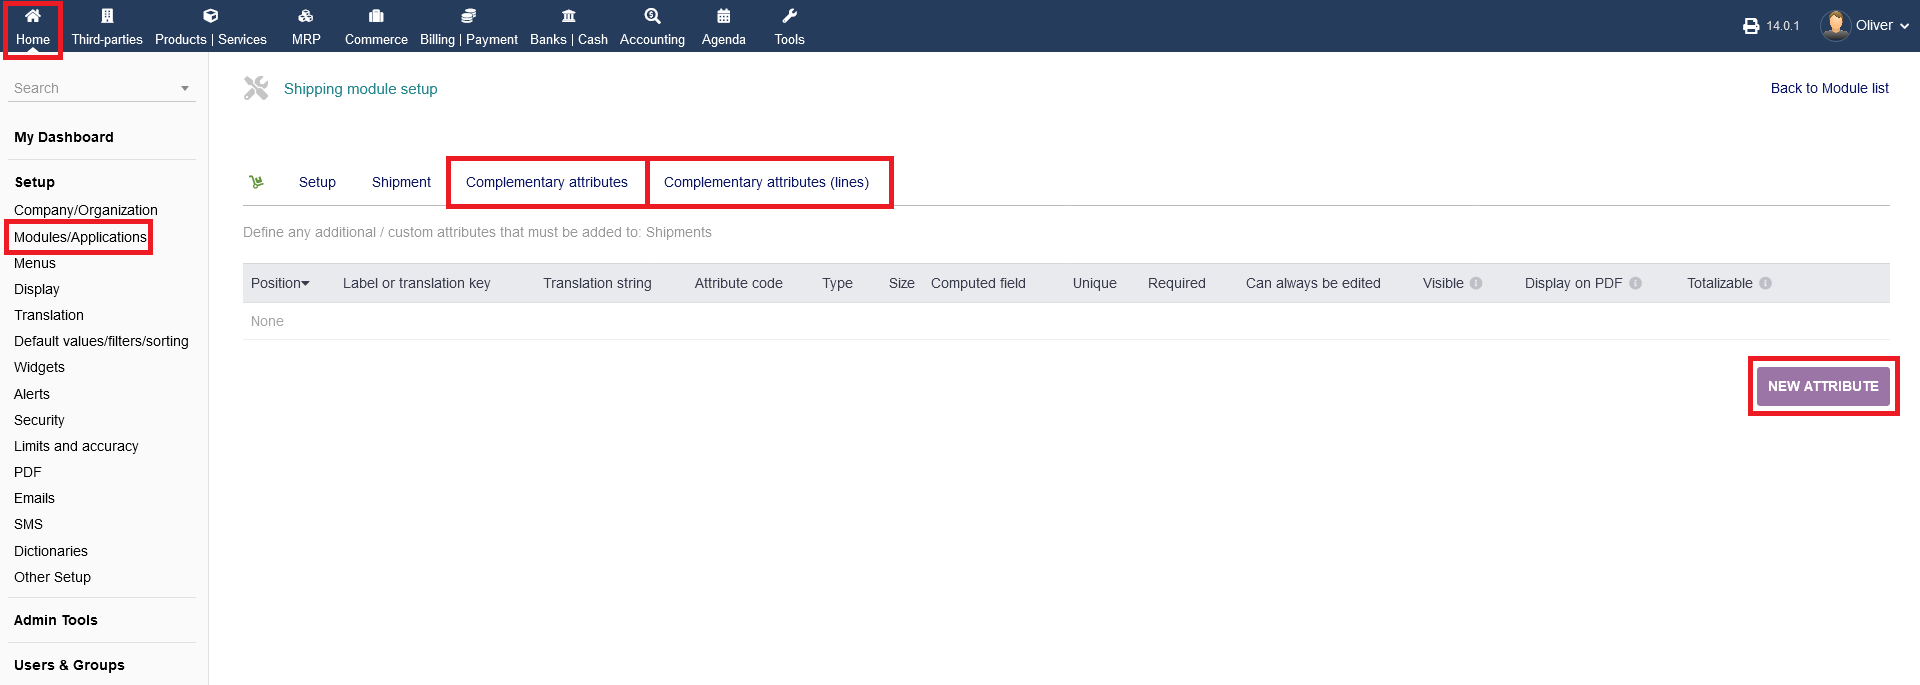
4.4 Complementary attributes & Complementary attributes (lines)
You can set any additional/custom attributes to your shipments under the respective menu tabs. Click on "NEW ATTRIBUTE" to continue to the respective form, to add a new attribute.
Fill in the necessary details, especially the label, attribute code, type and size. When you are done, click on "SAVE". This procedure is valid for both attributes options in the menu tab.