2.1 Basics
To change any settings regarding members management on a module level (NOT the same as the main menu option), go to "Setup -> Modules/Applications -> Human Resource Management (HR) -> Members" and click on the "gear" icon.
You can activate/disable that module by clicking on the button on the right hand side of the gear icon. Green indicates, that the module is active.

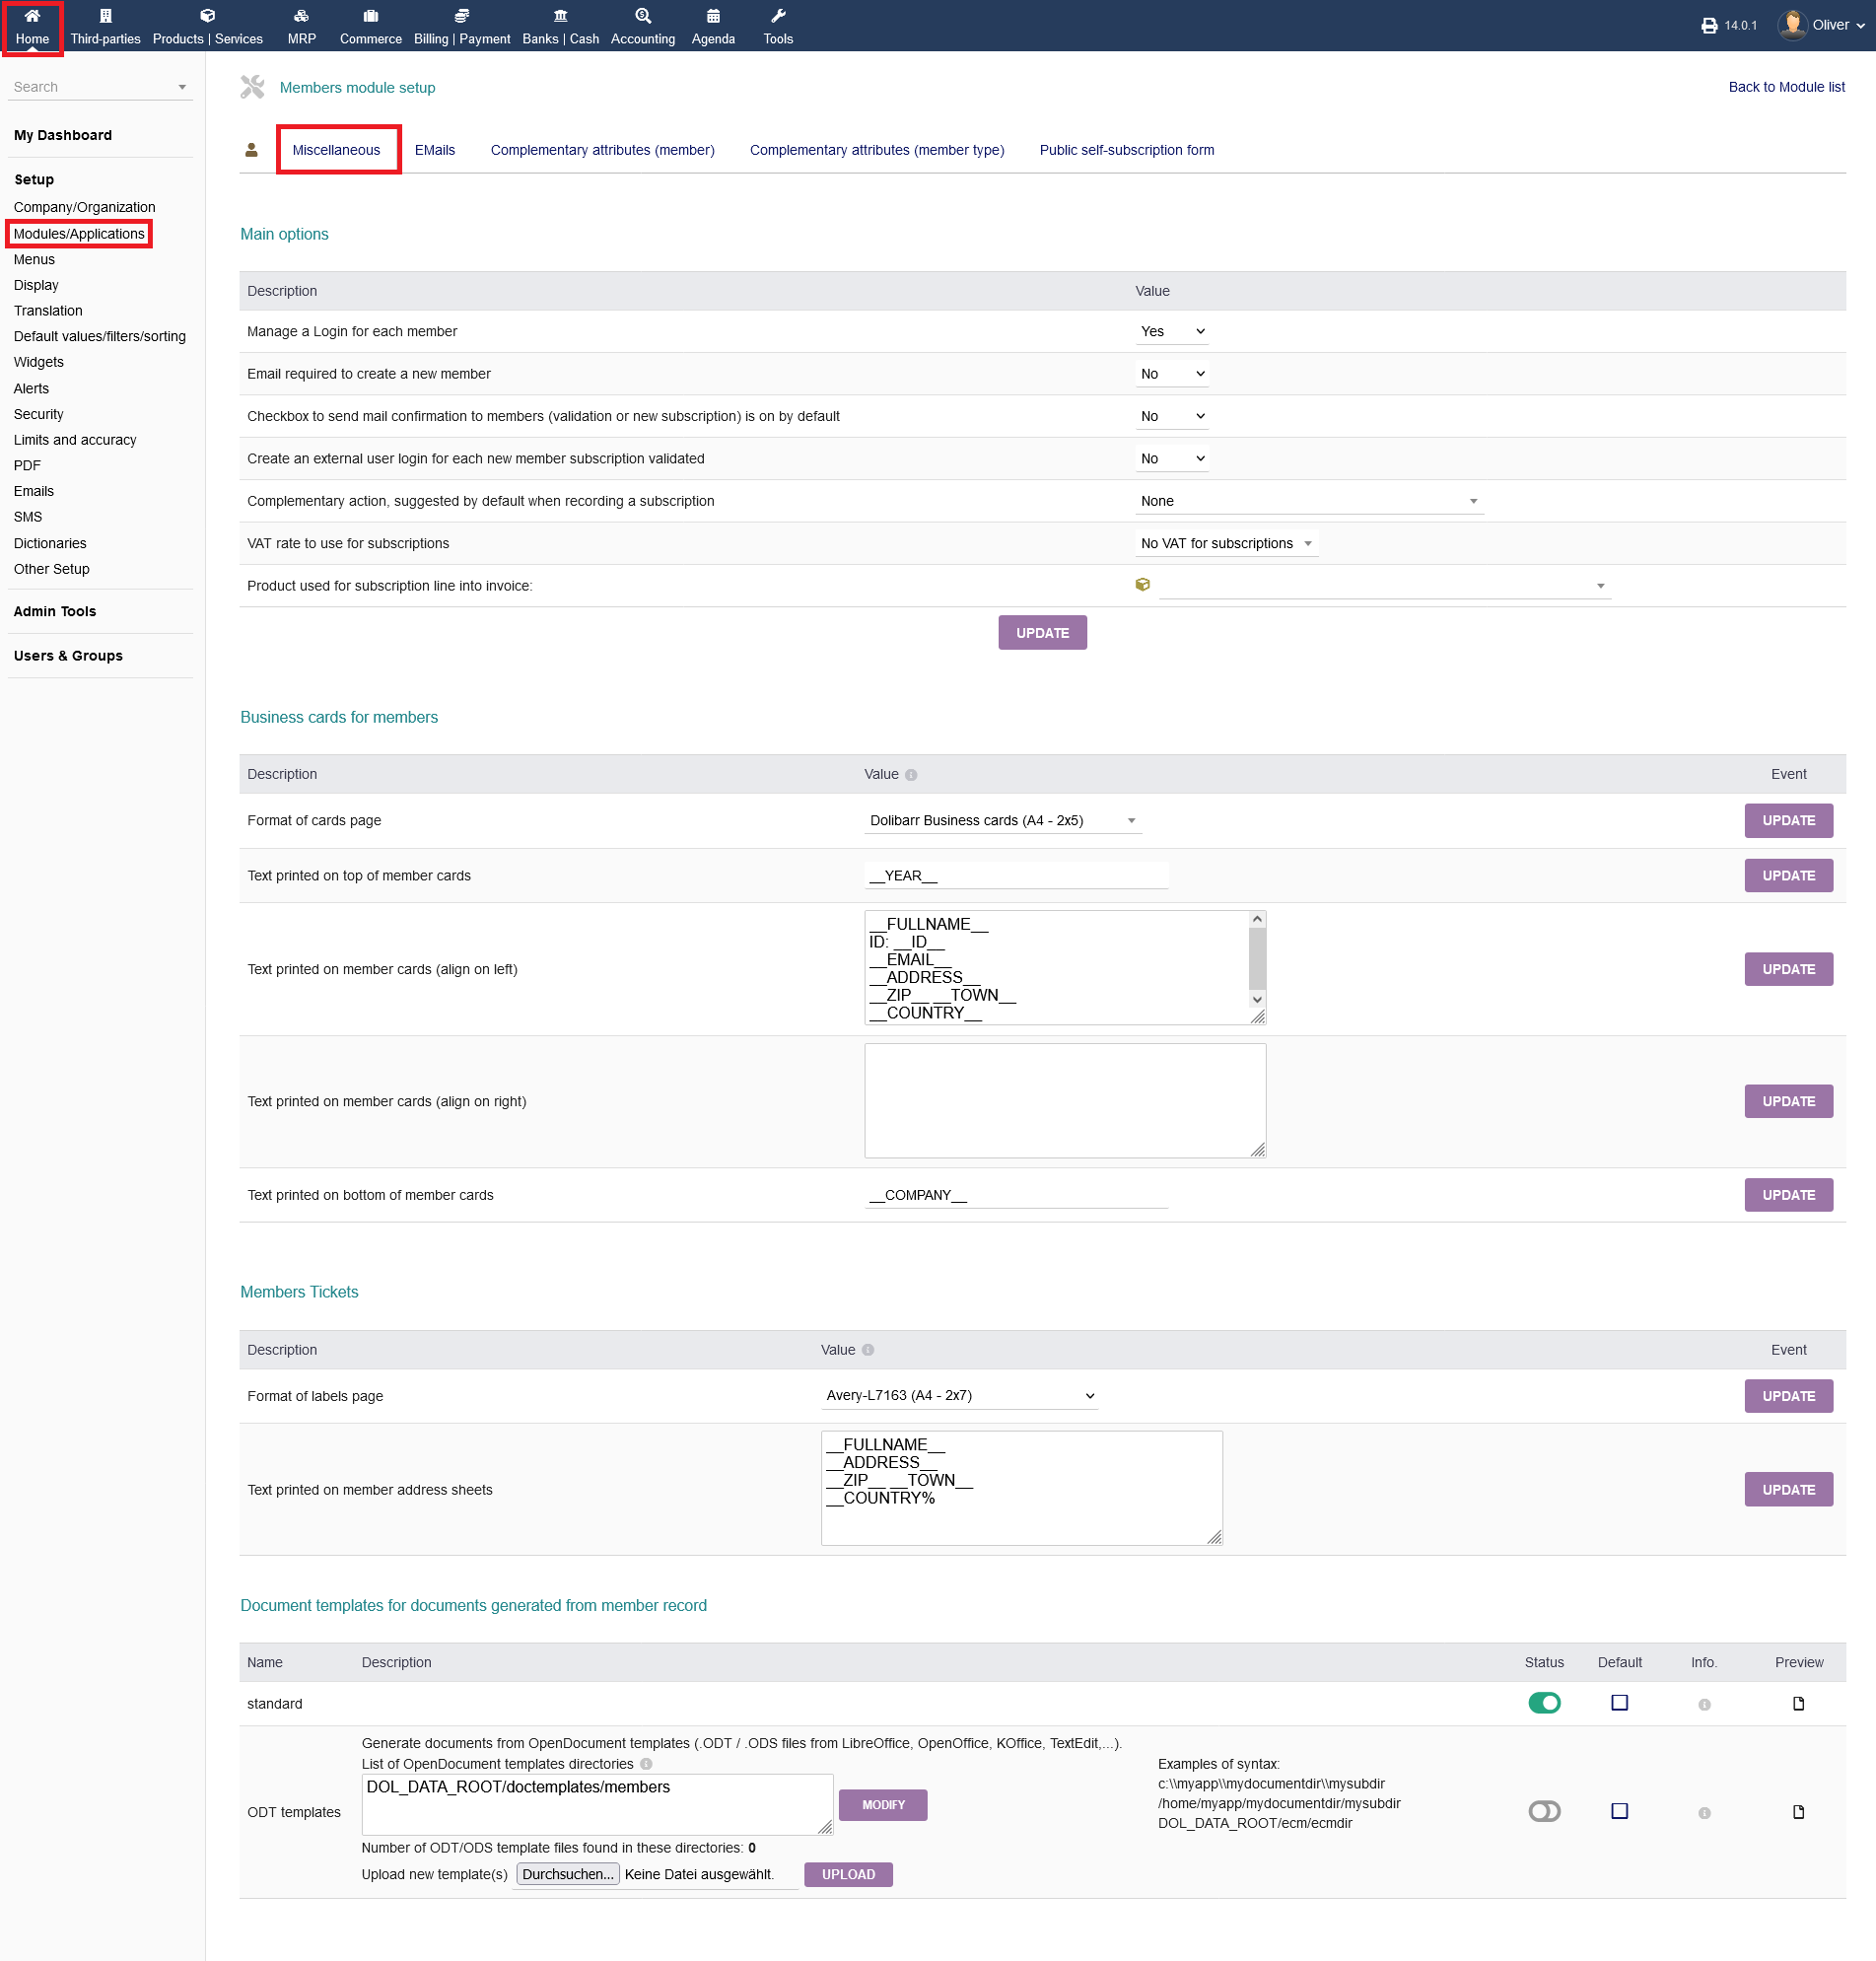
2.2 Miscellaneous options
The following options/sections are available: "Main Options", "Business cards for members", "Members Tickets", "Document templates for documents generated from member record"
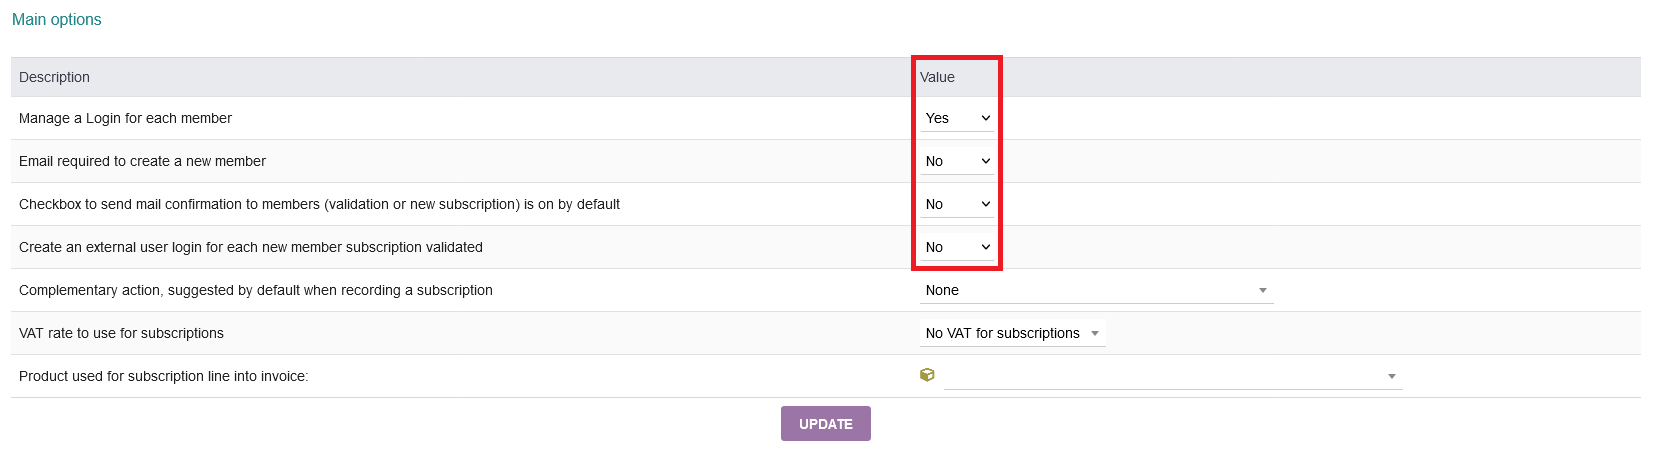
2.2.1 Main Options
Under this option, you can manage the main options that concerns members. Click on the drop down menu and select "Yes" or "No" accordingly, if you whish to activate or disable the respective option.
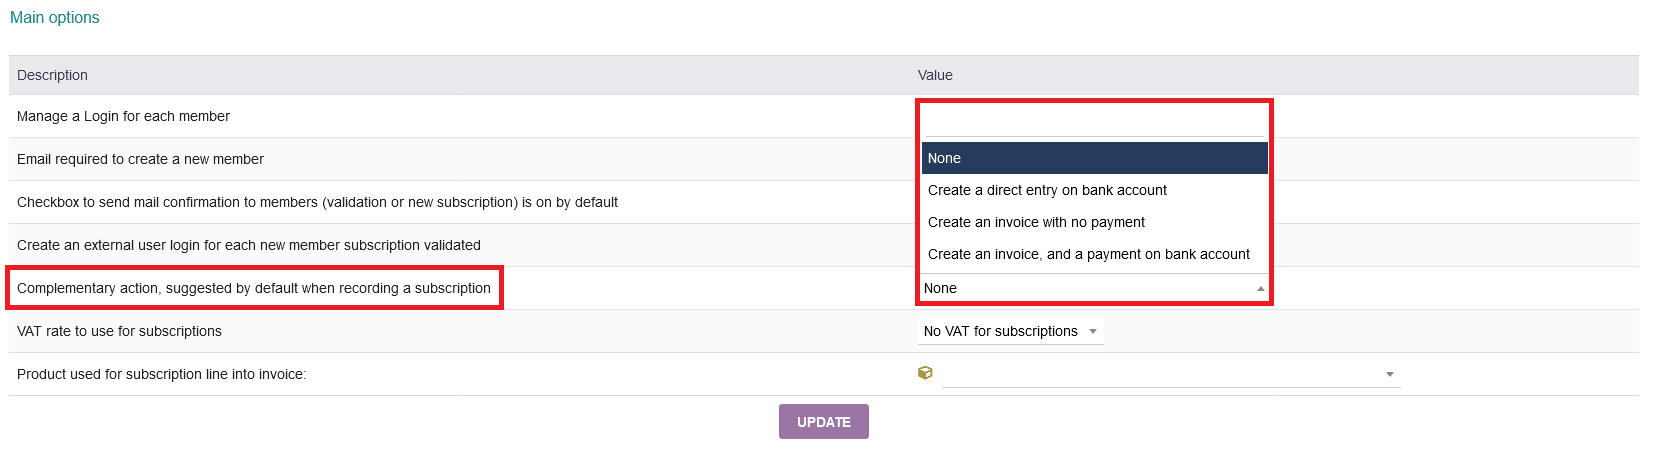
Additionally, you can choose complementary actions via the drop down menu. Those will appear by default when you are recording a subscription.
Furthermore, you can set a VAT rate for your subcription. Any available VAT rates will be shown in the drop down menu for you to select.
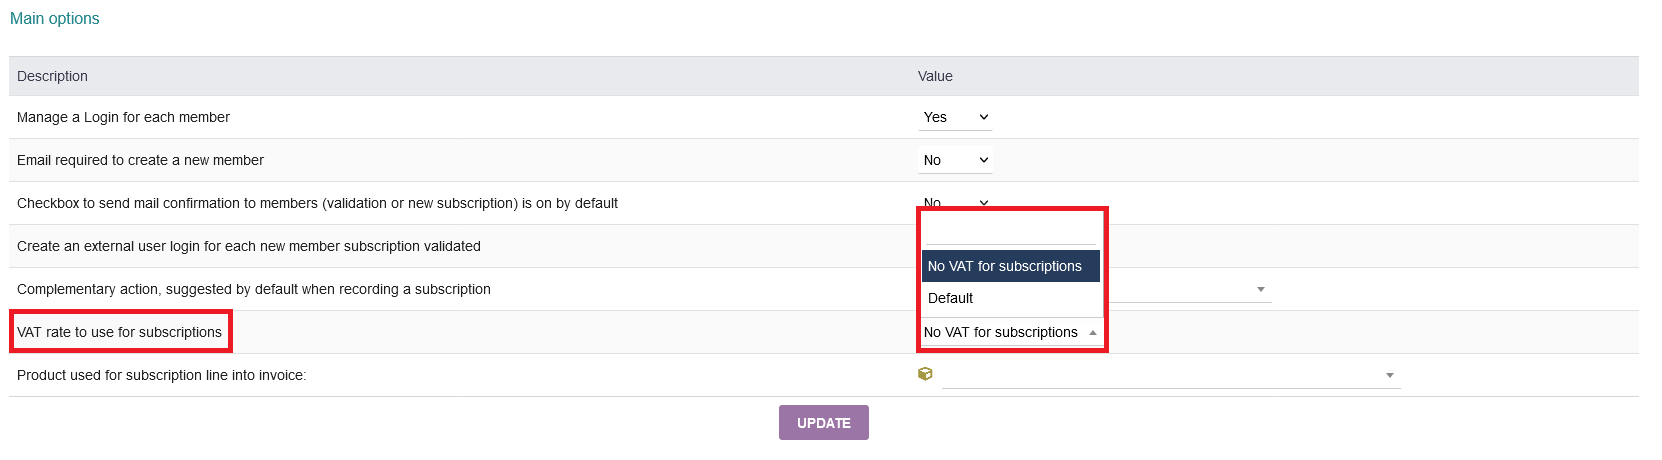
Finally, you can set a specific product from the drop down menu for the invoice, that shall be used for subscriptions.
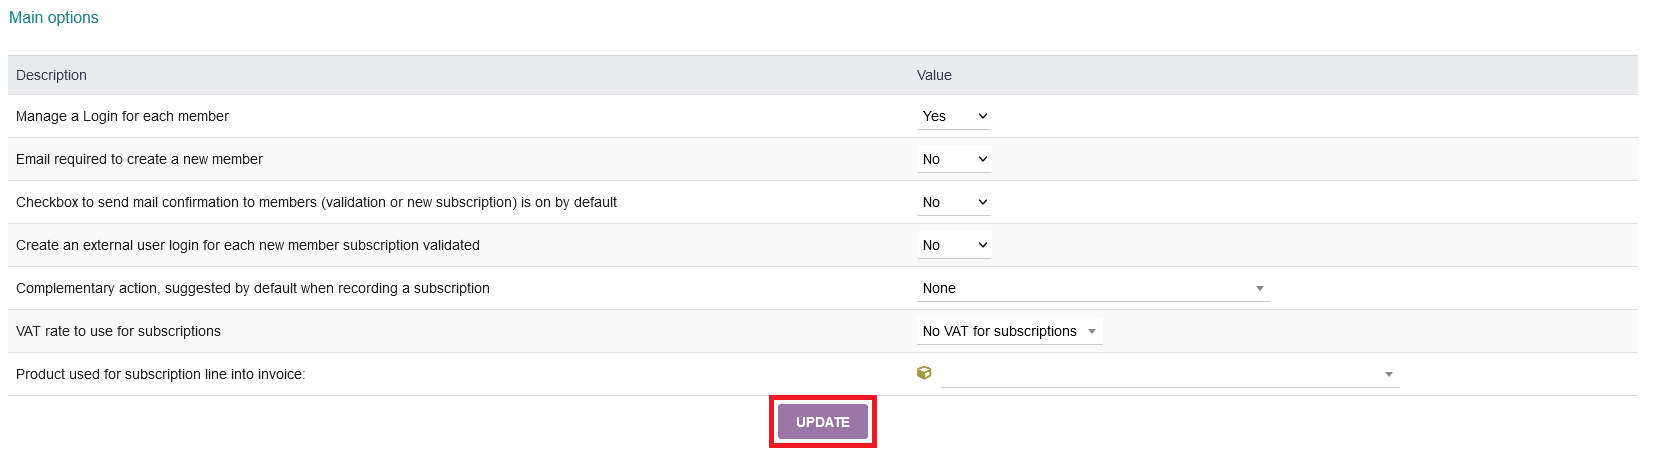
After you have done all necessary changes, don´t forget to click on "UPDATE" to save your settings.
2.2.2 Business cards for members
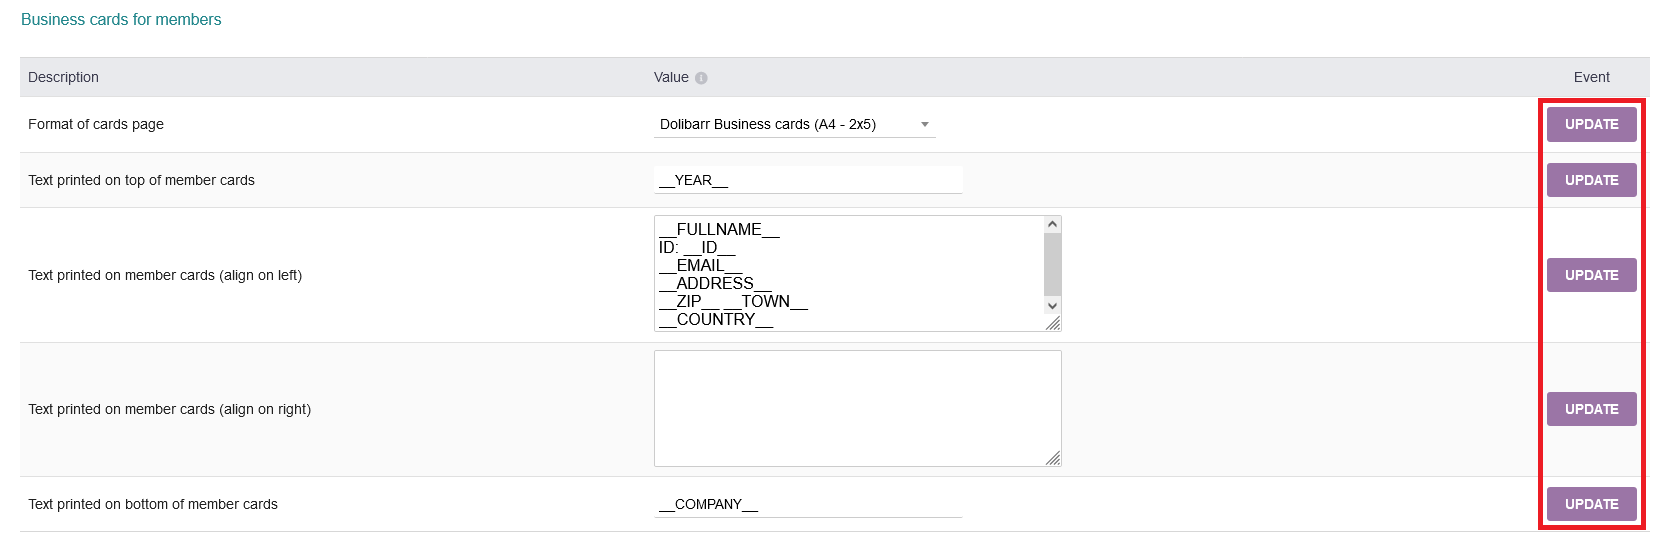
intERP offers a business card function that can be used as a template for each member/staff. Under "Format of cards page", you can choose different card formats/sizes by just selecting your desired format from the drop down menu. You are free to choose to have any content printed on the top, left, right and bottom part of the business card. In the screenshot are examples, what you could put there like year, member information, company name etc. Please don´t forget to click "UPDATE" for each setting separately. Note, all possible content values can be checked by clicking on the "i" icon next to the heading "Value".
2.2.3 Members Tickets
The same procedure of the business card section is valid here, for the member tickets section. Choose a format template and the contents. Note, all possible content values can be checked by clicking on the "i" icon next to the heading "Value". Please don´t forget to click "UPDATE" for each setting separately.

2.2.4 Document templates for documents generated from member record
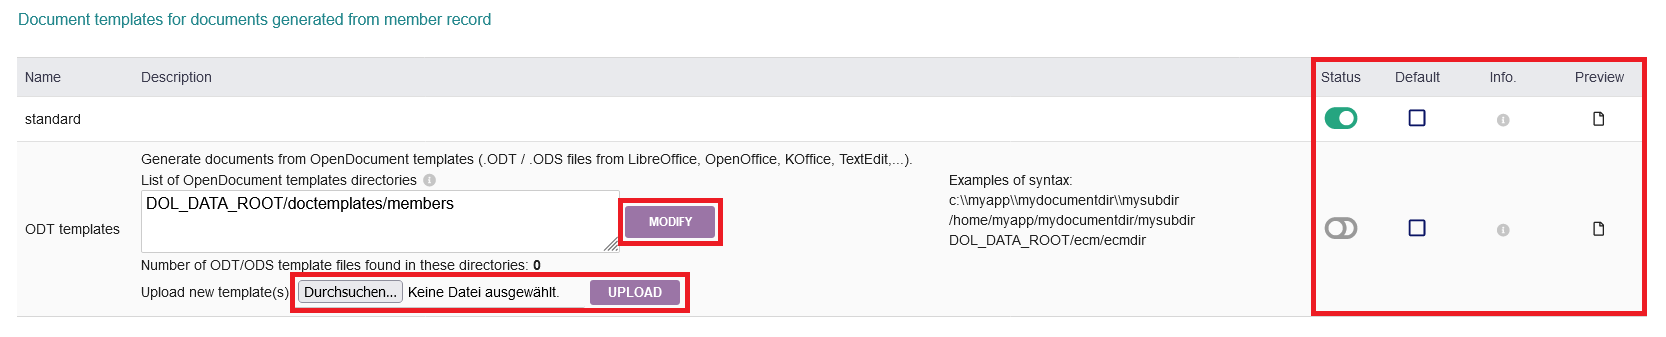
You also can have custom template or the standard template for generated documents from member records. Click the green toggle switch under "Status" to choose the option you desire. You can click the radio box under "Default" to set an option as default, if you activated both options. A preview can be had by clicking on the "document" icon under "Preview".
You can set and modify a template from your directory by typing the path in the text box. Click "MODIFY" in the end. Additionally, you can upload a template by selecting it from your local files. Click "UPLOAD" in the end.
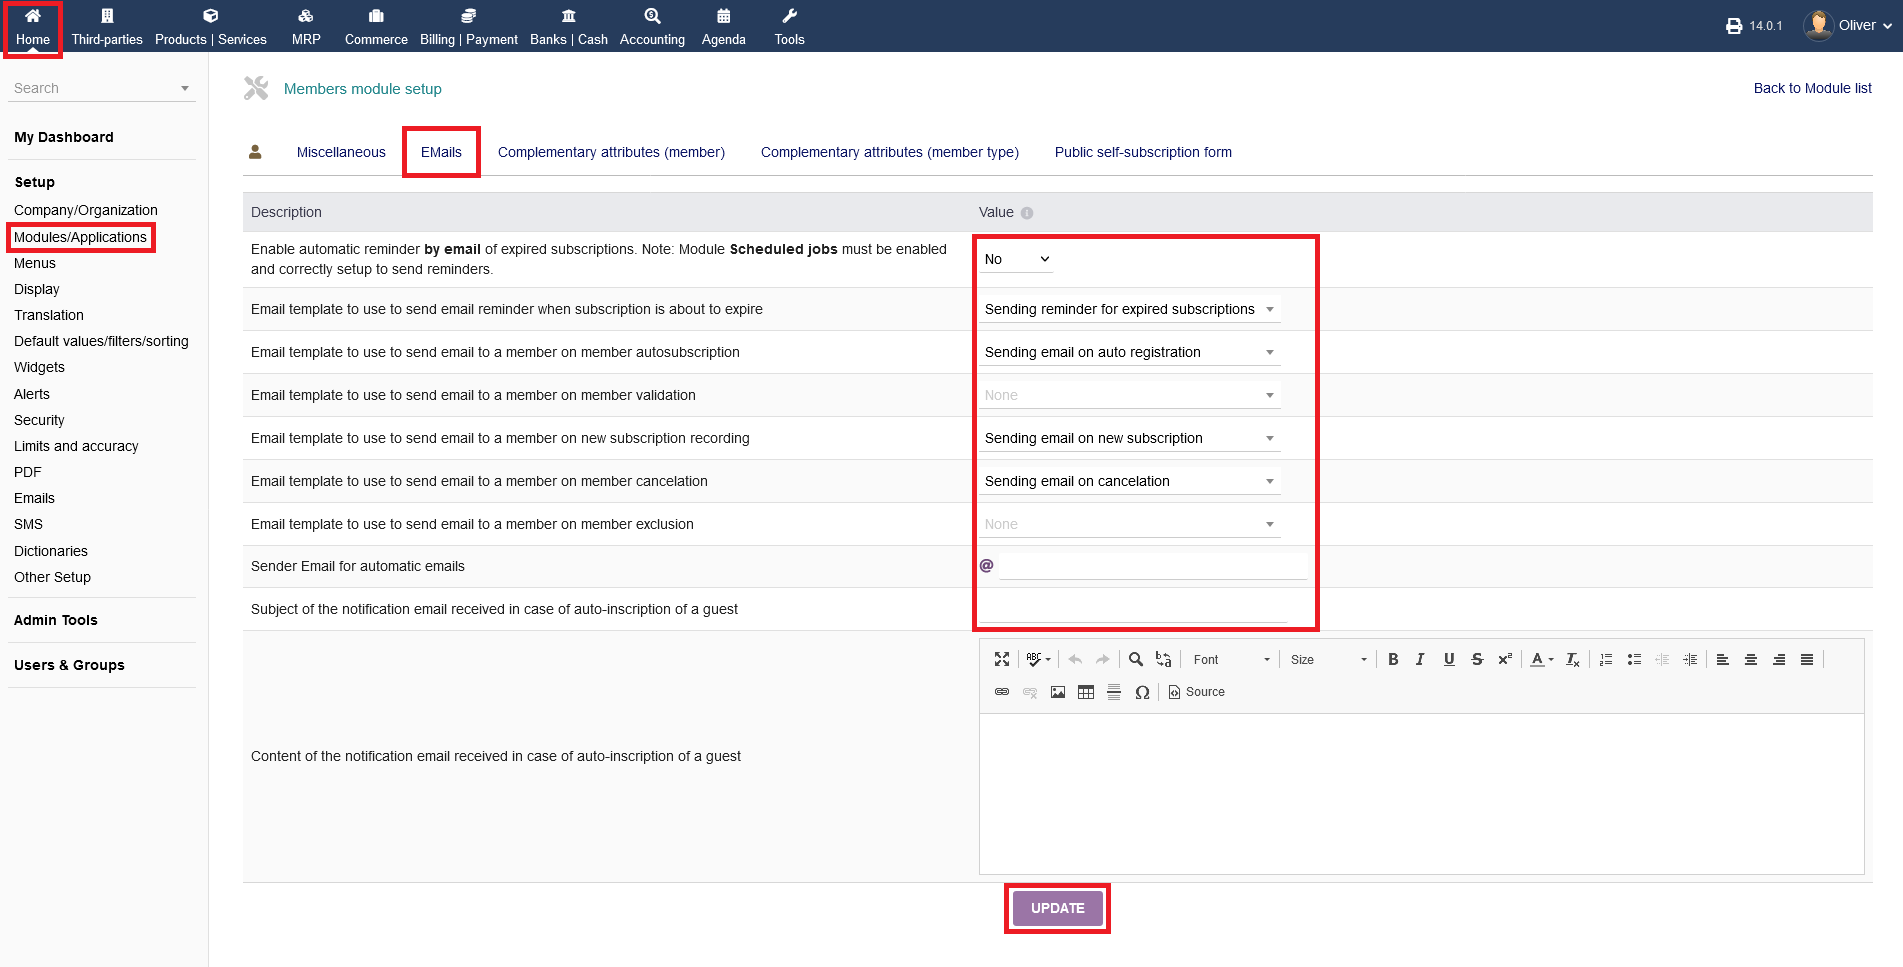
2.3 EMails
intERP offers multiple Email options regarding member/staff Emails. Those options are mainly template options, where you can choose a setting of your choice from the drop down menu. These options are self-explanatory. Under "Sender Email for automatic emails", you can set a specific Email address that is only there for automated messages (usually no-reply@yourdomain.com are such automatic email reply addresses). Make sure, that you have created that email address actually. Any content of notification emails for auto-inscription of a guest can be written in the text box manually. Don´t forget to click on "UPDATE" to save your changes.
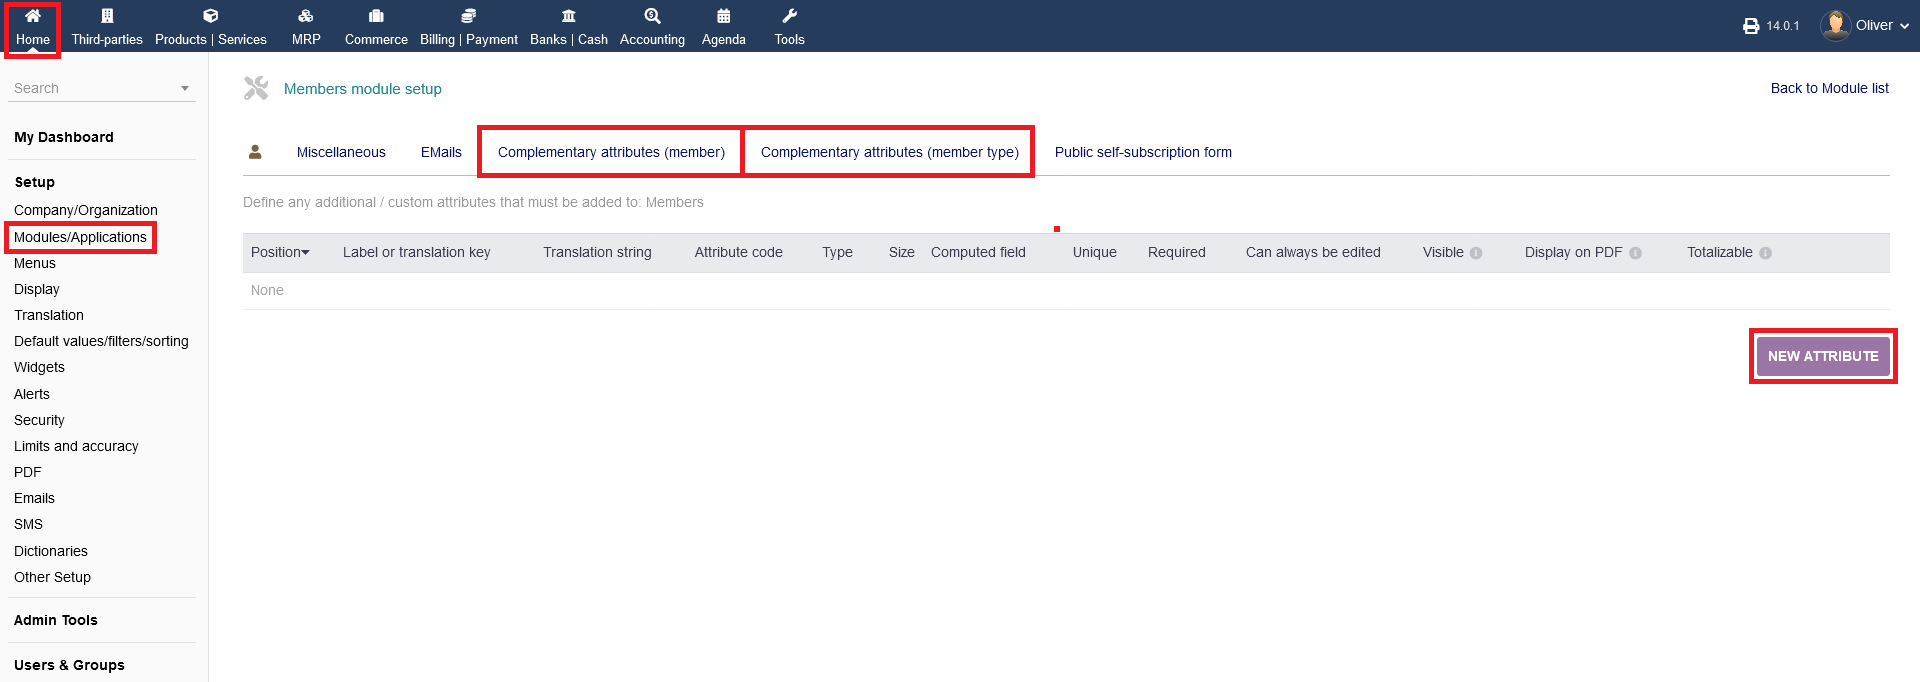
2.4 Complementary attributes (member & member types)
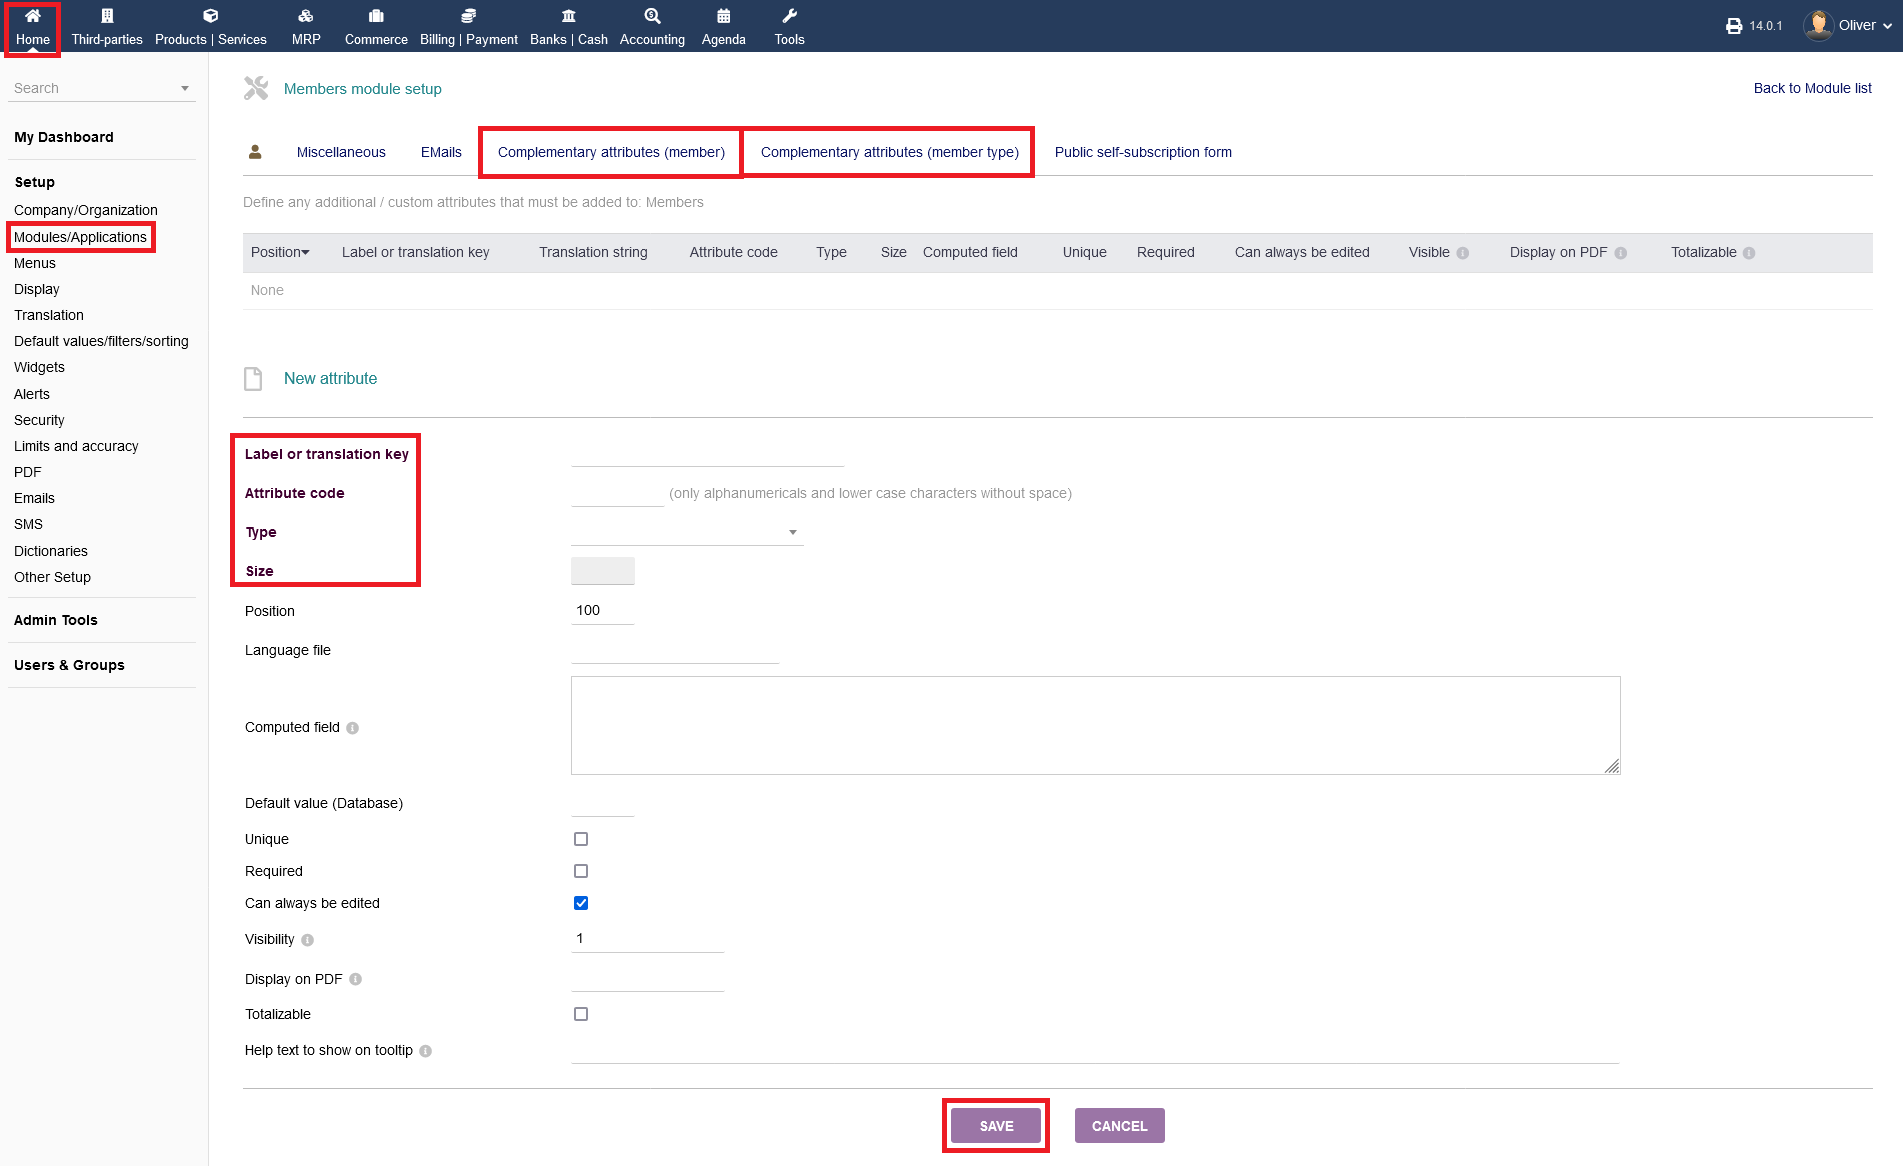
You can define any additional or custom attributes for members or member types by clicking on "NEW ATTRIBUTE".
Fill in the necessary details, especially the options that are printed bold. Click "SAVE" in the end.
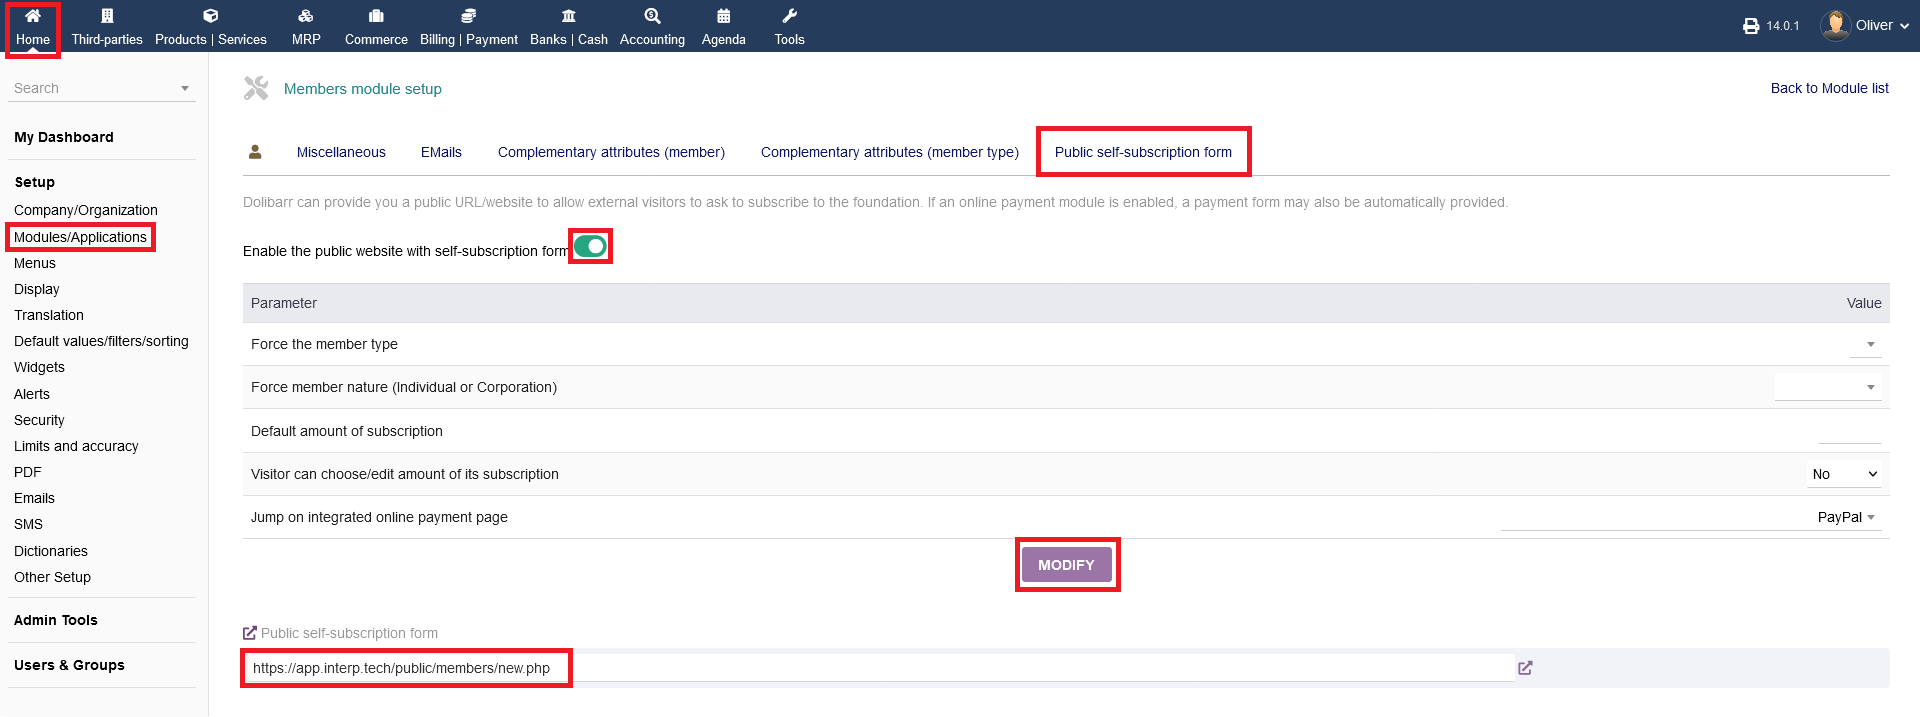
2.5 Public self-subscription form
intERP can provide a public URL/website to allow external visitors to ask to subscribe to the foundation/company. If an online payment module is enabled, a payment form may also be automatically provided. Click in the toggle switch to enable the features below, if you want to activate that option all together. Choose your desired options below and click "MODIFY" in the end. The URL to your public form will be shown on the bottom of the screen.